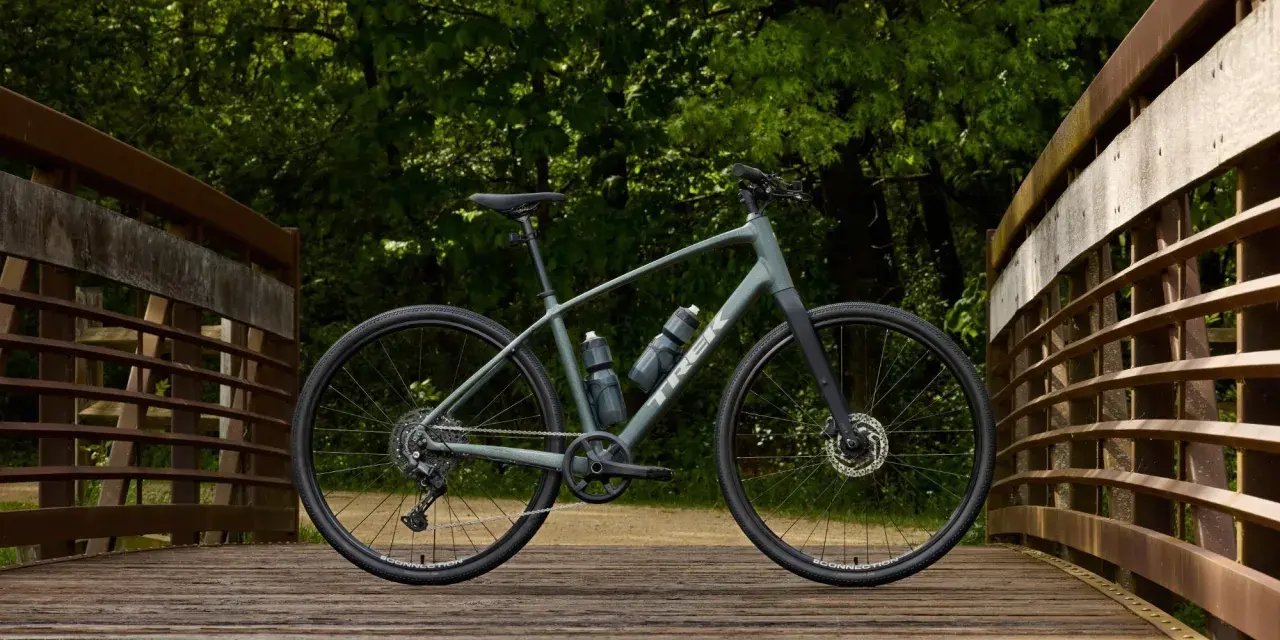
The main variables are tires, pressure, and how much pavement you actually ride
- Tires are the biggest upgrade. A fast-rolling tread usually matters more than frame material or flashy parts.
- Suspension should be firmer on asphalt. Lockout or the firmest setting reduces wasted movement and pedal bob.
- Correct pressure is not a guess. Start from the tire sidewall and fine-tune for rider weight, width, and tubeless setup.
- Mountain bikes are best on mixed routes. They are fine for commuting, trail access, and rough city streets, but they lose efficiency on long clean-road rides.
- Fit and cadence matter more than ego. A quiet upper body and smooth pedaling do more than mashing a big gear.
When a mountain bike on pavement makes sense
If the ride mixes cracked asphalt, curb cuts, bike paths, potholes, and dirt connectors, a mountain bike is a sensible tool. The upright position is forgiving, the tires shrug off debris, and the bike handles bad weather better than a narrow-tired road machine. The tradeoff is simple: every extra knob designed for trail control also adds drag on smooth pavement.I see the best use cases in a few places. A mountain bike is still a strong choice for short urban commutes, trips to the trail, casual fitness loops with rough shoulders, and travel rides where you do not know the quality of the roads ahead. It is also a reasonable answer if you only own one bike and you need it to survive curbs, potholes, and occasional off-road detours.
| Situation | Does a mountain bike fit? | Why |
|---|---|---|
| Short city commute | Yes | Comfort, durability, and pothole tolerance matter more than outright speed. |
| Trail access road | Yes | You want a bike that can handle broken pavement before the dirt starts. |
| Long clean-road fitness ride | Only if it is the only bike available | The extra rolling resistance and weight become hard to ignore. |
| Wet or dirty winter roads | Yes | Wider tires and a stable riding position help when traction is inconsistent. |
| Fast group road ride | No | Bike choice and pacing expectations will fight each other. |
That is why I never start by asking whether the bike can do it. I ask how much of the ride is actually pavement, because that answer tells me how much setup work is worth doing next.
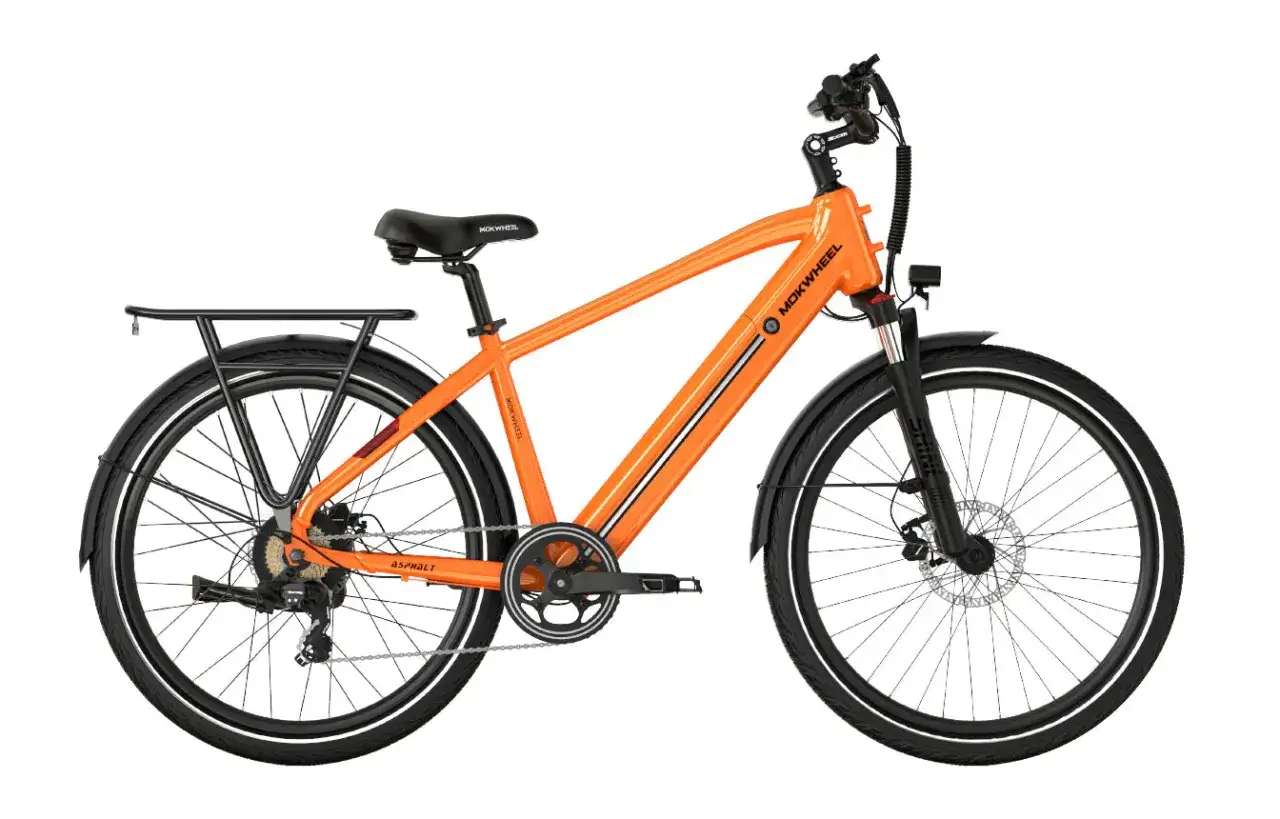
The setup changes that make the biggest difference
I start with tires because they change the feel of the bike more than almost anything else. If your mountain bike still wears aggressive trail rubber, it will feel slower, noisier, and more resistant on pavement than it needs to. A fast-rolling XC tire or semi-slick in the roughly 2.1 to 2.35 inch range usually makes more sense for road-heavy use than a heavy, open-knob tread. You do not need to turn the bike into a fake road bike; you just need to remove the most obvious drag.Pressure matters just as much. On modern mountain tires, I think in ranges rather than magic numbers. For many riders using tubeless tires, a workable pavement-heavy starting point lands in the low 20s to low 30s psi, with a few psi more if the bike still uses tubes. Heavier riders, wider rims, and firmer casings all push that number up a bit. The only hard rule is the one printed on the tire sidewall: do not exceed it.
Suspension is the next obvious lever. If you have a lockout, use it on smooth asphalt. If you only have compression adjustment, choose the firmest efficient setting that still keeps the bike controllable. The goal is not to make the ride harsh; the goal is to stop the fork and shock from stealing energy every time you pedal. On a hardtail, the same logic applies more subtly: keep the fork set up for support, not for bouncing around on a road surface that does not need maximum plushness.
I also pay attention to small things that people ignore until they become annoying. A clean, lubricated chain can save more friction than most riders expect. Brake rub, sticky cables, or a sloppy cockpit all add tiny losses that become very noticeable over a long paved approach. And if you know the bike will spend a lot of time on roads, a fit check is worth more than most cosmetic upgrades.
| Setup change | What it improves | Typical U.S. cost | Priority |
|---|---|---|---|
| Semi-slick or fast XC tires | Lower rolling resistance and less noise | About $60 to $140 per pair | High |
| Tubeless conversion | Better puncture resistance and more tuning room with pressure | About $40 to $100 if the wheels are ready | High |
| Floor pump with a gauge | Repeatable pressure settings | About $35 to $80 | High |
| Suspension service or tune | Less bob, better support, better control | About $120 to $250 depending on shop and parts | Medium |
| Fit tweak | Less hand, neck, and saddle fatigue | About $0 to $150 | Medium |
Once the bike is sorted, the way you ride it matters more than most people expect.
How to ride it efficiently on pavement
The biggest mistake I see is trail behavior copied directly onto the road. Pavement rewards smoother inputs, steadier cadence, and a quieter upper body. On a mountain bike, a comfortable spinning cadence is usually better than grinding a big gear at low speed. For most riders, something around 80 to 95 rpm feels more sustainable on longer paved sections, especially if the bike is not feather-light.
I also like to keep my hands light and my torso relaxed. A death grip on the bars makes every seam in the asphalt feel bigger than it is, and it encourages jerky steering. A slightly bent elbow, level pedals when the effort is steady, and a calm look down the road all help the bike roll cleaner. Think efficient, not aggressive.
Braking and cornering change too. On smooth roads, brake earlier and softer, then let the bike carry speed through the turn. Sudden braking on a knobby or semi-knobby tire wastes momentum and can make the bike feel vague. If the route runs through traffic, be visible and predictable. In the U.S., that means holding a steady line, signaling clearly, and using lights when conditions or local rules call for them.
These are the habits I would lock in first:
- Shift before the hill or stop, not after the cadence collapses.
- Use momentum instead of repeated hard accelerations.
- Stay seated for most steady efforts and stand only when the terrain or traffic demands it.
- Choose routes with fewer dead stops if the goal is fitness, not errands.
- Keep the chain clean enough that driveline noise does not drown out the ride.
That is also where bike choice starts to matter again, because not every route justifies the same machine.
When a different bike makes more sense
There is a point where trying to optimize a mountain bike for pavement becomes more expensive than choosing the right bike in the first place. If most of your weekly mileage is on clean roads, the efficiency gap is real. If the road is only the connector between home, trail, and errands, a mountain bike still earns its keep.
My practical rule is simple: if you are doing long paved training blocks, a road bike is the cleanest answer. If you want a single bike that can handle pavement and dirt roads without feeling compromised, a gravel bike usually gives the best balance. If your use is split between rough streets and trail access, a hardtail XC bike is often the sweet spot. A full trail or enduro bike makes the least sense on pavement unless you are accepting the inefficiency for the sake of capability off-road.
| Bike type | Best for | Why it wins on pavement | What you give up |
|---|---|---|---|
| Mountain bike | Rough city streets, short commutes, trail links | Comfort, durability, and confidence on bad surfaces | Speed and efficiency |
| Hardtail XC | Mixed fitness rides and trail access | Lighter, simpler, and more efficient than a big trail bike | Some comfort on rough descending |
| Gravel bike | Mostly pavement with some dirt or chip seal | Fast enough on roads and versatile enough off them | Less stability on technical trails |
| Road bike | Long paved rides and speed-focused training | Lightest and most efficient on asphalt | Least forgiving on rough ground |
If you only own one bike, that is not a problem. It just means you should be honest about the route and the riding you actually do, not the riding you imagine.
Before every pavement-heavy ride, I check these five things
When I know a ride will include a lot of asphalt, I run the same quick check before rolling out. It takes less than five minutes and prevents most of the frustration that makes road miles on a mountain bike feel worse than they need to be.
- Tire pressure. I set it for the actual ride, not the last ride.
- Suspension mode. Lockout or firm settings go on before the first long stretch of pavement.
- Brake rub and chain condition. If something is dragging, I fix it before the ride starts.
- Route purpose. I decide whether the ride is for commuting, fitness, or trail access and choose the road accordingly.
- Basic road kit. On U.S. roads, I bring lights when needed, plus a tube or plug kit, a pump, and water.
The more pavement the ride includes, the more discipline pays off. Small setup changes, smoother pedaling, and a route that matches the bike will do more for the experience than trying to brute-force speed out of the wrong machine. I think of paved miles on a mountain bike as connective tissue: useful when they get you somewhere better, wasteful when they become the whole point. When that balance flips, the answer is usually to change the bike, not argue with the road.