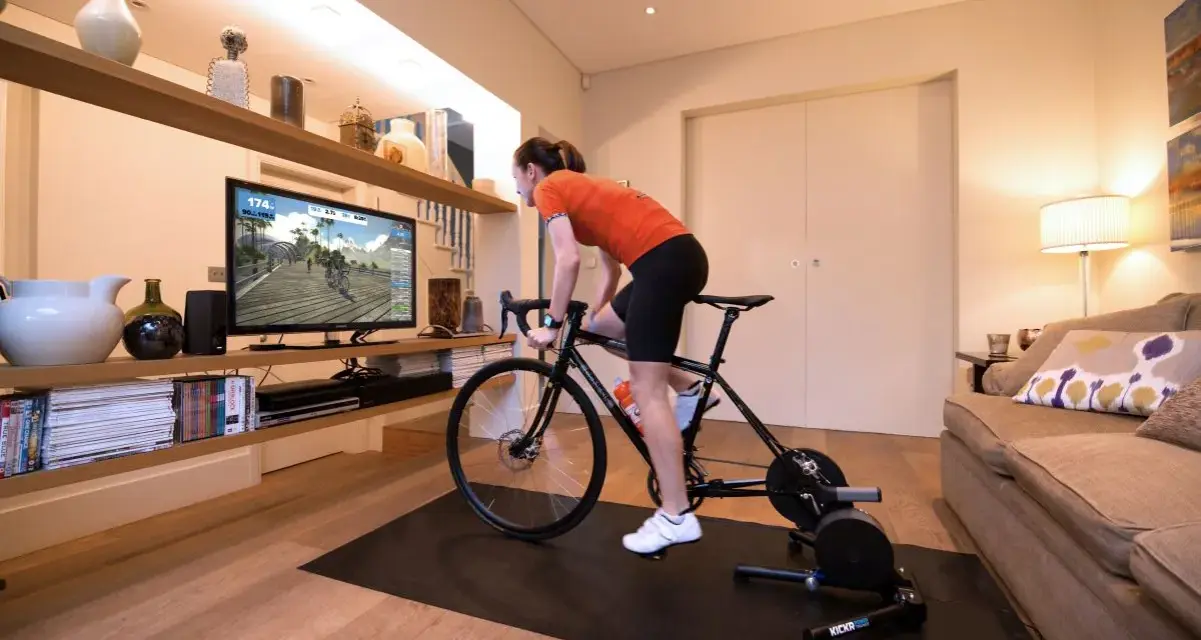
A cycling pain cave is a dedicated indoor training room built for hard work, not just a bike on a trainer in the corner. The real advantage is practical: the right space helps you stay cooler, more focused, and more consistent when the session gets uncomfortable. In this article I break down what the term really means, which pieces of equipment actually matter, how much a solid setup costs in the U.S., and how to avoid the mistakes that make indoor riding feel worse than it should.
The fastest way to think about it
- The room’s job is to make hard training repeatable, not decorative.
- Cooling matters more than visuals, and often more than a bigger screen.
- A direct-drive trainer, a strong fan, and a mat solve most of the basics.
- Good layout reduces sweat, noise, cable clutter, and setup time.
- A functional U.S. setup can start under $1,000 if you already own the bike, while premium rooms climb quickly.
What a pain cave actually is and why cyclists build one
At its best, a pain cave is a room that removes excuses. It is a controlled environment for intervals, threshold work, sweet spot rides, recovery spins, and those long winter sessions that would be nearly impossible outdoors. The point is not to suffer for the sake of it; the point is to make difficult training easier to start and easier to repeat.
That distinction matters. I have seen rooms that look impressive but do very little for training because they are awkward to use, too hot, or cluttered with gadgets no one touches after week two. I have also seen plain garages and spare bedrooms outperform expensive setups because they are cool, organized, and ready in 30 seconds. The best indoor cycling space is the one that gets used on tired days, not the one that photographs well.
For most riders, the pain cave is really a consistency tool. It shortens the distance between “I should ride” and “I am already clipped in,” which is exactly why it works. Once that purpose is clear, the next step is choosing the pieces that deserve space and money.
The gear that earns its place
The first rule I use is simple: buy for training quality before buying for atmosphere. A room can survive without smart lights and dual monitors; it cannot perform well without adequate cooling, a stable trainer, and a way to manage sweat.
| Component | Why it matters | My practical take |
|---|---|---|
| Trainer or smart bike | It creates resistance, captures data, and sets the training feel. | Direct-drive smart trainers are the sweet spot for most serious riders because they are quieter, more stable, and less messy than wheel-on units. |
| Fan or fans | Prevents overheating, which directly affects power and comfort. | One strong fan is the minimum; two is better for longer or harder sessions. |
| Mat or flooring | Protects the floor, reduces vibration, and keeps the bike from wandering. | A thick trainer mat or rubber flooring is worth it, especially in garages and upstairs rooms. |
| Display or device mount | Keeps workouts visible without awkward neck position. | Place the screen at roughly eye level and close enough to read quickly. |
| Towels and bottles | Stops small interruptions from breaking training flow. | Keep them within reach; indoor riding gets annoying fast when you have to dismount for every sip. |
| Storage | Holds shoes, charger, HR strap, and ride-day essentials. | Simple wall hooks or a narrow shelf beat a pile of gear on the floor every time. |
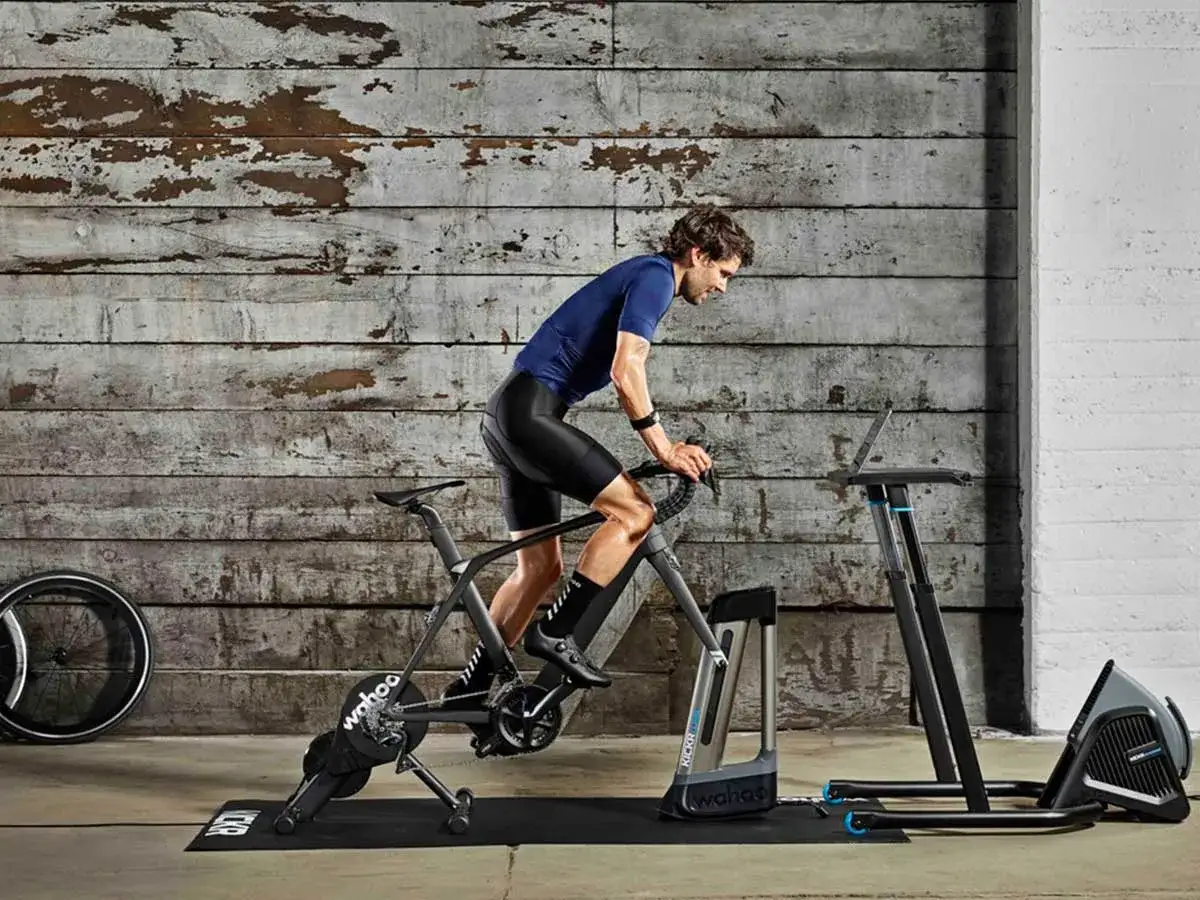
Direct-drive trainers are usually the sweet spot for riders who train several times a week. Wheel-on trainers still make sense if the budget is tight or if the bike needs to be shared, but they are louder and generally feel less realistic. A smart bike is the cleanest experience of all, yet I only recommend that jump when indoor riding is a major part of the weekly routine, not an occasional weather backup. Once the equipment decision is clear, the room layout becomes the difference between tolerable and genuinely useful.
How to lay out the room so hard sessions feel easier
I like to think in zones: the bike zone, the cooling zone, and the support zone. If those three are arranged well, the room will feel calm even during a brutal workout. If they are arranged badly, you will notice it every single ride.
- Bike zone place the bike where you have side clearance and a clean path on and off the trainer.
- Cooling zone point the main fan at your torso, not just your face, and use a second fan to move air across the shoulders or back.
- Support zone keep towel, bottles, remote, charger, and fueling within arm’s reach.
- Display zone keep the screen at eye level so you are not constantly dropping your head or craning your neck.
The room type changes the priorities. In a garage, dust, cold mornings, and insulation matter. In a basement, humidity and drainage matter. In a spare bedroom, noise control and cable routing matter more than airflow, though airflow is still non-negotiable. If the room is small, I would rather see a clean, efficient layout than a crowded one with a second screen nobody uses. Good indoor cycling spaces feel prepared before the ride starts, and that is what makes the hard parts easier to tolerate.
One more detail gets overlooked all the time: sweat management. A front wheel that sits on a mat, a towel over the bars, and a fan that can move enough air save equipment and keep the room from becoming sticky and unpleasant. Once the layout is solved, the next question is how much it should cost.
What a realistic U.S. budget looks like
Prices move, but the structure of a good setup does not. In the U.S., I would think in tiers rather than shopping by individual gadget. That keeps the spending focused on training value instead of novelty.
| Tier | Typical spend | What you usually get | Best for |
|---|---|---|---|
| Starter | $400-$900 | Existing bike, entry trainer or wheel-on trainer, one strong fan, mat, basic mount | Riders testing whether indoor training will become a habit |
| Serious | $1,000-$2,500 | Direct-drive trainer, two fans, better display, HR strap, proper flooring, storage | Riders doing structured training several times per week |
| Premium | $3,000-$8,000+ | Smart bike or high-end trainer, smart fan, large display, rocker plate, room treatment | High-volume users who want maximum convenience and the least friction |
If I were spending my own money, I would buy in this order: cooling first, trainer second, flooring third, screen convenience fourth, and atmosphere last. That may sound unglamorous, but it is the fastest route to a room that improves fitness instead of just looking complete. Once the budget is set, the next step is learning how to use the space well.
How to train inside without burning out on the setup
A good room does not automatically produce good training. It simply makes good training easier to repeat. That means structure matters more indoors than it does on an easy outdoor spin, because the trainer removes most of the environmental excuses and leaves you face to face with the workout.
- Start with a 10 to 15 minute warm-up so your legs and mind settle in before the first hard effort.
- Use the space for sessions with a clear goal: threshold, sweet spot, VO2, tempo, or recovery.
- For rides longer than 75 to 90 minutes, keep water and carbs close instead of waiting until you are already fading.
- Stand up briefly during steady rides to change pressure points and reduce static fatigue.
- Use music, routes, or virtual riding platforms as support, not as the main event.
That last point is important. Entertainment can make the time pass, but it should not become the reason you train. I have found that the riders who improve the most indoors are the ones who treat the room like a tool, not a lounge. They show up with a session plan, they manage heat early, and they finish with enough energy left to do it again tomorrow. That discipline becomes even more obvious once you see where most setups go wrong.
Where most setups go wrong
The biggest mistakes are usually not expensive; they are annoying. A room can fail because of one weak fan, bad bike fit, a noisy trainer in an apartment, or too much gear crammed into too little space. Those problems are boring, but they matter because they create friction every time you ride.
- One underpowered fan leads to overheating, and overheating kills power fast.
- Poor bike fit becomes more obvious indoors because you sit in a static position longer.
- Too much clutter turns setup into a small project and makes the room feel unfinished.
- No sweat protection damages floors, hardware, and drivetrain components over time.
- Ignoring noise and vibration creates problems in apartments and shared homes.
- Chasing numbers every day can make indoor training mentally exhausting even in a great room.
The hardest truth is that a beautiful setup will not save a badly paced training block or a bike that does not fit well. Indoor riding is unforgiving in that way. It rewards structure, cooling, and repetition, and it punishes shortcuts very quickly. Once those limits are clear, the final question is what I would buy first if I were starting from zero.
What I would build first if I were starting from zero
- One high-output fan that actually moves air across your torso.
- A floor mat or rubber surface that handles sweat and vibration.
- A direct-drive trainer if the budget allows, because it changes the whole experience.
- A simple screen mount or stable tablet setup that does not force bad posture.
- Basic storage for bottles, towels, charger, shoes, and ride-day accessories.
If I had to compress the whole idea into one rule, it would be this: build for repeatability, not theater. The best indoor cycling space is the one that feels ready every time you enter it, keeps you cool when the intervals bite, and makes it easy to come back tomorrow. That is the real value of a dedicated room, and it is why a simple, well-planned setup usually beats a flashy one that becomes a chore.