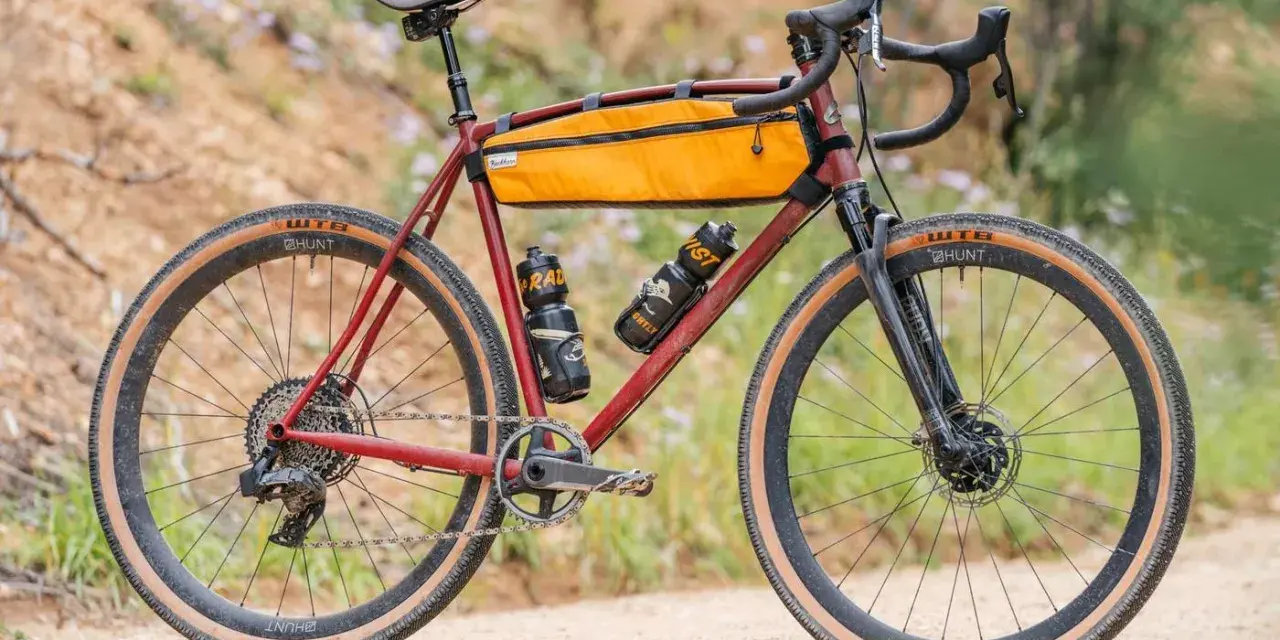
Gravel bikes sit in a narrow space between road speed and off-road control, so suspension is less about luxury and more about how much roughness the bike should absorb before your body does the work. Do gravel bikes have suspension? Yes, but not always in the traditional mountain-bike sense, and that difference matters if you ride washboard dirt, broken pavement, or long bikepacking routes. In the sections below, I break down the common suspension setups, where they help, what they cost, and which upgrades are worth paying for first.
The short version is that suspension is optional, not required
- Most gravel bikes are still built around a rigid frame and fork, with comfort coming from tire volume, tire pressure, and frame compliance.
- The most common upgrades are a suspension fork, a suspension seatpost, or a front-end compliance system that protects your hands.
- Full-suspension drop-bar gravel bikes exist now, but they are still the exception and they target rougher, more technical riding.
- If your routes are mostly smooth hardpack and light gravel, better tires and fit usually beat extra suspension.
- If you ride washboard, rocky descents, or long mixed-surface days, suspension can save energy and improve control.
What suspension on a gravel bike actually does
On a gravel bike, suspension has one job: keep the tires tracking the ground and keep your body fresher when the surface gets ugly. That can mean less hand fatigue, less saddle shock, better front-wheel grip on loose corners, and fewer small impacts that add up over a three-hour ride or a full day in the saddle. I usually start with the tires first, because a bigger casing and lower pressure can remove a surprising amount of sting before I add any hardware.
The important distinction is that not all comfort systems work the same way. Some move the wheel, some move the rider, and some only take the edge off high-frequency chatter. That is why a gravel bike with a compliant frame can still feel harsh on washboard, while a bike with modest suspension can feel calm even on the same road.
In other words, the real question is not whether a gravel bike can have suspension. The better question is which part of the ride needs help most, and how much complexity you are willing to accept in exchange for comfort.
The main suspension options and how they feel
Here is the simplest way I explain the category: the more rough and technical the route becomes, the more likely actual suspension is worth the weight and cost. The table below shows how the main options differ in feel, travel, and price.
| Option | What it changes | Typical travel | Best for | Trade-offs | Typical US price |
|---|---|---|---|---|---|
| Rigid gravel bike | Nothing moves | 0 mm | Speed, simplicity, light weight | Least isolation from rough terrain | Usually no extra cost, just the bike price |
| Suspension seatpost | Saddle and rider | 20 to 50 mm | Long days, bikepacking, rear-end comfort | Can feel a little vague if overdone | About $120 to $320 |
| Suspension fork | Front wheel and hands | 30 to 40 mm, sometimes more on aggressive gravel bikes | Washboard, rough descents, loose terrain | Adds weight and can change front-end geometry | About $900 to $1,000+ for the fork alone |
| Full-suspension gravel bike | Front and rear of the bike | About 55 to 60 mm front and 30 to 55 mm rear | Technical routes and heavily loaded adventure riding | Most expensive and most complex | Roughly $5,800 to $9,000+ complete |
If you only remember one thing from this table, remember this: suspension should solve the part of the ride that is actually breaking you down. If your hands are the problem, the front end matters. If your saddle area is the issue, a seatpost may be the cleaner fix. If both ends are getting hammered, a more serious suspension setup starts to make sense.
When suspension is worth paying for
I would seriously consider suspension when a gravel route stops behaving like “light dirt road” and starts feeling like “long, broken, repetitive impact.” That usually means washboard, embedded rocks, chunky forest roads, or descents where the front tire keeps skipping instead of biting. It also starts to make sense for multi-day bikepacking, because comfort lost in the first hour becomes fatigue in the fifth.
Good reasons to add it
- You ride rough gravel often enough that your hands or back are the limiting factor, not your fitness.
- You spend long hours seated and notice that small bumps turn into constant fatigue.
- You descend loose or rocky roads fast enough that front-wheel control matters.
- You carry bags and want the bike to stay composed when the surface gets choppy.
Read Also: Reverse Linear Periodization - Is It Right For Your Cycling?
When I would skip it
- Your rides are mostly smooth gravel, paved connectors, or hardpack farm roads.
- You care most about acceleration, low weight, and a snappy road-like feel.
- Your discomfort comes from fit, reach, or saddle choice rather than terrain.
- You only ride rough surfaces occasionally, so a simpler setup is easier to live with.
For a lot of riders, the sweet spot is not “more suspension,” it is “less unnecessary harshness.” That leads straight into setup choices that are cheaper and often more effective than buying a bigger fork.
What I would try before buying more travel
When a gravel bike feels too harsh, I try to fix the problem in order: fit first, tires second, pressure third, suspension parts last. That is not glamorous, but it saves money and usually gives a better result than jumping straight to a fork or rear shock.
- Get the fit right. If the reach is too long, the bars are too low, or the saddle is wrong, suspension will not solve the root problem.
- Use the widest tires your frame can handle. For many US gravel riders, 40 to 45 mm is a very practical comfort zone, and in many cases the jump from 38 to 45 mm matters more than a small suspension upgrade.
- Lower pressure carefully. A drop of 2 to 3 psi at a time is often enough to feel the difference. For many average-size riders on 40 to 45 mm tires, the sweet spot ends up somewhere in the high-20s to mid-30s psi, but rider weight, casing, and rim width matter a lot.
- Use inserts only if your terrain needs them. Tire inserts can help on sharp, rocky routes, but they add cost and setup complexity.
- Try a seatpost before a fork if the problem is saddle shock. A suspension seatpost is usually the cleanest first hardware upgrade for riders who want comfort without changing steering feel.
- Use cockpit compliance as a fine-tuning tool. A more forgiving stem, bar tape, or handlebar shape can reduce hand fatigue without making the bike feel soft.
I do not see these as competing fixes. I see them as layers. The trick is to stop at the first layer that actually solves the problem, instead of overbuilding the bike for terrain you barely ride.
How the category looks in real bikes right now
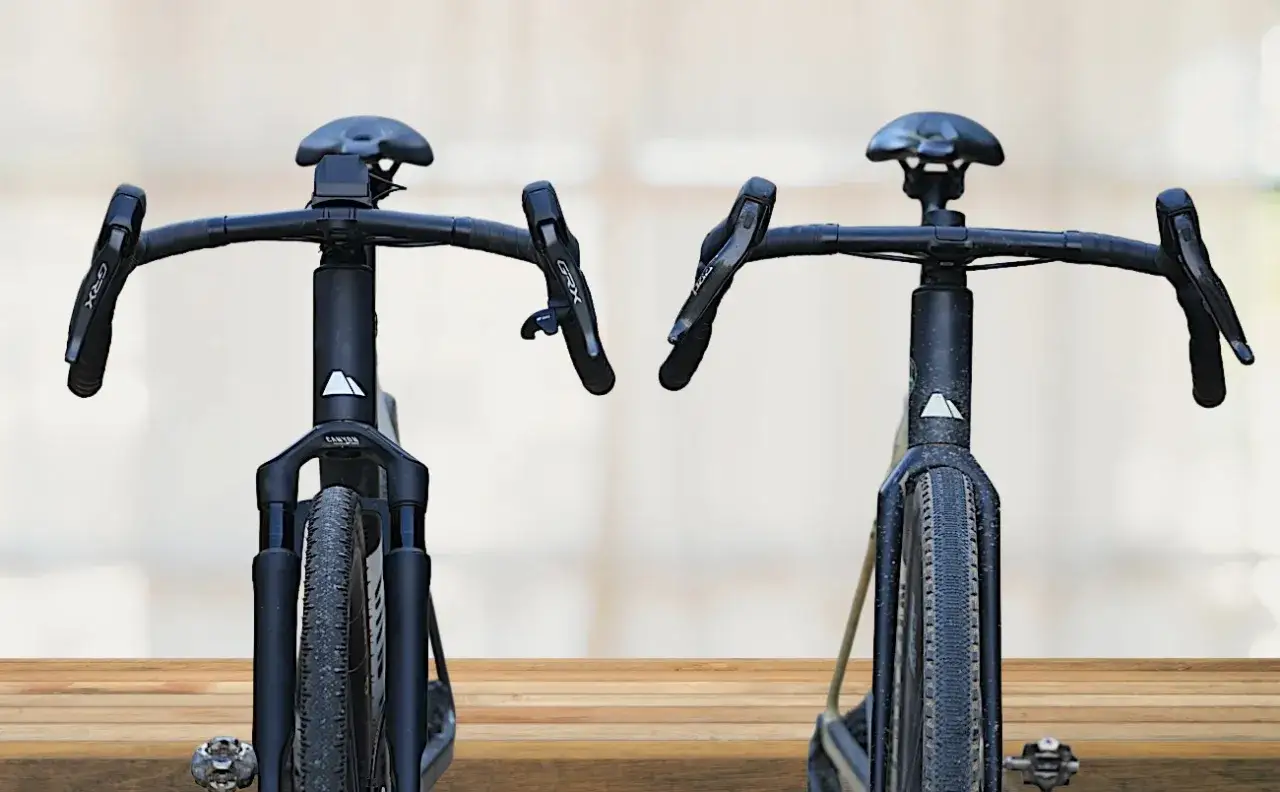
In the US market today, the spread is wider than it was a few years ago. Some gravel bikes are still very traditional, built around comfort, tire clearance, and smart frame design rather than moving parts. Specialized takes a different route with Future Shock, which gives the rider 20 mm of front-end travel without turning the bike into a mini mountain bike. Then there are newer outliers like Trek’s CheckOUT, a full-suspension drop-bar gravel bike with 60 mm of front travel and 55 mm at the rear for riders who want far more control on rough terrain.
That matters because it shows the category is no longer a binary choice between “rigid gravel bike” and “mountain bike.” In 2026, the real spectrum runs from subtle rider-comfort systems to bikes that are basically purpose-built for rough adventure riding. RockShox’s Rudy platform sits in the middle of that spectrum with 30 or 40 mm of travel on the current XPLR fork, which is enough to tame chatter without blowing up the handling of a drop-bar bike. Aftermarket suspension seatposts from brands like Cane Creek and Redshift occupy another useful middle ground, especially for riders who want comfort without reengineering the whole bike.
The practical takeaway is simple: the gravel category has matured enough that you can pick the amount of suspension you want, instead of accepting a one-size-fits-all setup.
The mistakes that make a setup feel disappointing
The biggest mistake I see is using suspension to fix a bike-fit problem. If the saddle is wrong, the bars are too low, or the reach is off, no amount of travel will make the bike feel right. The second mistake is buying too much suspension for the riding you actually do; extra motion is great on rough descents and annoying on smooth fire roads where a lighter, simpler bike feels faster.
- Overlooking compatibility. Suspension forks can change stack height, rake, and steering feel, so the frame has to be designed for them or at least tolerate the change.
- Chasing softness instead of control. Too little pressure or too much travel can make the bike wallow and waste energy.
- Ignoring maintenance. Moving parts need service, and a fork that feels amazing on day one can feel vague or sticky if it is neglected.
- Mixing suspension with max tire pressure. If the tires are rock hard, the suspension has to do work that the tires should have handled first.
- Picking the wrong priority. If your hands hurt, focus on cockpit comfort; if your saddle area hurts, focus on the rear of the bike.
The cleanest setups usually solve the problem at the cheapest layer first. Tires and fit come before seatposts, and seatposts usually come before forks unless the terrain is genuinely rough enough to justify the extra front-end complexity.
My rule for choosing the right amount of suspension
My rule is simple: choose the least suspension that fixes the actual problem. If the bike feels harsh because the tires are too narrow or the fit is off, solve that first. If the bike is already well set up and the surface still beats you up, step up one level at a time rather than jumping straight to a full-suspension build.
- Choose rigid if you ride smooth gravel, value speed, or want the lightest and simplest bike.
- Choose a suspension seatpost if saddle fatigue is the main issue and you want a low-risk comfort upgrade.
- Choose a suspension fork if your hands, steering control, or rough descents are the limiting factors.
- Choose full suspension if your routes are genuinely rough, technical, or loaded enough that control matters more than pure efficiency.
That approach keeps the bike fast when the road is friendly and gives you a real comfort gain when the road stops being friendly. For most riders, that is the sweet spot: enough suspension to preserve control, not so much that the gravel bike stops feeling like a gravel bike.