What matters most before you head to the trail
- XC riding rewards climbing efficiency, clean line choice, and steady pacing more than big suspension or park-style descending.
- A hardtail is enough for many routes; a short-travel full-suspension bike makes more sense when the terrain gets rougher.
- The biggest skill gains come from looking ahead, braking earlier, and shifting before the climb starts.
- Trail access in the U.S. can change fast, so weather, closures, and local rules matter as much as fitness.
- A simple kit of helmet, gloves, hydration, and a repair set covers most normal rides.
What cross-country riding really is
I think of XC riding as the endurance side of mountain biking. It still lives off-road, but it usually favors rolling singletrack, forest roads, and mixed terrain where climbing efficiency matters as much as downhill control. Singletrack is simply a narrow trail, usually wide enough for one rider at a time, and that narrower feel is a big part of the appeal.
The cleanest way to understand it is by comparing it with other common MTB styles.
| Style | How it feels | Best use case | What you give up |
|---|---|---|---|
| XC | Light, quick, efficient | Long climbs, rolling trails, endurance rides | Less forgiveness on rough descents |
| Trail | Balanced and playful | Mixed rides with more descending | Usually heavier than XC |
| Enduro | Stable and aggressive | Steeper, rougher descents and technical features | Slower on long climbs |
If most of your riding is fitness-focused, on flowing trails, or on long route days where you want to keep moving, XC makes a lot of sense. If your local terrain is mostly rocky, steep, or littered with bigger drops, a trail or enduro bike may simply be the better tool. Once you know the style, the next decision is whether the bike underneath you actually matches the terrain you plan to ride.
Choose a bike that matches the terrain you actually ride
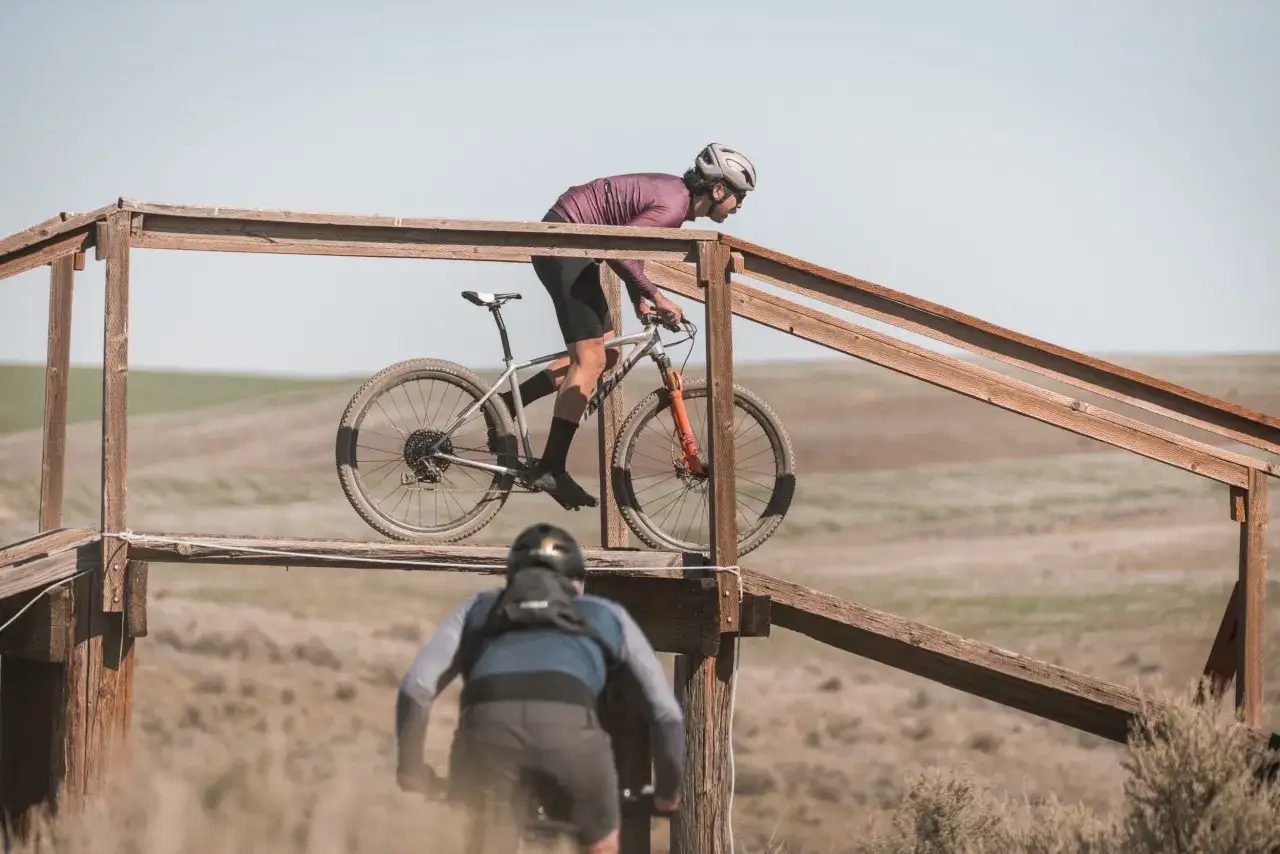
For pure efficiency, I still like a hardtail as the default XC bike. It climbs well, weighs less, costs less, and keeps maintenance simple. A hardtail has front suspension only; a full-suspension bike adds rear suspension, which makes it calmer and more forgiving when the trail gets rougher.That tradeoff matters. On smoother trails, a hardtail feels fast and direct. On rocky or root-heavy trails, a short-travel full-suspension bike gives you more comfort and control, especially when you are tired and your body position starts getting sloppy. I would not buy more suspension just because it sounds serious. I would buy it because the trail actually needs it.
A few setup trends are worth knowing:
- 1x drivetrains are the norm on modern XC bikes. A single front chainring keeps things lighter, quieter, and simpler.
- Dropper posts are not mandatory, but they are useful on mixed terrain because you can lower the saddle on descents and raise it for climbing. A dropper is a seatpost you adjust from the handlebar while riding.
- 29-inch wheels are common in XC because they roll efficiently over rough ground and help maintain momentum.
My rule is simple: buy the bike you can pedal for an hour without fighting it. That usually gets you closer to the ride you want than chasing the most aggressive spec sheet, and it leads naturally into fit and setup, where a lot of speed is quietly won or lost.
Dial in fit and setup before you chase speed
XC riders often obsess over weight, but fit usually matters more. If the bike is the wrong size or the cockpit is awkward, you will feel it on every climb and every descent. When I fit a rider, I start with the basics: saddle height, reach, bar position, tire pressure, and brake lever angle.
Here is the order I would use:
- Saddle height for climbing: set it so your leg still has a slight bend at the bottom of the pedal stroke.
- Saddle drop for descending: if your bike has a dropper, lower the seat enough to get your hips out of the way on steeper sections.
- Tire pressure: run it low enough for grip, but not so low that you ping rims on sharp rocks.
- Brake position: angle the levers so your wrists stay neutral when you are standing.
- Suspension sag: on a full-suspension bike, set sag before you start chasing clicker settings.
The big mistake I see is riders buying a bike and never touching the setup again. Even a good frame can feel vague or twitchy if the contact points are off. Once the bike fits, the next gains come from how you handle the trail itself.
The trail skills that matter most on mixed terrain
Cross-country trails punish lazy riding. They are usually not hard in one dramatic way; they are hard because the surface keeps changing. Rocks, roots, loose corners, short climbs, and awkward descents all ask for faster decisions, cleaner braking, and a calmer upper body.
Look ahead and pick a line
I tell riders to scan 15 to 20 feet ahead, not stare at the tire in front of them. You are not trying to predict every obstacle. You are trying to spot the smoothest path early enough to set up for it. Pick a line, then commit to it instead of zig-zagging at the last second.
Brake before the tricky part
Good braking is controlled, not dramatic. Use both brakes smoothly, brake before a turn or obstacle, and avoid the panic grab that locks a wheel or sends your weight too far forward. On descents, keep your hips back, bend your elbows and knees, and let the bike move beneath you.
Shift before the climb starts
The easiest way to waste energy on an XC ride is to attack a climb in the wrong gear. Shift before the steep section, not halfway up when the chain is under heavy load. If the gear feels wrong, use an easier one and spin with a higher cadence instead of mashing a hard gear and torching your legs.
Read Also: MTB Tire Pressure - The Ultimate Trail Setup Guide
Stay balanced when the trail tips up or down
On climbs, keep enough weight on the rear wheel for traction without slumping over the bars. On descents, lower your center of gravity, keep the pedals level, and stay loose in the hands. I like to think of it as heavy feet and light hands: stable where it helps, relaxed where it matters.
These are small habits, but they stack quickly. The more repeatable your technique becomes, the less the trail will drain you, which is exactly why fitness training matters so much in XC riding.
Train for the climbs, not just the mileage
XC fitness is a mix of aerobic endurance, short power bursts, and enough muscular control to stay composed when the trail gets messy. If you only train like a road rider, you will have the engine but not the off-road durability. If you only chase hard efforts, you will feel strong for 10 minutes and flat for the rest of the ride.
I like a simple weekly rhythm:
- One endurance ride of about 90 to 150 minutes at a conversational pace.
- One interval session of 30 to 60 minutes total, with short hard efforts and real recovery.
- One skills ride on familiar trails to practice braking, cadence, and line choice.
- Two short strength sessions focused on core, glutes, legs, and upper back.
If you want a useful intensity guide, use RPE, or rate of perceived exertion. That is just a 1-to-10 effort scale, and it keeps you from turning every ride into a max-effort day. For newer riders, I would keep most sessions around RPE 3-5 and save the harder efforts for one or two planned workouts a week.
Strength work does not need to be fancy. Squats, lunges, planks, dead bugs, and rows cover a lot of ground. The point is not bodybuilder strength; it is trail stability, better pedaling under fatigue, and enough upper-body endurance to stay in control late in a ride. With the engine built, the next issue is making sure you are riding legally and responsibly on the right trails.
Plan U.S. trail days like access can change
In the United States, trail access is a patchwork. Some systems are built for bikes, some are shared with hikers and horses, and some close quickly after rain or snowmelt. Before I drive anywhere, I check the local trail conditions, open status, and whether there are one-way or bike-only rules.
The other detail that helps a lot is trail signage. Many U.S. trail systems use the same basic difficulty markers: green circles for easier trails, blue squares for intermediate trails, and black diamonds for harder, more technical routes. I treat those signs as real guidance, not decoration.
My trail etiquette rules are pretty simple:
- Ride open trails only.
- Stay off muddy trails if they are soft enough to rut.
- Yield appropriately to hikers, horses, and other non-bike users unless signage says otherwise.
- Yield downhill riders to uphill riders when the trail is shared.
- Stay in control, especially around blind corners and trail intersections.
- Pack out what you bring in.
I also plan around weather more than most people expect. A trail that was perfect in the morning can become a liability after a storm, and a ride that starts as a fitness loop can turn into a very different outing if the route is remote or the forecast shifts. That is why a small but thoughtful kit matters so much when you are far from the trailhead.
The kit I would actually carry
For a normal XC ride, I pack light but not bare. The goal is to solve the most common problems on the trail without carrying half the garage on my back.
| Item | Why I carry it |
|---|---|
| Helmet | Non-negotiable protection. |
| Gloves | Better grip, fewer blisters, and warmer hands if the weather turns. |
| Hydration pack or bottle | Space for water, snacks, and an extra layer. |
| Spare tube or tubeless plug kit | Helps solve the most common flats. |
| Hand pump or CO2 inflator | Gets you rolling again after a repair. |
| Multitool with chain tool | Handles the adjustments that end rides early. |
| Light jacket or shell | Useful when mountain weather changes faster than expected. |
As a rough U.S. budget, I would expect a serious starter setup to land around $1,000-$2,500 once you add the bike, helmet, gloves, and a basic repair kit, while full-suspension builds can run much higher. That is one reason I like seeing newer riders invest first in fit, comfort, and time on trail before they chase premium suspension or expensive upgrades.
The habits that make XC rides better over time
- Ride the same loop a few times so you learn where to brake, shift, and relax.
- Keep a simple note on tire pressure, trail condition, and how hard the ride felt.
- Clean and lube the drivetrain regularly so shifting stays smooth under load.
- Use easier gears sooner than you think you need them.
- Choose the trail that matches the conditions, not the one that matches your ego.
If I had to reduce the whole sport to one idea, it would be this: XC riding rewards patience. Build control first, then fitness, then speed. That order keeps the rides fun, keeps the bike happier, and gives you the kind of efficient off-road speed that feels earned every time you roll back to the trailhead.