The essentials before you point the bike downhill
- The format rewards riders who can descend aggressively and still recover well enough to repeat that effort all day.
- A longer-travel trail bike can work, but rougher terrain usually calls for more suspension, stronger brakes, and tougher tires.
- Protection matters more here than in smoother styles of mountain biking, especially on steep and repeated descents.
- Suspension setup is personal, and small changes in sag, rebound, and tire pressure can change the ride a lot.
- The smartest first step is often to demo a bike, then spend money on fit, protection, and setup before chasing upgrades.
- Training works best when it mixes technical descending, repeatable efforts, and enough endurance to stay sharp late in the day.
What the discipline really asks of you
At its core, this is a mix of gravity and endurance. A race or ride day usually includes multiple timed descents, with untimed climbs or transfers between them, so you are never just a downhill rider and never just a climber. In the U.S., USA Cycling describes enduro as a format that links technical downhill trails with the flatter and uphill sections you would expect from a cross-country effort, and that is the right mental model for it.
I think of it as repeated downhill sprints separated by honest work. You need enough fitness to keep your heart rate under control on the way up, enough calm to pick clean lines when the trail gets rough, and enough pacing discipline to avoid blowing up on the first stage. A full event can run several stages over one or two days, which is why the best riders are usually efficient, not just fearless.
That is the key difference from simpler gravity riding: the descents are timed, but the day is won by riders who manage the whole package, not by the person who attacks every minute as if it were a one-run downhill race. Next, it helps to compare enduro with the other mountain bike formats people often confuse with it.
How it differs from trail, downhill, and cross-country
The labels blur more than people admit, especially in the United States where local terrain changes the meaning of a "trail" or "enduro" bike. I have seen routes that feel like stout trail rides in one region and like full enduro territory in another. The more useful question is not the label, but how steep, rough, and repeatable the terrain is.
| Format | What is timed | What the bike usually favors | Best fit |
|---|---|---|---|
| Trail riding | Nothing, usually. | Balanced handling, lighter weight, efficient climbing. | Mixed terrain, long local loops, all-day fun. |
| Enduro | Downhill stages only. | More suspension, stronger brakes, tougher tires, dropper post. | Steep, technical descents with climbs between them. |
| Downhill | One descent or one run at a time. | Maximum stability, long travel, race-focused suspension. | Bike parks, lift access, the steepest and roughest tracks. |
| Cross-country | Full course effort from start to finish. | Efficiency, light weight, quick acceleration. | Longer climbs, sustained pacing, less extreme descending. |
If you are deciding where you belong, I would use one simple test: do the descents on your local rides regularly feel demanding enough that you would want more travel, more brake, and more protection, while still needing to pedal back up? If yes, enduro makes sense. If not, a shorter-travel trail bike may actually be more enjoyable. That leads straight into the part that changes the experience the most, which is the bike itself.
The bike setup that matters before you chase speed
You do not need the most expensive frame in the shop, but you do need a bike that matches the terrain. Most modern enduro rigs live in the longer-travel full-suspension category, with roughly 150 to 180 mm of rear travel and a fork that is built to handle repeated hits. That extra range is there for control, not just comfort. On steep descents, it gives you more margin when the line gets ugly or the landing is imperfect.
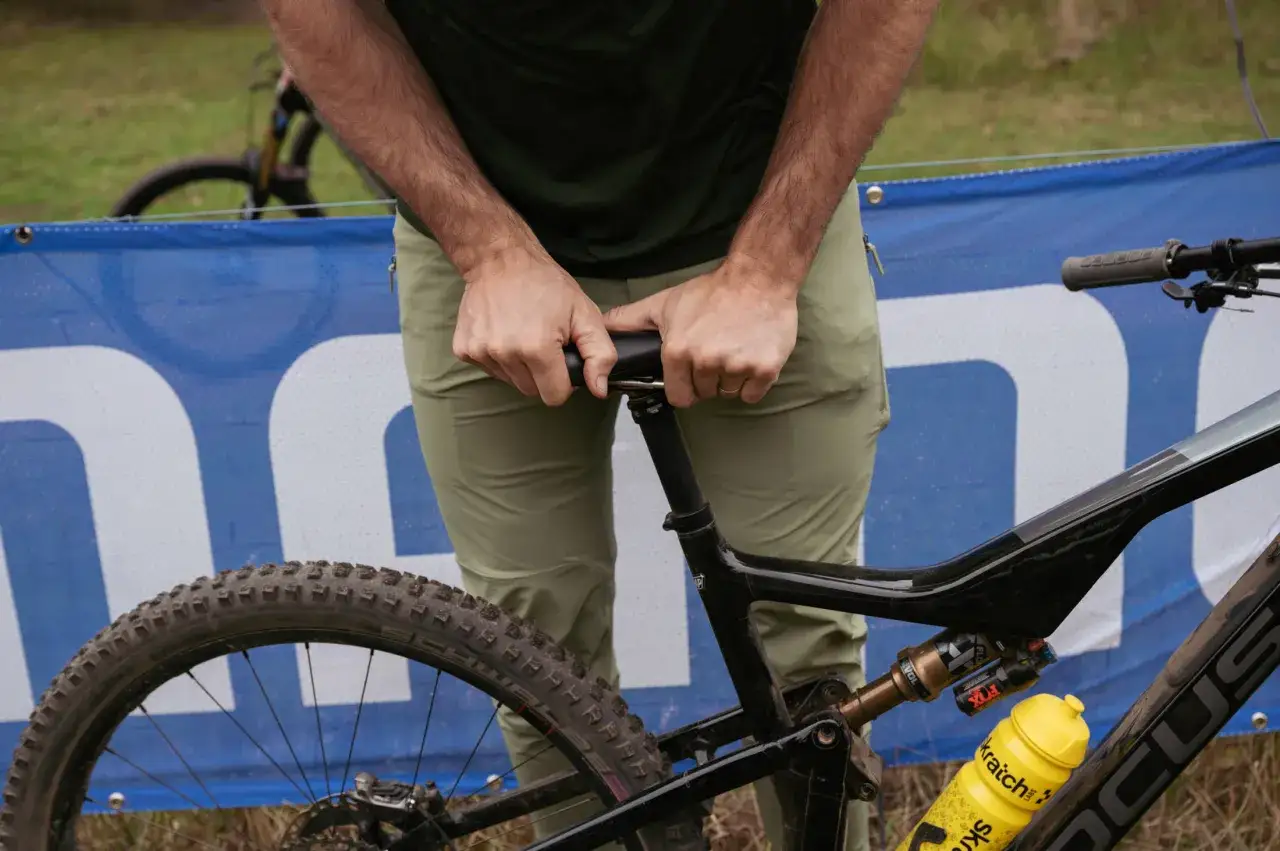
The biggest wins usually come from the boring parts. I would prioritize a dropper post, strong brakes, grippy tires with durable casing, and a suspension setup that is actually tuned for your weight and style. A dropper post lets you lower the saddle for descents and raise it for climbs. Strong brakes, often with larger rotors and four-piston calipers, matter because enduro lines punish hands fast if the setup is underpowered. Tires matter because a few saved grams are irrelevant if the sidewall folds in loose rock.
Suspension setup is personal. Sag is the amount the suspension compresses under your body weight at rest, and rebound is how quickly it returns after a hit. Those two settings, plus tire pressure, can change a bike from vague and bouncy to planted and predictable. I would rather see a rider on a mid-priced bike with a clean setup than on a flashy build that was never tuned properly. Once the bike is sorted, the next question is what you should wear and carry so the ride stays fast and safe.
Protection and carry kit I would not skip
Enduro places more value on protection than most riders expect at first. I treat the kit as part of the bike, not an afterthought. If the terrain is steep, rocky, or full of repeated speed checks, I want gear that lets me commit without second-guessing every line choice.
| Item | Why it earns a place | Rough US retail range |
|---|---|---|
| Full-face helmet | Better coverage for repeated high-speed descents, bike parks, and racing. | $200-$500 |
| Knee pads | Cheap insurance against the most common impacts and pedal strikes. | $60-$150 |
| Gloves | Grip, abrasion protection, and less hand fatigue on long descents. | $25-$60 |
| Sturdy mountain bike shoes | More support and better bike control than soft casual shoes. | $100-$200 |
| Hydration pack | Water, tools, food, and room for layers on longer rides. | $80-$180 |
| Tubeless repair kit or spare tube | Lets you finish the ride after a cut or puncture. | $25-$80 |
For shoes, I usually look for a reinforced toe box, a secure closure, and enough sole stiffness to keep the pedal feel precise. For clothing, longer sleeves and tougher fabrics are useful because rocks, branches, and shoulder-width mistakes all happen fast. If you only ride mellow local trails, you can get away with lighter kit, but once the terrain gets serious, protection stops being optional and starts being part of your performance. With the kit sorted, training becomes the final lever that really changes your speed.
Training that translates to faster stages
The trap many riders fall into is thinking that more miles automatically make them better at enduro. They help, but not enough on their own. What matters is the ability to repeat hard efforts, stay technically calm when tired, and recover between descents. I would build training around three things: descending skill, repeatable power, and basic strength.
Fitness that helps on repeat descents
A solid weekly structure is one interval session, one technical ride, and one longer endurance ride. The interval day does not need to be fancy. Four to six repeats of three to five minutes hard, with equal recovery, is enough to build the kind of punch that helps on climbs and accelerations. A longer steady ride keeps your engine from fading late in the day. If you only have two rides, make one of them a skills day on rough ground, because the ability to stay relaxed under pressure is worth more than a few extra aerobic minutes.
Read Also: Downhill vs Enduro Bike - Which Is Right For Your Trails?
Skills that save the most time
- Brake before the corner, not in it. That keeps the bike settled when you need traction most.
- Look farther ahead than feels natural. Your body follows your eyes, and late vision causes late decisions.
- Practice corner exits. The fastest riders usually gain time by accelerating out of turns, not by overcooking entry speed.
- Learn to pump terrain. Rolling through dips and compressions efficiently saves energy on every stage.
- Ride tired on purpose sometimes. A descent at the end of a hard climb teaches you more than a fresh practice lap.
Strength work helps too, especially for hips, core, glutes, and upper back. Two short sessions a week are enough for most recreational riders, and the point is stability rather than bodybuilding. If your body stays quiet, the bike feels calmer. That brings us to the practical question most people face first: how to choose a setup that fits the riding you actually do.
How to start smart if you are choosing your first setup
I would start with terrain, not with brand loyalty. If your local trails are steep, rocky, and full of repeated descents, a dedicated enduro bike can make sense. If your climbs are long and the descents are short or moderate, a strong trail bike may be more fun because you will spend more of the ride pedaling, not just pointing downhill. That distinction matters more than most marketing departments admit.
Before buying, I would demo at least two bikes with different suspension feel. Ride the same trail twice if you can, once on something more trail-oriented and once on something more enduro-specific. Pay attention to three things: how efficient the bike feels on the climb, how composed it is when the trail gets rough, and whether you can move the bike freely in corners. If one of those feels off, the bike will eventually feel tiring, even if it looks ideal on paper.
- If you mostly ride bike parks and steep, repeated descents, lean toward more travel and stronger brakes.
- If your rides mix long climbs with technical descents, favor a lighter, more efficient all-rounder.
- If you are new to aggressive descending, spend money on pads, helmet, shoes, and suspension setup before chasing premium carbon parts.
- If you ride only a few weekends a month, rental and demo options often make more sense than a big purchase right away.
For a lot of riders, the best purchase is not a more extreme frame. It is the bike that fits the terrain, the protection that keeps you confident, and the setup that lets you brake, corner, and recover without fighting the machine. That is why the first season matters so much.
What a smart first season looks like
If I were building a first season around this discipline, I would keep it simple: learn one home trail deeply, keep notes on setup changes, and enter one local event or timed day just to see how repeated descents feel under pressure. You do not need a perfect bike list to get started. You need a repeatable routine, a little patience, and the discipline to change only one thing at a time when you tune the bike.
For most riders, enduro mountain biking becomes rewarding when speed is the result of good decisions, not just bigger travel. Start with fit, protection, and suspension tuning, then build the fitness to repeat descents without fading. If you do that, the bike will feel faster long before the parts list does.