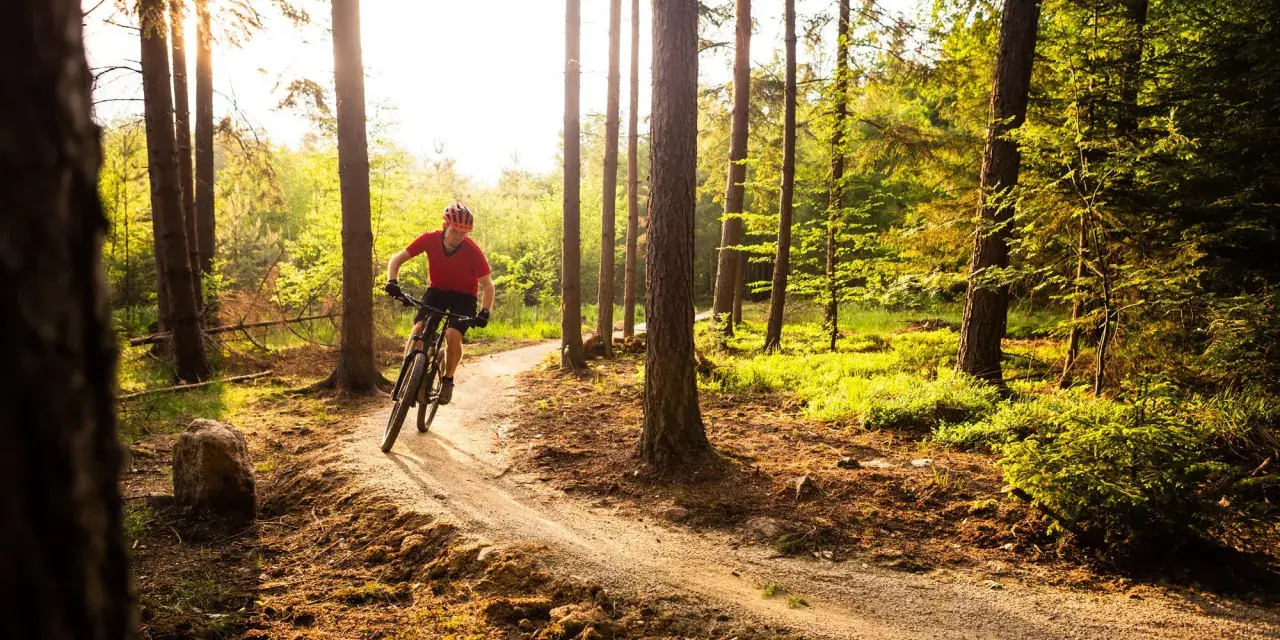
Starting on dirt is easier when you make a few smart decisions early: choose the right bike for the trails you actually have, set it up properly, and learn the basics before you worry about speed. For mountain biking for beginners, that usually means a hardtail, a CPSC-certified helmet, easy trails, and a little patience while your balance, braking, and line choice catch up.
The essentials that matter before your first trail ride
- A hardtail is the smartest first bike for most riders unless the local terrain is rocky, rooty, or steep enough to justify full suspension.
- In the U.S., a realistic starter budget is often about $800 to $1,500 for a good hardtail and around $2,000 or more for a capable full-suspension bike.
- Your first non-negotiables are a helmet, gloves, eye protection, hydration, and pedals that give you confidence on and off the bike.
- Begin on green, flowy trails or skills areas, not the hardest descent on the map.
- The fastest skill gains come from body position, braking control, and looking ahead, not from buying expensive parts.
Choose a bike that matches your trails, not your ego
The first bike decision is simpler than the market makes it look. I usually tell new riders to start by answering one question: what kind of dirt are you actually going to ride most often? If your local riding is mostly smooth singletrack, hardpack, and rolling terrain, a hardtail gives you a lighter bike, lower maintenance, and a cleaner learning curve. If your local trails are full of rocks, roots, and repeated drops, full suspension may be worth the extra money.
| Bike type | Best for | Main advantage | Main tradeoff | Typical starter budget in the U.S. |
|---|---|---|---|---|
| Hardtail | Most beginners, smoother trails, skill-building | Cheaper, lighter, easier to maintain | Less forgiving on rough descents | $800-$1,500 |
| Full suspension | Rocky or technical trails, riders who want more comfort | More traction and control on rough ground | Costs more and needs more upkeep | About $2,000+ |
| Rigid | Specialty use and very simple setups | Lowest complexity | Too harsh for most new trail riders | Varies widely |
Wheel size matters less than most first-time buyers think. A 29-inch wheel rolls over roots and loose rocks more easily, while 27.5-inch wheels can feel a little quicker and more playful. I would not let that choice dominate the decision. Fit, geometry, and trail type matter more than the number printed on the sidewall. Once the frame choice is settled, the gear question gets much easier.
Buy safety and control first, then the extras
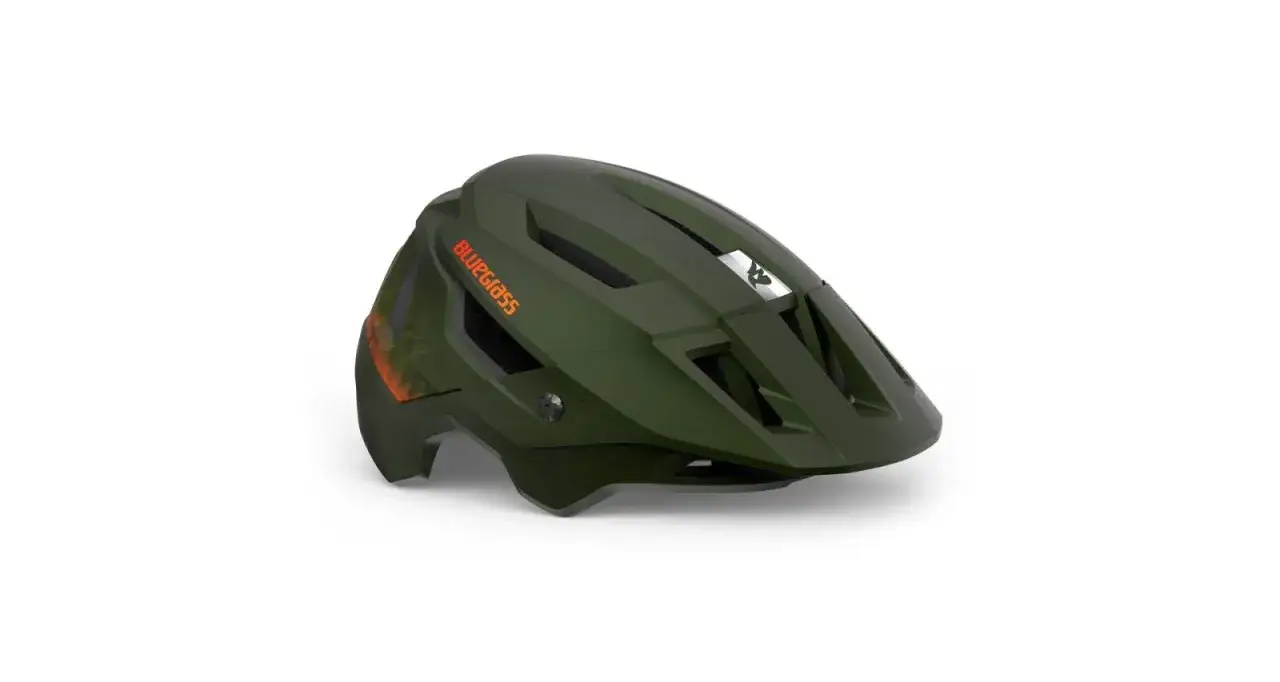
There are a few pieces of gear I would buy on day one and a few I would happily postpone. The baseline is simple: a helmet with a U.S. CPSC certification label, gloves for grip and crash protection, and eye protection for dust, branches, and glare. After that, shoes and pedals make a bigger difference than many beginners expect because they affect how stable you feel when the trail gets loose or awkward.
| Item | Why it matters | Buy now or later |
|---|---|---|
| Helmet | Non-negotiable protection; fit matters as much as certification | Buy now |
| Flat pedals | Let you put a foot down quickly and learn body position without commitment | Buy now |
| Grippy shoes | Improve pedal contact and confidence on rough sections | Buy now |
| Gloves and glasses | Reduce fatigue, protect your hands, and keep debris out of your eyes | Buy now |
| Hydration pack or bottle | Small rides still feel better when you are not underfueled or dehydrated | Buy now |
| Clipless pedals | Improve bike connection, but add a learning curve because your shoes lock into the pedals | Later |
| Knee pads | Useful once you start riding more technical terrain or faster descents | Later, unless your trails are rough |
I am conservative about clipless pedals for new riders. They are great once your habits are stable, but flat pedals usually make the first season easier because you can step off instantly, adjust your stance more freely, and learn how the bike moves under you. After the setup is dialed in, the next win is choosing trails that let you practice without getting overwhelmed.
Pick beginner trails that reward repetition
The best first rides are not the most dramatic ones. They are the trails that let you repeat the same movements long enough for them to become automatic. In the U.S., that usually means green-rated routes, mellow blue trails with smooth surfaces, pump tracks, and skills areas. Repetition matters because each pass helps you learn where to brake, when to coast, and how much speed you can carry without losing control.
I also tell beginners to read the trail like a route planner, not like a dare. Check the direction of travel, climb and descent grades, surface type, and whether the trail is likely to stay dry. If the ground is soft enough to rut, skip it. The IMBA rules of the trail still cover the practical basics well: ride open trails, stay on designated paths, yield appropriately, and leave no trace. One more important limit is access itself: bicycles are not allowed in federal Wilderness areas, so the map matters before you pedal out.
For the first few outings, I prefer shorter sessions of 30 to 60 minutes over all-day efforts. That keeps fatigue from turning into bad technique. Once the trail choice is right, the next leap comes from how you move on the bike.
Learn the few techniques that carry every ride
You do not need to master jumps or rear-wheel lifts to enjoy mountain biking. You need a small set of basics that keep the bike stable and predictable. The most useful one is the attack position, which simply means standing balanced with bent elbows and knees, weight centered, and pedals level. That stance keeps the bike underneath you instead of ahead of you.
- Brake before the turn, not in the middle of it. Hard braking while leaned over steals traction fast.
- Look through the trail, not at the obstacle. Your bike usually goes where your eyes stay.
- Shift early before climbs. Waiting until the slope gets steep often means a clunky, stalled shift.
- Keep your heels slightly down on descents. It helps you stay balanced when the terrain changes quickly.
- Ride light over rough ground. Let the bike move underneath you instead of locking your body stiff.
If I had to pick just two things for a beginner to practice, I would choose braking modulation and cornering. Those two skills influence nearly every trail section, and they improve fast when you repeat the same trail a few times. Once those basics start feeling normal, the real beginner mistakes become easier to spot.
Avoid the habits that make learning harder
Most frustration comes from a handful of predictable mistakes, not from lack of talent. The first is riding trails that are too hard too early. That creates fatigue, panic, and sloppy braking, which is a bad mix. The second is buying too much bike too soon. A beginner on the wrong full-suspension setup often learns less than a beginner on a sensible hardtail with a proper fit.
| Common mistake | What it causes | Better move |
|---|---|---|
| Clenching the bars too hard | Poor steering feel and quick hand fatigue | Soften your grip and let the bike move |
| Using too much front brake in corners | Losing traction at the front wheel | Slow before the turn and stay smooth through it |
| Sitting too much on rough sections | The bike gets deflected by roots and rocks | Stand in a balanced attack position |
| Ignoring saddle height and reach | Knee pain, poor pedaling, and awkward handling | Ask a shop to check fit and basic setup |
| Running tire pressure too high | Less grip and a harsher ride | Adjust gradually until traction improves without rim strikes |
Tire pressure is one of the cheapest performance fixes on a mountain bike, and beginners often overlook it. If the bike feels skittish, too hard, or unwilling to track over small roots, the tires may be part of the problem. From here, a simple first-month plan keeps the learning curve honest and manageable.
Use a simple first-month plan
I like a plan that is boring in the best possible way. Repeating the same basics with a little progression beats random rides that are too hard, too long, or too technical. Aim for two rides a week if your schedule allows it, even if they are short. Consistency builds control faster than occasional hero rides.
- Week 1: Practice starts, stops, braking feel, and slow turns in a parking lot or open gravel area.
- Week 2: Ride the easiest trail you can find twice. Focus on body position and looking ahead.
- Week 3: Add a little climbing and a few gentle corners. Shift earlier than feels necessary.
- Week 4: Repeat the same trail again, then try a slightly rougher route only if the first one feels controlled.
That kind of progression gives you a clean read on what is improving and what still feels unstable. It also prevents the common trap of buying more gear to solve a skills problem. Once the ride itself starts making sense, then upgrades become a smarter conversation.
The upgrades that actually pay off after the first rides
After a handful of rides, I would spend money in the order that changes the ride feel the most. Tires are often the first worthwhile upgrade because tread and rubber compound affect grip immediately. Pedals and shoes are next if you started with generic flats. A dropper post becomes valuable once you spend more time on steeper trails because it lets you lower the saddle on descents and raise it for climbing without stopping.
- Tires: Better grip and more confidence on loose or wet surfaces.
- Pedals and shoes: Better control at the bike’s main contact point.
- Dropper post: One of the biggest comfort and control upgrades for trail riding.
- Professional fit: Fixes reach, saddle position, and handlebar setup before discomfort becomes a habit.
- Suspension setup: If you buy full suspension, sag and rebound settings matter more than brand names.
If you stay patient through the first month, the sport opens up fast. The smart path is usually the least flashy one: buy the bike that matches your trails, protect your head, ride easy terrain often, and upgrade only after your actual needs are clear. That combination gives you a better start than chasing the perfect setup on day one, and it keeps the learning curve enjoyable instead of expensive.