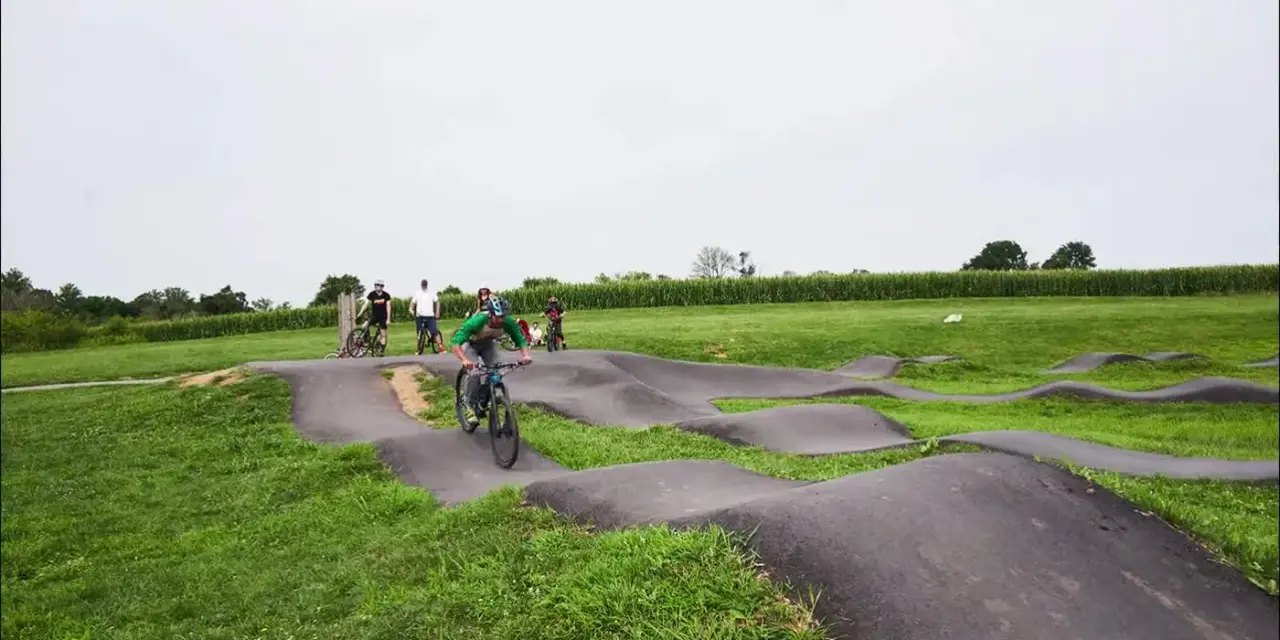
A pump track is one of the fastest ways to improve mountain-bike control because it forces you to manage speed with body movement instead of just pedaling harder. In this guide I explain what the rollers and berms teach, how to ride the feature efficiently, how to set up your bike, and how to turn a short session into trail speed that actually transfers.
Key takeaways for riders who want faster, cleaner bike handling
- The loop rewards timing, balance, and pressure control far more than raw power.
- Mountain bikers use it to practice cornering, pumping, and line choice in a compact space.
- Short, focused sets beat endless laps when your goal is skill development.
- Most mountain bikes can work well, but a supportive setup makes the session feel smoother.
- The best progress comes from fixing one mistake at a time, not trying to ride fast on every lap.
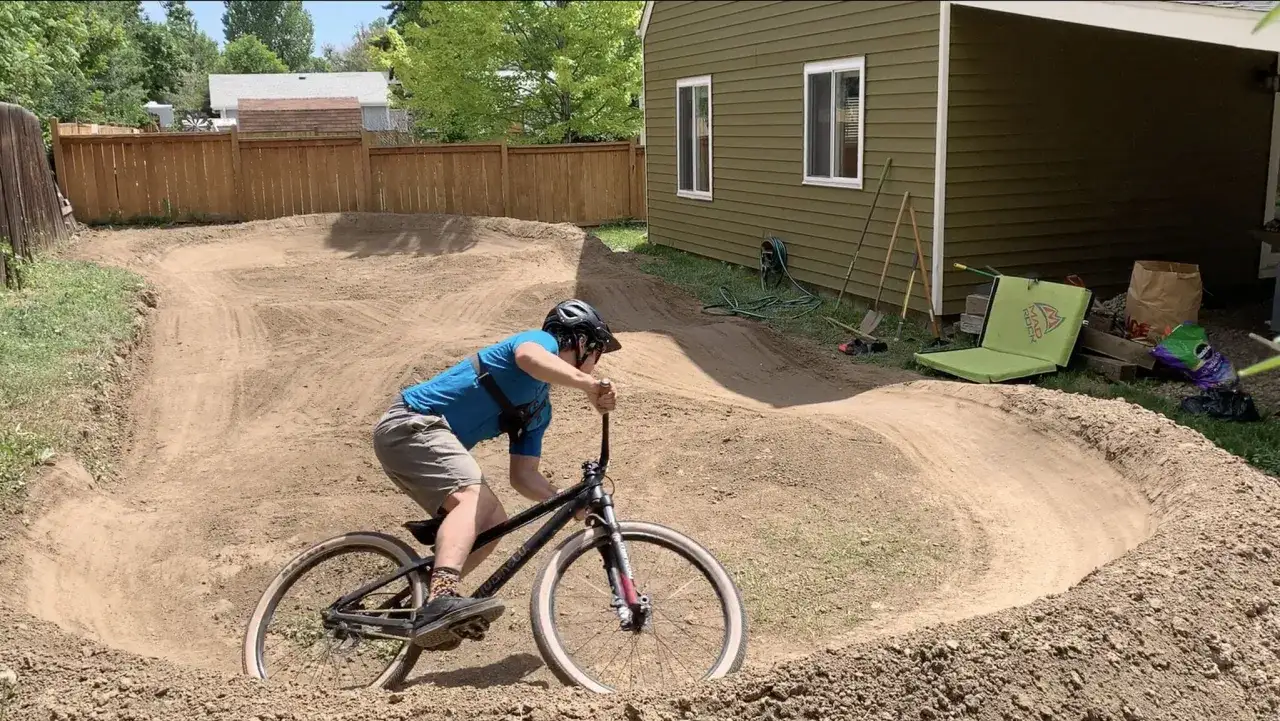
What the rollers and berms actually teach
The whole point of this riding loop is that it compresses several trail skills into a very small course. You learn when to push, when to stay light, and how to keep speed alive through a corner without wasting energy.
I think of it as a feedback machine. If you are late with your body movement, the bike stalls. If you lean but do not load the tires, the corner feels dead. If you pedal through every rise, you miss the rhythm the course is built to teach.
The main features matter in different ways:
| Feature | What it teaches | Common beginner mistake |
|---|---|---|
| Rollers | Timing, weight transfer, and momentum | Pushing too early or standing rigid |
| Berms | Corner speed and tire loading | Leaning the bike without pressing into the turn |
| Rhythm sections | Flow and line choice | Pedaling at random instead of linking movements |
| Transitions | Body control over changing terrain | Looking down instead of scanning ahead |
Once those pieces start to connect, the same habits show up on real trails, especially on flow trails, bike-park berms, and small takeoffs where momentum matters. That rhythm is the bridge to the next step: riding the loop with intent instead of just surviving it.
How to ride with speed instead of brute force
My rule is simple: the bike should move beneath you while your upper body stays calm. You are not trying to bounce on the feature; you are trying to load the bike, then let it rebound underneath you at the right moment.
- Start in an athletic position with elbows and knees soft, chest open, and eyes looking two features ahead.
- Press into the backside of a roller, not the top of it. That is where the ground gives you something back.
- Let the bike rise toward you over the crest. If you stay stiff, you cancel the rebound and lose speed.
- Carry pressure through the berm with the outside foot weighted and the inside hand relaxed.
- Brake before the feature if you need to; braking in the middle of the rhythm usually kills flow.
The technical term riders use is compression, which simply means loading the bike so the tires and suspension can store and return energy. Once that starts to feel natural, you stop forcing every lap and start linking features smoothly. The next question is whether your bike helps that movement or makes it harder.
Which bike setup feels best on a skills loop
Any mountain bike can be ridden well here, but some setups teach cleaner habits than others. I look at three things first: feedback, traction, and how much the bike masks my mistakes.
| Bike type | Best for | Main tradeoff |
|---|---|---|
| Hardtail | Sharp feedback, clean technique, affordable practice | Less forgiving if your timing is sloppy |
| Trail bike | All-around use, easy crossover to local trails | Heavier and a little slower to change direction |
| Full-suspension bike | Comfort, traction, and confidence at higher speed | Can hide bad movement if the suspension is too soft |
| Dirt-jump or BMX-style bike | Pure rhythm work and quick handling | Less representative of a typical trail bike |
I usually recommend a bike with grippy tires, firm suspension settings, and a cockpit that lets you move without feeling cramped. A slightly firmer setup is often better than a plush one because it gives clearer feedback when you are late or overcooking the corner. The goal is not comfort first; the goal is learning.
If I am traveling with one bike in the United States, a versatile trail setup is the safest choice because it lets me use the same machine on the loop, then head straight to singletrack afterward. That makes the session more realistic and more useful. Even with a good setup, though, a few habits can erase the benefit, which is where most riders get stuck.
The mistakes that slow riders down
Most riders do not lose speed because they are weak. They lose it because their timing, posture, or braking habits interrupt the rhythm the course is trying to teach.
- Pedaling at the wrong moment - if you stomp through every rise, you never learn how to build momentum with body movement.
- Standing too tall - locked arms and straight legs make the bike feel nervous and reduce traction.
- Looking down - your eyes should be on the next exit, not the front tire.
- Braking in the middle of a feature - this is the fastest way to kill flow and make the bike pitch awkwardly.
- Leaning the bike without pressure - a berm works best when the tires are loaded, not just tilted.
- Trying to go fast before learning the line - speed is the result, not the starting point.
When I see a rider plateau on this kind of course, it is usually one of those six problems. Fixing even one of them can make the next ten laps feel dramatically easier, which is why this kind of riding area is such a useful training tool rather than just a fun detour. That is also why I keep sessions short and specific instead of random.
How to turn short sessions into real trail speed
You do not need a marathon workout to get something useful from the session. I get better results from 20 to 30 focused minutes than from an hour of unfocused laps, and that pattern holds up for most riders I coach or ride with.
- Warm up with 3 to 5 easy laps and focus only on posture.
- Do 3 sets of 4 to 6 laps, with 60 to 90 seconds of rest between sets.
- Give each set one job: smoother pumping, better corner pressure, or cleaner exits.
- End with 2 to 3 fast but controlled laps so you leave with good form, not just fatigue.
The transfer happens when you keep the drill specific. For example, if you practice pressing the bike into the backside of a roller, that same movement helps on a trail dip, a small lip, or a pumpy section of singletrack. If you practice looking through the corner, that habit carries straight into bermed turns and flat turns on dirt. Once the session is structured, the next variable is the place itself.
What I check before I bring a bike to a public skills park
When I am riding in a new city or planning a travel day around cycling, I want a place that is easy to use without being chaotic. The best public facilities feel welcoming to beginners but still have enough rhythm to challenge stronger riders.
- Surface type - dirt, asphalt, or a mixed layout changes grip, speed, and maintenance.
- Progression - a good park usually has features for newer riders and a line that still feels interesting for experienced ones.
- Traffic - if the loop is crowded with kids or first-timers, I slow my pace and choose cleaner, less aggressive laps.
- Nearby support - parking, shade, water, bike tools, and a wash station make a big difference on hot American summer days.
- Local trail access - the best stops let you move from practice laps to real riding without loading the car again.
If a park has all of that, I treat it as more than a warm-up spot. It becomes a reliable place to tune body position, test tire pressure, and sharpen trail habits before a bigger ride.
The smartest way to leave with better habits
The best riders I know use this kind of course with a purpose: they arrive with one skill to work on, they keep the session short enough to stay sharp, and they stop before sloppiness turns into bad habits. That approach matters more than any single drill.
If you want the biggest return, focus on one of three goals each time you go: smoother pumping, cleaner corner speed, or less braking. Once those start to feel automatic, your trail riding changes in a way you can feel on the very next climb or descent.
For mountain bikers in the United States, that makes this loop a practical training stop, a family-friendly riding option, and a low-risk place to build confidence before harder terrain.