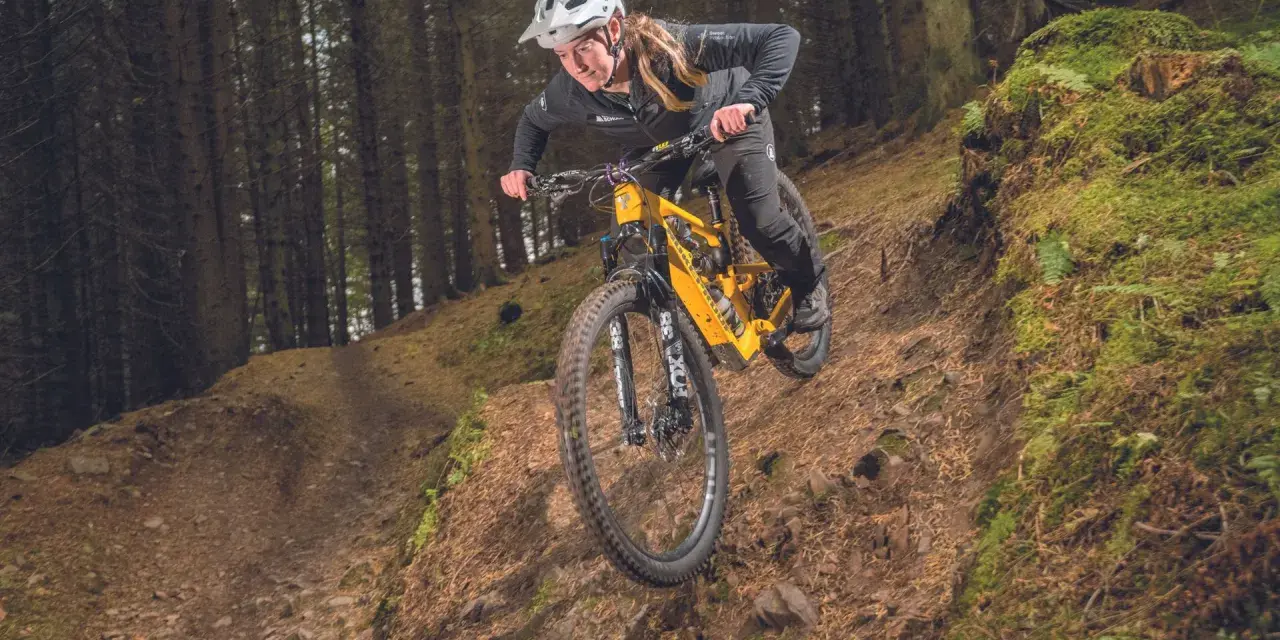
Steep downhill MTB trails reward preparation more than bravado. The rider who understands trail shape, bike setup, and braking discipline usually has more speed and less stress than the rider who just points the front wheel downhill. In this guide, I’ll break down how these trails are built, how to read their difficulty, what gear matters most, and how to progress without turning every run into a survival exercise.
Here is the practical playbook for riding steep descents with more control
- Downhill lines are designed to manage speed, drainage, and one-way flow, not to feel like ordinary singletrack.
- Trail ratings help, but surface grip, exposure, and feature spacing tell you more than the color alone.
- A stable bike, strong brakes, and the right tires make a bigger difference than shaving a few pounds.
- Full-face protection, knee pads, and eye protection are standard on harder gravity trails for a reason.
- Progress comes from repeated, clean runs on familiar features, not from guessing on a route that is far above your level.
What makes a downhill trail different from an ordinary mountain bike route
A true downhill line is built around gravity. That sounds obvious, but it changes almost everything: the trail usually runs one way, the corners are shaped to hold speed, and the surface is designed to shed water and survive repeated braking. Instead of asking you to keep a steady climbing rhythm, the trail asks you to make fast decisions, manage traction, and stay calm when the terrain gets rough.
I think that distinction matters because not every steep trail is actually a downhill trail. Some are just steep, loose, and unpleasant. Good downhill design gives you control points such as berms, rollers, small compressions, and alternate lines through rocks or roots. That is what keeps the run rideable instead of chaotic. A bike-park descent can still be demanding, but it should feel intentional, not random.
In practice, the best gravity trails do three things well. They give you a readable fall line, they offer enough traction to brake and corner without panic, and they leave room for progression. That is why experienced riders can enjoy the same trail for very different reasons: one person is learning to survive the steepest section, while another is cleaning the line with more speed and less effort. Once you understand that design logic, the next step is reading the difficulty rating before you commit.
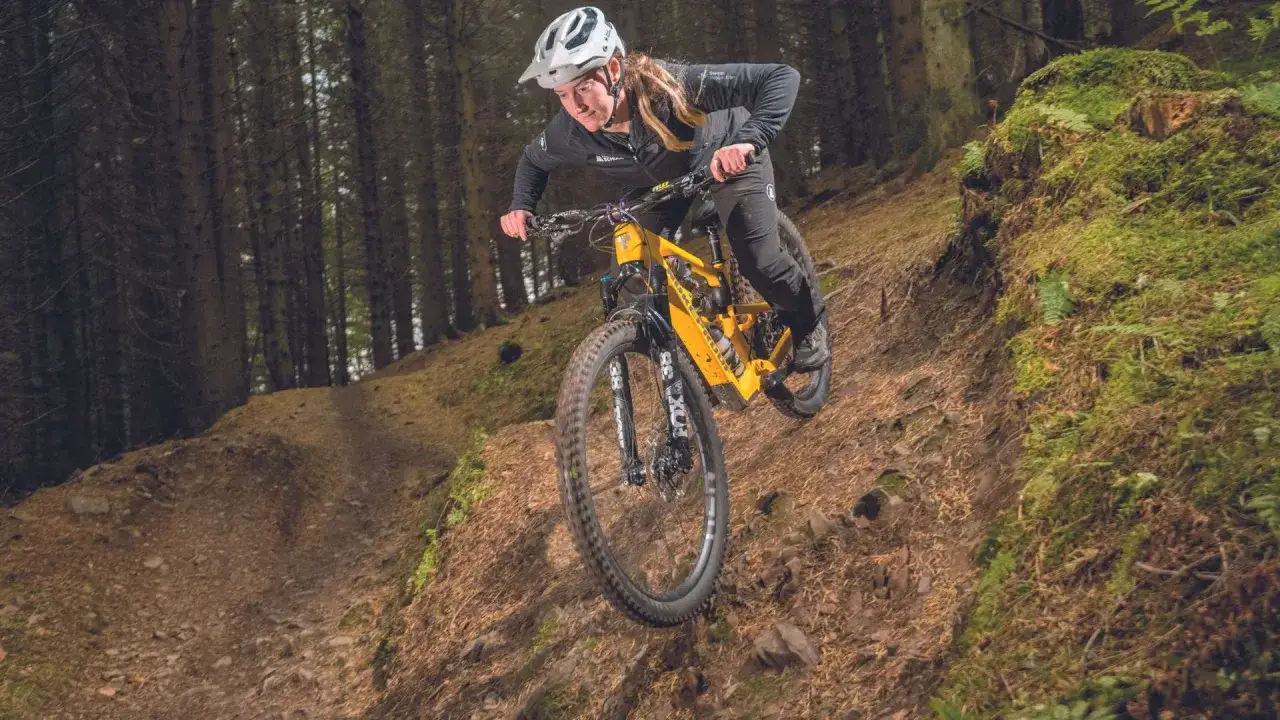
How to read downhill MTB trails before you drop in
In the U.S., many resort and trail-park systems use color or diamond ratings that work similarly to IMBA-style difficulty categories. I treat the sign at the trailhead as a starting point, not a guarantee, because two black trails can feel very different depending on exposure, braking bumps, and how many blind features they hide. The rating tells you the general level; the surface tells you the truth.
| Rating | What it usually means | Who it suits |
|---|---|---|
| Green | Wide, predictable, moderate pitch, few surprises | New gravity riders and anyone warming up |
| Blue | Steeper turns, tighter corners, more technical features | Confident intermediate riders |
| Black | Sustained steep sections, rock features, drops, or exposure | Advanced riders with strong line choice and braking control |
| Double black | Highly committing terrain with limited margins for error | Experts who already handle difficult descents smoothly |
The labels are useful, but the trail preview matters just as much. Before I drop in, I check for wet roots, loose rock, braking bumps, and whether the first corner is blind. I also look for escape options, because a trail with no easy bailout is very different from one where you can stop, reset, and reassess. On a long descent, that small bit of judgment often saves the day. Once you know how to read the trail, you can make the bike work with you instead of against you.
The bike setup that gives you control on steep ground
The right bike setup does not make a rider skilled, but it does make steep ground feel far less sketchy. For pure gravity riding, a downhill bike with roughly 180 to 220 mm of travel is still the calmest tool on repeated rough descents. For mixed days where you have to pedal back up or link descents with trails, an aggressive enduro bike with about 140 to 170 mm of travel can be the smarter compromise. The best choice depends on how much climbing you need to do and how hard the descent actually is.
| Setup item | What I look for | Why it matters |
|---|---|---|
| Suspension | Enough travel and support to stay composed in rough terrain | Helps the bike keep traction instead of bucking downhill |
| Brakes | Strong four-piston brakes with larger rotors, often around 200 mm up front | Improves stopping power and heat management on long descents |
| Tires | 2.4 to 2.6 inch width, aggressive tread, tough casing, tubeless setup | Reduces punctures and gives better grip on loose, steep surfaces |
| Cockpit | Stable bar width, sensible stem length, brake levers set for one-finger control | Makes the bike easier to hold steady when the trail gets rough |
| Suspension tune | Supportive enough to avoid wallowing, plush enough to keep traction | Balances comfort, grip, and control |
If I had to pick the one setup mistake that causes the most regret, it would be underestimating brakes and tires. Steep descents punish both. Fresh pads, solid rotors, and a tire casing that can survive rock strikes are worth more than a tiny weight savings. From there, the real advantage comes from riding technique, because even a very good bike will feel nervous if the rider is tense and late on the brakes.
The technique that keeps speed under control
Brake early, then release
One of the first things I tell riders is simple: do your hard braking before the corner, not inside it. Dragging the brakes through rough terrain reduces grip and makes the bike skip instead of track. On steep ground, I use both brakes progressively, then let them off before the feature starts to get choppy. That gives the tires a chance to bite when it matters.
Look through the exit
Your body tends to follow your eyes. If you stare at the rock, root, or drop, you drift straight toward it. I try to look past the obstacle and lock onto the line I actually want. On narrow chutes or fast switchbacks, that habit does more for control than brute strength ever will.
Stay loose under pressure
The best descending stance is active, not rigid: heels weighted, elbows out, hips centered, and hands light enough to let the bike move underneath you. Beginners often lock up when the trail gets steep. That stiffness transfers every hit into the body and makes the bike harder to steer. A looser stance gives the suspension room to work and keeps the tires planted.
Use the terrain instead of fighting it
When a trail offers a berm, use it. When a rock garden forces a choice, pick the cleanest line, not the most dramatic one. When the trail smooths out, pedal or pump only if the section really rewards it. I like to think of good gravity riding as reading the terrain in real time. The more accurately you read it, the less you waste energy correcting mistakes. That is also why protective gear matters so much once the terrain gets sharper.
Protection and small items that change the day
On steep descents, protection is not about looking serious. It is about preserving your next run. A full-face helmet makes sense on bike-park laps, jump lines, and more committing downhill tracks. For lighter gravity days, a quality half-shell helmet can still be appropriate, but I would not treat it as enough for every steep run. Knees are usually the first thing I protect, because they are the most common point of contact when a front wheel washes or a foot dabs at speed.
- Helmet: full-face for harder park or downhill days, half-shell for milder descents.
- Knee pads: close-fitting pads that stay put when you pedal or sprint into a feature.
- Gloves: enough grip to calm your hands when the trail gets rough.
- Eye protection: clear or tinted lenses depending on the light and dust.
- Elbow or chest protection: useful on bigger jump lines, faster park laps, or when you know the terrain is unforgiving.
- Hydration and tools: I like at least 1.5 to 2 liters of water on longer sessions, plus a multitool, a plug kit or tube, and a way to fix a minor mechanical issue.
I also pay attention to brake pad wear before a gravity day. Long descents create heat fast, and weak pads can turn a manageable run into a messy one. A few minutes of prep at the truck or trailhead is far cheaper than nursing fading brakes halfway down the mountain. With the gear sorted, the last major challenge is deciding how to progress without jumping too far, too soon.
How to progress without out-riding your skill
The cleanest way to improve is to make your learning repeatable. I do not think riders get better by chasing the hardest line on the map every weekend. They get better by riding the same descent often enough to notice where they brake, where they panic, and where they actually have margin left. That is how confidence turns into skill.
Start with repeatable laps
Choose a trail you can ride without surviving it. If a blue line still feels busy, keep it in the rotation until it feels boring in the right places. That boredom is useful; it means your brain has enough room left to notice detail instead of just reacting.
Add one variable at a time
Once a trail feels under control, add a single challenge: a steeper chute, a tighter corner, a small drop, or a rougher rock garden. Do not stack three new problems at once. I have seen far more riders get overwhelmed by combination stress than by one feature on its own.
Read Also: Mountain Bike on Pavement - Maximize Speed & Efficiency
Know when to walk
Walking a feature is not failure. It is information. If the trail is wet, if visibility is poor, or if fatigue has already hit your hands and forearms, the smart move is often to step off and reset. That decision preserves confidence, which matters more than proving a point on one run.
Most mistakes on steep terrain are predictable: riders chase friends who are a level above them, they ride faster than their braking skill allows, or they keep going after fatigue has already made their reaction time worse. I would rather see a rider repeat a cleaner run three times than barely survive one reckless one. Once you build that habit, planning a real trip becomes much easier.
How I plan a downhill day in the United States
In the U.S., downhill-focused riding usually falls into three buckets: lift-served bike parks, shuttle-accessed gravity trails, and destination trail systems with long descents built into the network. The format changes the day more than most riders expect. Lift-served laps are all about repeated vertical gain with minimal climbing, while shuttle or pedal-access routes reward a smarter warm-up and better pacing.
I always check a few things before traveling to a gravity destination. First, I confirm whether the trail is open to bikes that day and whether weather has changed the surface. Second, I look at operating hours, because lift schedules and shuttle windows can turn a great destination into a short session if you arrive late. Third, I think about wear and tear: pads, tires, and sealant should be ready for more abuse than an ordinary trail ride. If I am going somewhere new, I also pack for the possibility that the hardest line will be closed and the backup trail will be rougher than expected.
That kind of planning sounds basic, but it saves a lot of frustration. Gravity riding is better when you treat it like a short expedition instead of a casual spin. The more prepared you are at the start, the less likely you are to waste time dealing with small mechanical problems or bad trail choices later. And that brings me to the simplest part of the whole process: the checklist I trust before every steep run.
The five-minute checklist I use before every steep run
- Confirm the trail direction and make sure I am starting on the correct line.
- Check tire pressure, brake feel, and whether the pads still have real bite.
- Scan the top section for wet roots, loose stones, and blind corners.
- Decide where I will brake, where I will look, and where I can stop if needed.
- Choose the right pace for the day instead of the pace I wish I had.
That small ritual is usually what separates a controlled descent from a tense one. The less you improvise at the top, the more room you have to ride well once the trail starts moving under you.