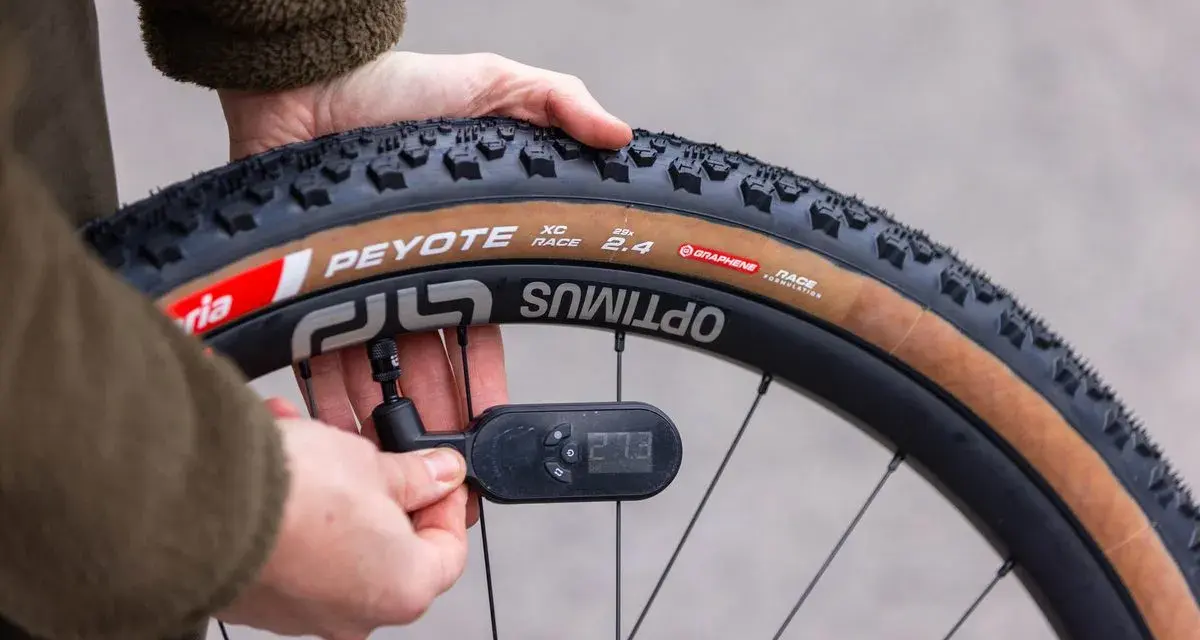
The pressure range that matters most on the trail
- Start with a range, not a single number. For modern trail tires, many riders end up somewhere around 20-26 psi in front and 22-28 psi in the rear.
- Front and rear should usually differ. The front often runs 1-3 psi lower for grip and steering control.
- Wider tires can go lower. More air volume gives the casing more support at the same load.
- Tubeless changes the game. It usually lets you run a bit less pressure without worrying as much about pinch flats.
- Small changes are real. A 1-2 psi adjustment can be obvious on a rocky or rooty trail.
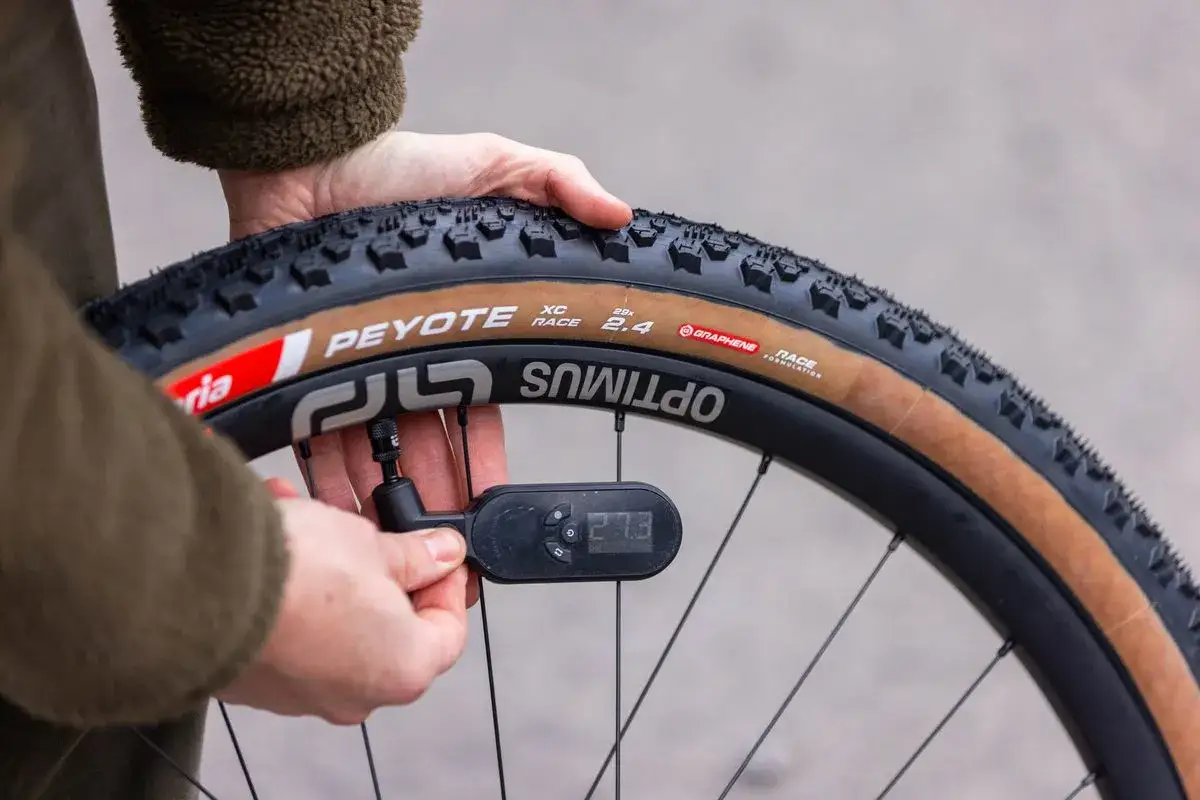
- Measure with a gauge. A digital gauge is much more reliable than guessing by hand or trusting a floor pump alone.
A practical starting point for most trail bikes
If I were setting up a bike for a typical U.S. trail ride, I would not start from a random “feel” number. I would start from the tire size, the casing, and the riding style, then move in small steps. The table below is a realistic baseline for modern mountain bikes with 29-inch or mixed-wheel setups and 2.25-2.6 inch tires.| Ride type | Front | Rear | Good starting use |
|---|---|---|---|
| XC / downcountry | 18-23 psi | 20-25 psi | Fast rolling, lighter riders, smoother singletrack |
| Trail | 20-25 psi | 22-28 psi | The most common all-around range for mixed terrain |
| Enduro / aggressive trail | 22-27 psi | 24-30 psi | Harder hits, faster descending, more rim protection needed |
| Plus-size 2.8-3.0 inch tires | 14-20 psi | 16-22 psi | High-volume tires that can support lower pressures safely |
| Inner tubes instead of tubeless | Add about 2-4 psi to the tubeless starting point to reduce pinch-flat risk | ||
Those numbers are starting points, not commandments. If you ride rocky terrain, weigh more than average, or carry a pack, you may need to move up a little. If your tires are wider, your rims are supportive, and the trail is smooth and loose, you can often move down a little without losing control. The real trick is knowing why the front and rear usually do not match, which is where most riders should look next.
Why the front and rear should not use the same pressure
I rarely set both tires to the same psi. The front tire steers, loads up in corners, and needs confidence more than brute support. The rear tire carries more of your body weight, takes more drive force, and is usually the first one to smash into square-edge rocks when you are pedaling hard.
That is why the front is commonly 1-3 psi lower than the rear. The lower front pressure gives the contact patch a little more compliance, which usually means better grip on off-camber turns, roots, and loose-over-hard terrain. The rear gets the extra support because it is working harder under acceleration and body weight.
- If the front slides or feels nervous, I usually lower it by 1 psi before touching anything else.
- If the rear feels harsh or rebounds off rocks, I may drop it a little, but only if I am not already hitting the rim.
- If the rear hits the rim on square edges, I go up 1-2 psi or look for more casing support.
This front-to-rear split matters more than most riders think. Once that balance is close, the next step is understanding which parts of the setup actually push the number up or down.
The details that move your pressure up or down
There is no single perfect number because tire pressure is a support equation, not a slogan. Four variables matter most in practice: rider load, tire volume, casing strength, and terrain. Temperature and rim width also matter, but they are secondary unless you are riding at the edge of the setup.
- Rider weight and cargo matter because the tire has to hold more load without folding or bottoming out. Heavier riders and bikepackers generally need more pressure.
- Tire width matters because more air volume gives the casing more support. A 2.5-inch tire can usually run lower than a 2.25-inch tire with the same rider and trail.
- Casing and construction matter because a tough sidewall resists squirm and pinch damage better than a light casing. A reinforced tire often lets me run a bit lower with the same confidence.
- Rim width matters because a wider rim supports the tire’s sidewalls better. Narrow rims tend to need a little more pressure to keep the tire from feeling vague in corners.
- Terrain matters because smooth hardpack and sharp rock gardens punish different mistakes. Loose, wet, rooty trails usually reward a little more compliance; fast, square-edged rock gardens often need more support.
I also pay attention to riding style. A rider who stays seated and smooth can often run a touch less pressure than someone who smashes through corners and lands drops at speed. The same goes for e-MTBs, where the extra system weight usually pushes the rear tire higher than a standard trail bike would need. With those variables in mind, the setup itself becomes the next big decision.
Tubeless, tubes, and inserts change the answer
Tubeless is the biggest reason modern mountain bike tires can be run lower than they used to be. Without an inner tube to pinch, you can usually drop pressure a little and gain traction and comfort. That is the practical payoff, and it is why I think tubeless is the default choice for most riders who spend real time on dirt.
With tubes, I stay more conservative. The tube can get pinched between the rim and tire on a hard impact, especially if the tire is underinflated. That means tube setups usually need a few extra psi to keep the ride reliable, even if the bike feels slightly less supple.
Tire inserts sit in the middle. They add rim protection and can make a low-pressure setup more forgiving, but they are not a free pass to run wildly soft pressures. I treat inserts as support and insurance, not as permission to ignore casing choice or rim width.
- Tubeless usually allows the lowest useful pressure for a given trail and rider.
- Inner tubes usually require more air to stay safe from pinch flats.
- Inserts can help protect the rim and smooth out impacts, but they still need a sensible pressure range.
There is one rule I would keep in mind here: never exceed the lower of the tire’s and rim’s stated maximum pressure, and always check that your setup is actually tubeless-ready before trying to run very low numbers. Once the hardware is correct, the last step is learning how to tune pressure with the trail itself.
How to dial it in on your next ride
I like a simple test loop because it keeps the feedback honest. Pick a trail with a few corners, some roots, and at least one rough section that usually exposes setup mistakes. Then ride it, change only one thing, and ride it again. A 1 psi adjustment is often enough to tell you what direction you should go.
| What you feel | What it usually means | First adjustment |
|---|---|---|
| Tire feels vague in corners | The casing is flexing too much | Add 1 psi |
| Rim strikes on square edges | Pressure is too low for the impact load | Add 1-2 psi or move to a stronger casing |
| Front washes on roots or loose turns | The contact patch needs a little more support or better tread engagement | Try 1 psi less on the front if the tire is still too stiff, or more grip-focused tread if the problem is constant |
| Bike feels harsh and skippy | Too much pressure is bouncing the tire off the ground | Lower both tires by 1 psi |
| Rear slips on seated climbs | Rear traction is too limited | Lower the rear by 1 psi |
Two habits make this process much easier: use a digital gauge, and write the result down. A floor pump gauge is fine for filling, but I do not trust it as the final number when I am chasing a clean setup. I also check pressure cold, before the ride, because heat and trail time can change the reading enough to blur the result. That makes the next section easier to avoid, because most pressure mistakes come from skipping this methodical approach entirely.
The mistakes that cost grip and rims
The worst setup errors are usually simple ones. They are not dramatic, but they quietly reduce traction, comfort, and reliability. I see the same mistakes over and over because they are easy to make and hard to notice until the bike feels wrong on a real trail.
- Copying another rider’s pressure without matching tire size, weight, casing, or terrain.
- Using one pressure for every ride even though dry hardpack and wet rock gardens want different support.
- Running too much air because the tire feels “safe” in the driveway, then losing grip on the trail.
- Running too little air with tubes and then blaming the tire when the tube pinches.
- Trusting the floor pump as a precision tool when the gauge may be off by enough to matter.
- Ignoring casing and rim width even though they change how a tire holds its shape under load.
Temperature matters too, especially in places with big swings between morning and afternoon. Cold air reads lower, warm air reads higher, and that can change the feel enough to make a borderline setup better or worse. The fix is not complicated: pick a baseline, change it in small steps, and keep notes. That approach leads naturally to the final question most riders actually care about, which is what to remember when it is time to ride again.
The few psi that usually make the biggest difference
If I had to reduce all of this to one practical habit, it would be this: start slightly conservative, then move by 1 psi at a time until grip and support balance out. That is the fastest way to find a number that works for your bike instead of some generic average that only sounds correct.
- Run the front a little lower than the rear unless your casing or terrain says otherwise.
- Move up for sharp rocks, heavier riders, harder casing flex, and tube setups.
- Move down for wider tires, smoother trails, and when you want more traction without rim strikes.
- Check pressures before each ride, especially if the bike has been sitting or the weather changed.
That is the part riders usually miss: tire pressure is not a one-time setting, it is part of the bike’s handling. Once you treat it that way, the bike feels more planted, less harsh, and much more predictable on the trail.