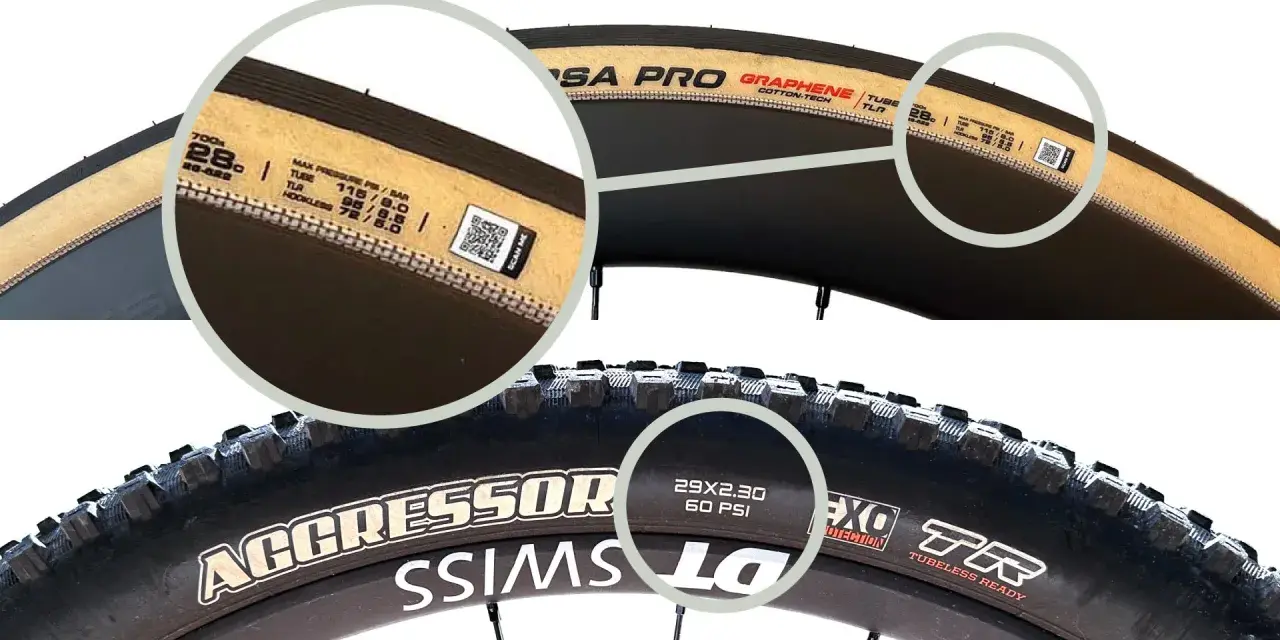
Mountain bike tire pressure is one of those settings that changes everything without looking dramatic on the bike. The real answer to what psi should mountain bike tires be is that there is no single number, but there is a sensible starting range that depends on rider weight, tire volume, casing, terrain, and whether you run tubeless. I’ll give you the range I would start with, the signs that tell me it is wrong, and the simple method I use to dial it in on real trails.
The right pressure is a range, not a single number
- For most modern trail bikes, I start around 18-25 psi in front and 20-28 psi in the rear.
- Heavier riders, narrower tires, and tube setups usually need a little more air.
- Lower pressure improves grip and comfort, but too little air can cause squirm, rim strikes, or pinch flats.
- The pressure printed on the tire is a safety limit and reference point, not always the best riding pressure.
- I fine-tune in 1-2 psi steps, not big jumps.
The short answer I’d start with
For a modern mountain bike with 2.3-2.6 inch tires, I usually treat the numbers below as a practical starting point, not gospel. They assume normal trail riding and a reasonably supportive casing, with tubeless as the default unless I say otherwise.
| Riding style | Front PSI | Rear PSI | Why I’d start there |
|---|---|---|---|
| XC and fast downcountry | 22-28 | 24-30 | Fast rolling, lighter tread, and usually smoother terrain |
| Trail | 18-25 | 20-27 | Best all-around baseline for most riders on tubeless 2.3-2.5 inch tires |
| Aggressive trail and enduro | 16-22 | 18-25 | More grip and support for rocks, roots, and harder cornering loads |
| Downhill and bike park | 15-20 | 17-23 | More impact protection and casing support matter more here |
| Plus and fat bikes | 5-12 | 5-12 | Much larger air volume changes the whole pressure game |
If you run tubes, I usually add 2-4 psi to protect against pinch flats. If you are a lighter rider or on a wide, supportive casing, I may start 1-3 psi lower. If you are heavier or ride hard into square edges, I move the other way. That baseline is useful, but it still changes with weight, casing, and terrain, which is where the setup starts to get personal.
What changes the number more than the chart
I treat any chart as a starting point, not a final answer. Rider weight, tire width, rim width, casing strength, and terrain usually matter more than wheel size, and they matter more than most riders think when they first start experimenting with pressure.
- Rider weight: more load usually needs more support, especially in the rear tire.
- Tire width: a 2.6-inch tire can usually run lower than a 2.3-inch tire at the same weight.
- Casing and inserts: a stronger casing supports lower pressure better; inserts protect rims, but they do not make reckless PSI safe.
- Rim width: wider rims support the sidewall better, which can make lower pressure feel less vague.
- Terrain: loose rock, wet roots, and repeated square-edge hits push me toward more air; smooth hardpack lets me lower it.
- Weather: cold air drops pressure a little, and wet conditions often reward a softer setup for grip.
Maxxis treats pressure charts as starting points for exactly this reason: the same bike can need different PSI once rider weight, terrain, and riding style change. I think that is the right way to look at it. Trek’s tire guidance makes the same practical point by telling riders to stay within the printed tire limits instead of assuming one number works for every setup. Once you know what moves the number, the next step is reading the bike itself, because the trail will usually tell you when the pressure is off.
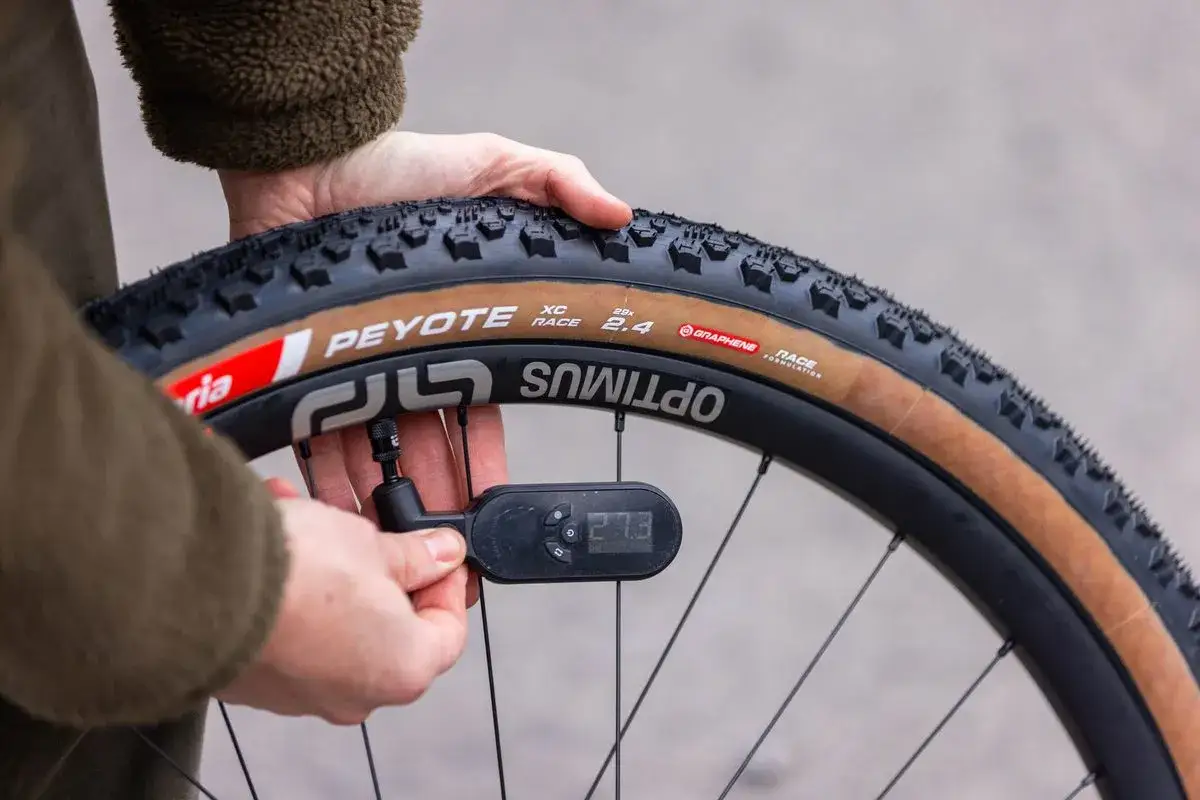
How to tell when the pressure is wrong
The bike usually tells me within a few minutes. I pay attention to grip, rim strikes, and the way the tire behaves when I load it in corners or land off small hits.
| What I feel | What it usually means | What I do next |
|---|---|---|
| Harsh, bouncy ride with less grip over roots | Pressure is probably too high | Lower 1-2 psi |
| Front wheel pushes wide in corners | Front is often too high | Lower the front 1-2 psi first |
| Sidewall feels vague or folds in berms | Pressure is probably too low | Add 1-2 psi or choose a firmer casing |
| Rim strikes or clunks on square edges | Rear or front is too low | Add 2 psi, then retest |
| Tubeless burp in a hard corner | Too little pressure, or the rim/tape setup is not happy | Add pressure and inspect the setup |
I do not change more than 1-2 psi at a time unless the setup is obviously far off. Large jumps hide the real sweet spot, and they make it harder to learn what the bike is actually doing. Small changes tell a cleaner story, which is exactly what you want when you are tuning for grip.
Tubeless and tube setups need different PSI
Tubeless systems usually let me run lower pressure because there is no inner tube to pinch against the rim. That lower pressure is worth real grip on roots, rocks, and off-camber corners, especially on modern wide rims.
- Tubeless: I usually start a little lower, often 1-4 psi below the tube equivalent.
- With tubes: I start a little higher to reduce pinch-flat risk.
- Wide, supportive casings: they can hold lower pressure better than light XC casings.
- Rim inserts: they help protect the rim, but they do not replace a sane pressure choice.
I still respect the tire and rim limits before anything else. Even if a tire feels better at low pressure, I will not push below the safe range printed on the tire, and I stop at the lower maximum if the tire and rim limits do not match. That rule is boring, but it saves parts and keeps the bike predictable.
A simple dial-in method that works on real trails
When I want a pressure that actually works, I do not guess in the parking lot. I test it on the same kind of trail I plan to ride and adjust in very small steps.
- Start in the middle of the tire’s printed range, or use the table above if the range is broad.
- Set the rear 1-3 psi higher than the front.
- Ride one normal loop with climbs, corners, braking bumps, and a few hard hits.
- If the bike feels harsh or the tire skips over traction, drop 1 psi at the end that feels off.
- If the tire squirm feels too loose or you tag the rim, add 1-2 psi.
- Repeat until the bike feels planted without wasting comfort or grip.
I usually need only two or three test rides to find a setup that stays consistent on my home trails. That is fast enough to be practical and slow enough to avoid chasing noise from one weird ride. The point is not to find the lowest possible pressure; it is to find the lowest pressure that still supports the bike when the trail gets rough.
The mistakes that waste the most grip
Most bad pressure choices come from trying to make one number solve everything. I get better results when I treat PSI as a tuning tool instead of a fixed spec.
- Copying a friend’s pressure exactly: body weight, tire width, and casing rarely match.
- Using the same PSI front and rear: the rear usually needs more support.
- Making 5 psi changes: that is usually too blunt for mountain bike tires.
- Ignoring casing and rim width: a supportive setup can feel stable at lower pressure, but a light casing may not.
- Assuming hardpack and wet roots want the same setup: they do not.
- Checking pressure only when the bike feels odd: I check before every ride so I know what changed.
The biggest trap is chasing a single universal number. Mountain bike tires are too sensitive to load, trail surface, and casing choice for that to work well. Once you accept that, the tuning becomes simpler, not more complicated, because every change has a clear reason.
The baseline I’d keep in your pocket
If you want one rule to ride with, use this: start in the tire’s safe range, keep the rear a little firmer than the front, and adjust in tiny steps until the bike stops feeling harsh or sketchy. That gives you a pressure that matches your weight, your tires, and the trails you actually ride.
For most riders on modern trail bikes, the best answer is not a single PSI number. It is a repeatable baseline you can return to when conditions change, plus the habit of checking before every ride so the bike feels predictable instead of random. That is the setup I trust when I want traction without giving up control.