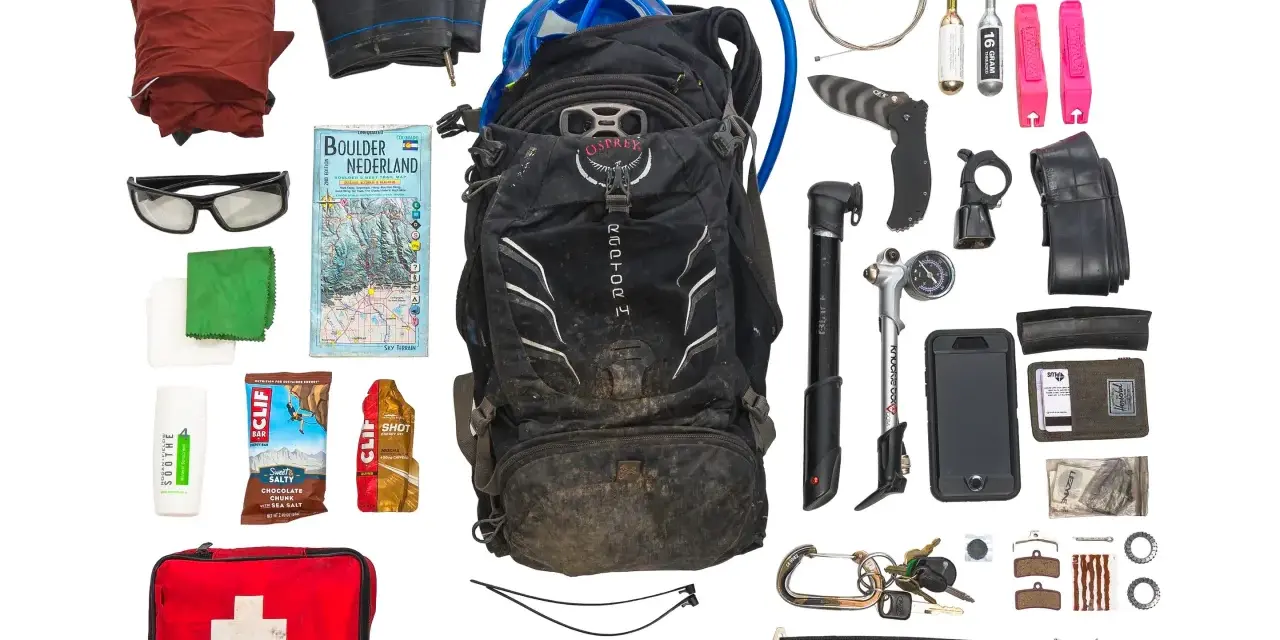
Trail riding gets expensive in small, annoying ways: a loose line choice turns into a crash, a flat tire ends a loop, or the afternoon heat drains your legs long before the climb is over. The mtb must haves are the pieces of gear that stop those problems from ruining the ride. In this guide, I focus on the equipment I would actually buy first in the U.S. market, what can wait, and why the order matters.
The essentials that make the biggest difference first
- Protect your head and hands first with a trail helmet and full-finger gloves before chasing performance extras.
- Carry the basics to self-rescue: a mini pump, multi-tool, spare tube or plug kit, and tire levers.
- Match hydration to the ride: a bottle works for short loops, but longer or hotter rides usually justify a pack with 1.5 to 3 liters of water.
- Spend money where it changes the ride: tires, brake pads, and fit usually matter more than flashy parts.
- Buy gear in the right order so you are safe, mobile, and comfortable before you start upgrading for speed.
Start with the gear that protects you and gets you home
When I strip mountain biking down to the essentials, I think in two categories: protection and self-rescue. Protection keeps a mistake from becoming a serious problem, and self-rescue keeps a mechanical from becoming a long walk out. That is why I treat a properly fitting helmet, a way to hydrate, and a basic repair kit as the real foundation of a trail setup.| Item | Why it earns a place in the kit | Typical U.S. price range in 2026 |
|---|---|---|
| Trail helmet | Reduces risk on roots, rocks, and awkward low-speed crashes | $80-$300+ |
| Gloves | Improve grip, reduce hand fatigue, and protect palms in a fall | $20-$45 |
| Eye protection | Blocks dust, bugs, wind, and stray branches | $20-$150 |
| Water system | Prevents dehydration from quietly wrecking your ride quality | $15-$176 |
| Repair kit | Lets you fix flats and small trail-side problems | $4-$120 |
| Phone and ID | Navigation, emergency contact, and basic trail security | Already owned in most cases |
I do not think every rider needs a massive backpack, but I do think every rider needs a plan for the most common failure points. Once that base is clear, the next question is what to wear on your head, hands, and eyes.
Protective gear that is worth buying first
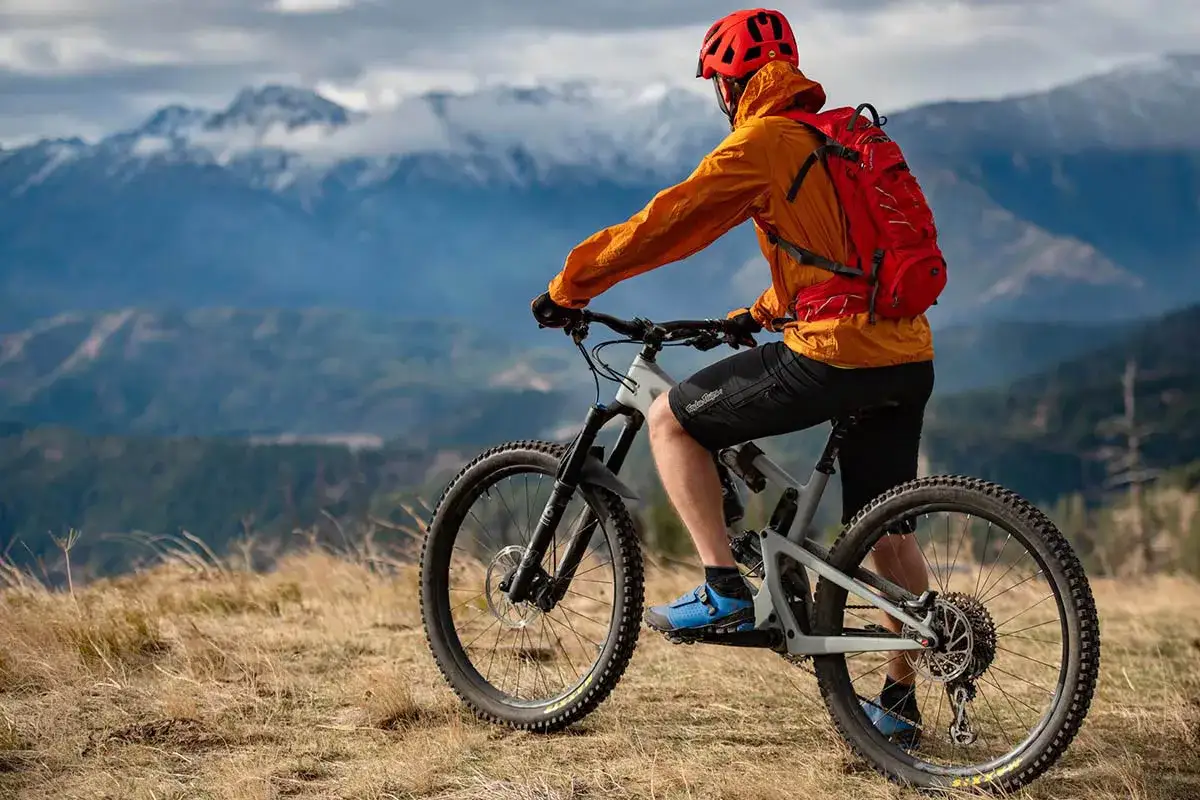
If I were building a trail kit from zero, this is where I would spend first. A good mountain bike helmet with deeper rear coverage is the single most important item, and many riders will benefit from a model with a rotational-impact system such as Mips or an equivalent design. For aggressive trail, enduro, or bike-park riding, a full-face helmet starts to make sense; for everyday singletrack, a well-ventilated trail helmet is usually the better buy.
- Helmet: Fit matters more than brand. It should sit level, not rock fore and aft, and the retention system should hold it securely without pressure points.
- Gloves: I prefer full-finger gloves for mountain biking because they give better control on rough descents and protect skin from brush and roost. Good pairs in the U.S. often land around $20-$45.
- Eyewear: Clear lenses are useful for shaded woods and dusk rides; tinted lenses help on bright open trails. This is one of the cheapest ways to reduce eye fatigue.
- Knee pads: Not mandatory for mellow green or blue trails, but they pay off quickly on steep, rocky, or fast terrain. I would not call them a luxury once the trail starts getting technical.
- Shoes: Flat-pedal shoes with sticky rubber are the simplest place to start. Clipless shoes can improve connection and pedaling efficiency, but they add cost and a learning curve.
The common mistake is buying protection only after a crash or buying too much protection for the terrain you actually ride. If your rides are mostly local trail laps, I would start with a helmet, gloves, and glasses, then add pads only when speed and terrain justify them. That safety base matters because the next thing that ends rides is not usually a crash, but a puncture or mechanical.
What belongs in a trail-side repair kit
A repair kit should solve the problems that show up most often: flats, loose bolts, and a chain issue that could otherwise strand you. I like to think of it as the difference between finishing the ride and calling someone for a pickup. A mini pump is the anchor piece for me because it never runs out, even when a ride goes long or a tubeless setup does not seal perfectly.
| Problem | Tube setup | Tubeless setup |
|---|---|---|
| Small puncture | Spare tube + tire levers + pump | Plug kit first, tube as backup |
| Sidewall or larger cut | Spare tube and, if needed, patch boot to get home | Tube, tire boot, and careful pressure management |
| Loose cockpit or brake bolt | Multi-tool with the right hex sizes | Multi-tool with the right hex sizes |
| Chain problem | Chain tool and correct quick link for your drivetrain | Chain tool and correct quick link for your drivetrain |
For U.S. trail riding in 2026, the practical price points are still reasonable: patch kits often sit around $4-$10, good mini pumps range from about $20-$75, and reliable multi-tools commonly run from the low $30s to around $70. I would rather carry a simple, dependable setup than a clever one that only works in the garage.
- Spare tube: Still the fastest fix for many flats, even if you normally run tubeless.
- Tire levers: Cheap, light, and worth carrying even if your tires are not especially tight.
- Patch kit: Useful for both emergency fixes and as a backup to the backup.
- Multi-tool: Look for the hex sizes your bike actually uses, plus a chain breaker if you ride far from the trailhead.
- Plug kit: Best for riders with tubeless tires because it fixes a lot of small punctures without removing the wheel.
One small but important detail: tubeless means the tire seals against the rim with liquid sealant instead of an inner tube. That setup usually handles thorns and tiny punctures better, but it does not eliminate the need for a pump or backup repair plan. Once those tools are sorted, hydration and weather protection become the next deciding factor on longer rides.
Hydration, fuel, and weather protection keep rides from falling apart
Short local loops can be simple: a bottle in a cage, a snack in a jersey pocket, and you are done. Once the ride stretches beyond about 60-90 minutes, gets hot, or heads into a more remote trail system, I start preferring a hydration pack because it gives me more water, better storage, and a cleaner way to carry tools. In practice, I like to think in 1.5 to 3 liters of water depending on heat, duration, and whether I can refill along the way.
On the trail, dehydration does not always feel dramatic at first. It just makes climbing worse, braking sloppy, and decisions slower. That is why I also carry fuel I can eat while moving, usually something simple enough to open with one hand and digest without fuss.
- For rides under an hour: one bottle is usually enough if the weather is mild.
- For rides around 90 minutes to 3 hours: a hydration pack with 1.5-3 liters gives you more margin, especially in summer.
- For hot or exposed rides: I plan for more water than I think I need, because trailhead temps and actual trail temps are often different.
- For snack strategy: keep it simple with bars, chews, gels, or other easy carbs you will actually eat on the move.
- For weather swings: a light shell, sunscreen, and an extra layer matter more than riders expect when afternoon conditions change fast.
This is one of those areas where a little realism matters. A hydration pack can feel bulky on short, playful laps, so I do not force one on every ride. But if the route is long enough that a mistake would leave me dry or underfed, I would rather have the pack and ignore it than wish I had packed it. Once comfort and hydration are handled, the next gains usually come from the bike itself.
How I would prioritize upgrades after the basics
After safety and self-rescue, the smartest money usually goes into the parts of the bike that change traction, control, and comfort. Tires are the first big example. The right tread can make a bike feel planted or nervous, and the wrong tire choice can make a good bike feel mediocre on your local dirt. Brake pads and rotors come next for a lot of riders because confidence on descents is hard to fake.
| Upgrade | Why it matters | When I would prioritize it |
|---|---|---|
| Tires | Grip, rolling speed, and confidence change immediately | If your local trails are loose, wet, rocky, or rooty |
| Brake pads and rotor setup | Improves control and reduces hand fatigue on descents | If you ride steep terrain or feel brakes fading |
| Grips and saddle | Reduces numb hands and sit-bone discomfort | If comfort problems show up on every ride |
| Pedals and shoes | Controls how connected you feel to the bike | If you want more traction, stability, or pedaling efficiency |
| Suspension sag | Balances support and traction | If you have a suspension fork or full-suspension bike |
Sag is simply how much the suspension compresses under your body weight when you are on the bike, and it has a bigger effect on traction than many riders realize. Too little sag can make the bike harsh and skittish; too much can make it wallow and feel lazy. I would rather see a rider spend time on setup than chase expensive components that solve the wrong problem.
There is also a habit I try to avoid: buying upgrades that sound advanced but do not match the terrain. A lighter stem, a flashy drivetrain part, or a premium cockpit piece may be nice, but they rarely help more than a correct tire choice, fresh brake pads, or a dialed suspension setting. That is why the last step is not really a product choice at all, but a purchasing order.
The smartest first shopping order for a new rider
If I were starting from scratch in the United States, I would buy gear in this order so every dollar fixes the most likely problem first:
- Helmet, fitted correctly and appropriate for the terrain you ride.
- Gloves and eye protection, because comfort and control improve immediately.
- Water system, matched to the length and heat of your normal rides.
- Repair kit, built around your tire setup and drivetrain.
- Tires and brake service, because these affect confidence more than cosmetic upgrades.
- Comfort items and pads, once you know what your body and local trails actually demand.
For budget planning, a bare-bones but sensible start can land around $150-$250 if you already own the bike and only need the essentials. A more complete setup with a better hydration pack, repair tools, and eye protection often falls closer to $300-$500. If you also add shoes, pads, and a few setup upgrades, the number climbs quickly, so I would still prioritize protection and trail-repair ability before chasing premium parts.
The best mountain bike kit is not the one with the most items in it. It is the one you can trust when the trail gets rough, the weather changes, or the ride goes a little sideways. If you build around that idea, the rest of the gear decisions become much easier.