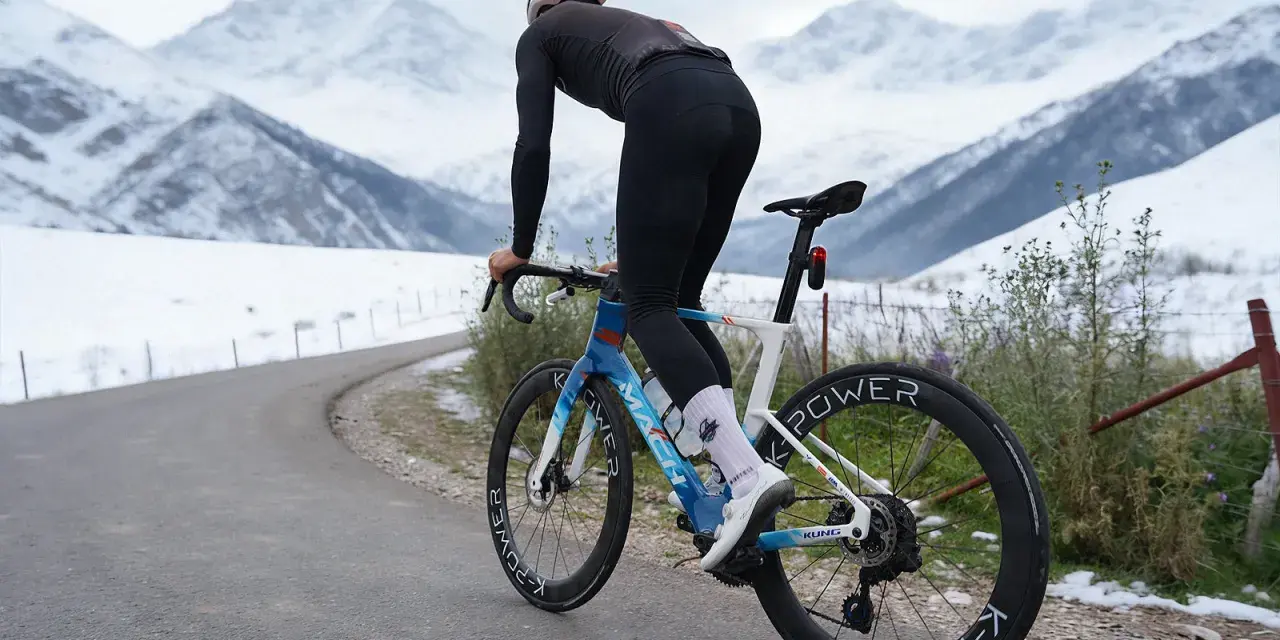
Winter does not automatically end mountain biking season. I treat it as a separate riding season with different rules: trail surface, daylight, traction, and body heat all matter more than speed. People often ask whether you can mountain bike in the winter, and the practical answer is yes - if the trail is dry or frozen, your bike is set up for grip, and you are willing to back off when conditions turn soft.
Winter riding works when the trail and the setup agree
- Yes, winter MTB is realistic when the trail is dry or firmly frozen and local access rules allow it.
- Thawing mud is the line where traction drops and trail damage becomes a real problem.
- Small bike changes matter: lower tire pressure a little, add grip, and keep the drivetrain clean.
- Layering beats bulk because sweat is usually the fastest way to get cold on a winter ride.
- Shorter rides are smarter when daylight is limited and the surface can change fast.
Start with the trail, not the calendar
The first question I ask is not how cold it is. It is what the trail surface is doing. In the U.S., winter varies wildly by region: a frozen morning in Minnesota is not the same as a wet, thawing trail in the Pacific Northwest or a snowy high-country loop in Colorado. IMBA’s winter guidance is blunt for a reason: ride trails that are dry or frozen.
Freeze-thaw is what ruins most winter rides. Once the ground has been below freezing for a few hours, the surface can lock up hard enough to ride. But when the sun comes up and the top layer softens, you can go from safe traction to greasy ruts fast. I usually treat south-facing trails, creek edges, and shaded low spots as the first places to fail.
| Trail condition | My call | Why |
|---|---|---|
| Dry hardpack after a cold night | Ride | Firm surface, good traction, low trail impact |
| Frozen trail early in the morning | Ride early and finish early | Supportive surface before the thaw starts |
| Fresh snow on a packed base | Maybe | Fun if the base is solid and access is allowed |
| Thawing mud, soft ruts, or wet roots | Skip it | Traction drops fast and the trail gets damaged |
| Ice sheets or refrozen runoff | Usually skip it | Braking and cornering become unpredictable |
If I am traveling for a winter ride, I check local trail status the morning of the ride, not the night before. A trail system can be rideable at sunrise and closed or trashed by lunch. Once you know the surface is fair game, the next step is making the bike behave better on it.
Set your bike up for traction, not summer speed
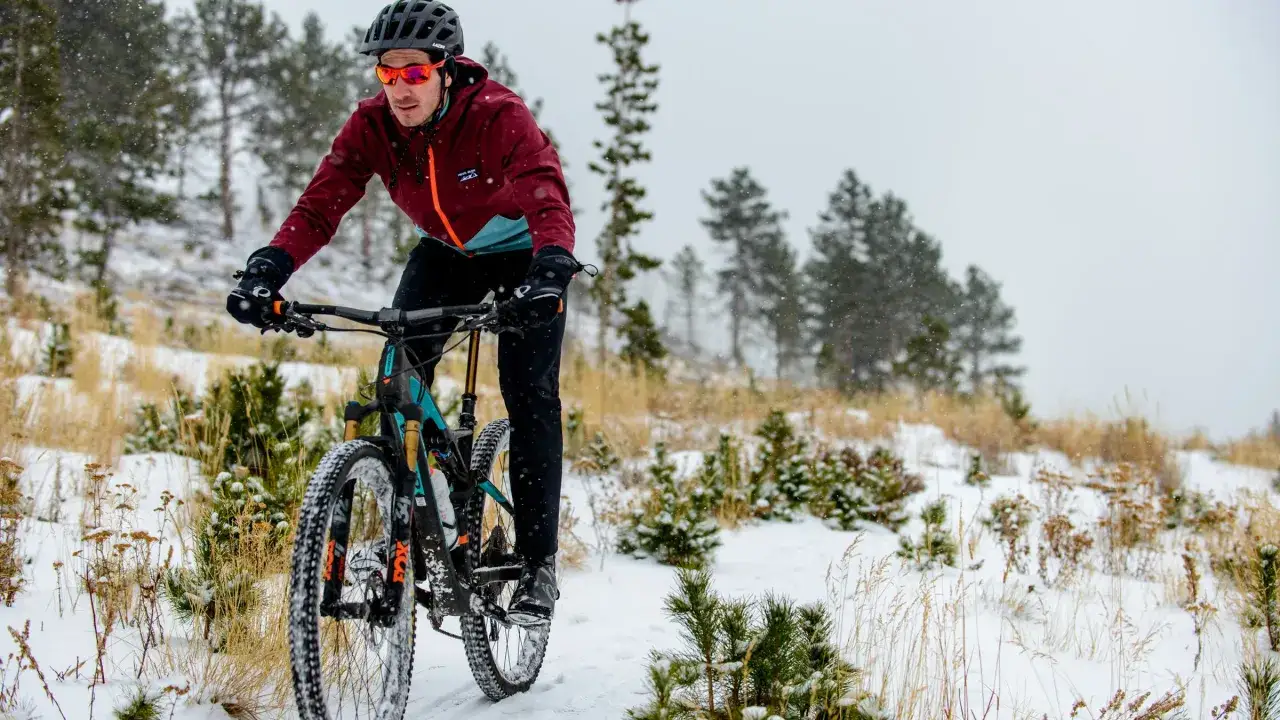
A winter bike does not need to be exotic. It needs to be predictable. REI’s winter cycling guidance focuses on the same basics I would use on a trail bike: keep tire pressure at the low end of its safe range, add grip where you can, and make visibility a priority.
I would rather ride a familiar bike with a few cold-weather changes than gamble on a perfect setup I do not know well. A little less pressure, a better tire, and cleaner maintenance usually make a bigger difference than people expect. If you ride in icy areas often, studded tires or a fat bike can make sense; if ice is rare, they are overkill.
| Part | Winter move | Why it helps |
|---|---|---|
| Tires | Use a grippier tread; go wider if your frame has room | More contact patch and better bite on loose or slippery ground |
| Pressure | Drop about 2-4 psi from your warm-season baseline, then fine-tune in 1-2 psi steps | Improves traction and comfort without making the tire feel dead |
| Brakes | Check pads and rotors before winter hits | Wet and cold conditions expose weak braking fast |
| Drivetrain | Clean more often and use wet lube | Slush and grit eat chains quickly |
| Lights | Carry front and rear lights even on daytime rides in short-day months | Winter light disappears earlier than most riders expect |
The practical side of lighting matters too. I like to have at least one bright front light and one rear light in winter, because an afternoon ride can end in near-darkness much faster than you planned. Once the bike is sorted, the next limiter is almost always your clothing and how well it handles sweat.
Dress for effort, not for standing still
Winter MTB clothing is a balancing act. If you overdress, you sweat on the first climb and chill on the descent. If you underdress, your hands and feet go numb before the ride even feels fun. I start slightly cool on purpose, because the body warms quickly once I am moving.
The safest system is simple: a wicking base layer, a breathable insulating layer if needed, and a wind-resistant outer layer you can open or stash. The exact mix depends on wind and temperature, but I think about winter clothing in ranges rather than a single outfit.
| Temp range | What I reach for | Notes |
|---|---|---|
| 45-32°F | Base layer, long-sleeve jersey, light wind shell, full-finger gloves, thin cap under the helmet | Often enough for dry, fast rides |
| 32-20°F | Thermal base, insulating midlayer, windproof shell, warmer gloves, neck gaiter | Hands, ears, and knees need more protection |
| Below 20°F or strong wind | Heavier insulation, insulated gloves, shoe covers, face protection, hand warmers | Shorten the ride and watch for numbness |
Two mistakes show up again and again. The first is cotton, which traps moisture and turns cold as soon as you stop climbing. The second is forgetting that hands and feet cool down faster than your torso. If I am stopping for a snack, fixing a flat, or waiting for a friend, I put on an extra layer immediately instead of pretending I will warm back up in a minute. That same attention to detail matters on the trail itself.
Ride smoother and slower where traction is fragile
Winter trail riding rewards restraint. I brake earlier, corner more gently, and keep my upper body loose so the bike can move underneath me. Aggressive summer habits - hard braking into a turn, last-second line changes, standing and mashing - tend to punish riders once the surface gets slick.
- Brake before the corner, not inside it.
- Keep your weight centered and your elbows soft.
- Use the rear brake lightly on icy or greasy sections.
- Look ahead for shaded ice, frozen ruts, wet roots, and runoff crossings.
- Choose shorter loops with an easy exit if the surface changes.
- Turn around if your tires start carving trenches or leaving visible damage.
This is the part riders sometimes ignore: a trail can be rideable at 8 a.m. and a mess by 11 a.m. on a sunny winter day. I pay close attention to thaw timing and to spots that drain poorly. If the trail is soft enough to rut, I do not call it a tough ride - I call it the wrong day to be there. After that kind of ride, the bike needs attention fast.
Treat the post-ride cleanup as part of the ride
Cold-weather grime is relentless. Snow, slush, road salt, and wet dirt cling to the chain, cassette, brakes, and suspension parts. If I let that sit, the bike feels rough the next time out and corrosion starts quietly. Winter maintenance is not glamorous, but it is what keeps the season from becoming expensive.
My routine is straightforward: wipe the drivetrain after a dirty ride, relube with a wet-condition chain lube, and give the bike a deeper clean every few weeks if I am riding often. If the bike got soaked or frozen, I let moving parts thaw before the next ride. Disc brakes are especially helpful in winter because wet conditions are easier to manage than with rim brakes.
- Wipe the chain and drivetrain after every sloppy ride.
- Use wet lube, not a dry summer lube.
- Check brake pads more often than you would in summer.
- Store the bike indoors when possible, especially overnight.
- If you ride an e-bike, keep the battery warm indoors and expect less range in the cold.
That maintenance work buys you reliability, which matters more in winter than speed or elegance. If the bike is ready, your kit is warm, and the trail is actually frozen or dry, winter riding stops feeling like a compromise and starts feeling like a different kind of good day out.
What I pack for a winter ride in the U.S.
When I want winter mountain biking to stay fun instead of frustrating, I keep the plan simple. I choose a ride I can finish in daylight, pack for a colder return than I expect, and leave room to cut the loop short if the surface softens or the weather turns.
- One extra pair of gloves or liners
- A packable wind shell or spare warm layer
- Phone, ID, and a small emergency snack
- Front and rear lights, fully charged
- Hand warmers on very cold days
- Enough time to be off the trail before thaw starts
The real answer to winter mountain biking is not a calendar date. It is judgment. If the trail is dry or frozen, the bike is set up for grip, and your clothing keeps sweat under control, the ride can be excellent. If the trail is thawing, muddy, or icy enough that you are fighting the surface every minute, I would save my energy for a better day and come back when the trail can take it.