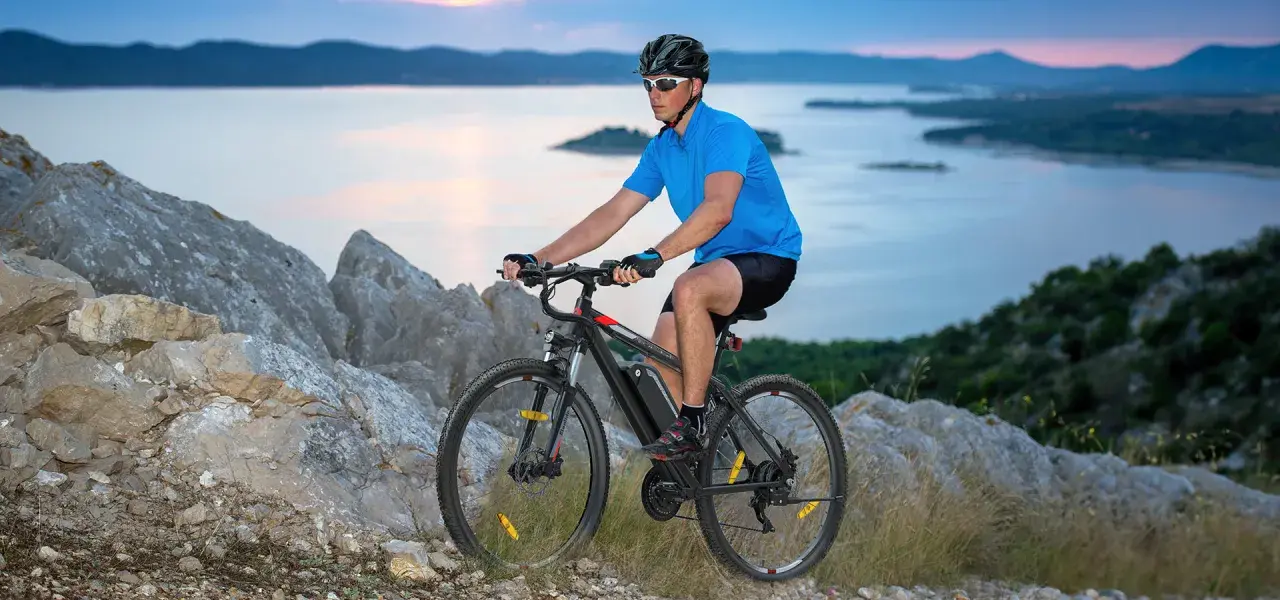
Off-road riding rewards the right setup more than almost any other branch of cycling. A mountain bike is only part of the equation; trail choice, suspension travel, tire width, fit, and basic handling skills decide whether a ride feels fast and fun or nervous and exhausting. In this guide, I break down the real differences between bike types, the setup choices that matter most, and the habits that help new riders progress without wasting money.
The essentials that matter before your first ride
- The trail should decide the bike, not the other way around.
- Hardtails are cheaper and simpler; full-suspension bikes are more forgiving on rough terrain.
- 29-inch wheels roll efficiently, while 27.5-inch wheels feel quicker to change direction.
- Hydraulic disc brakes, a dropper post, and the right tire width usually matter more than flashy drivetrain specs.
- The fastest early gains usually come from setup, braking, and body position, not expensive upgrades.
What makes an off-road bike feel right on real trails
When I fit riders for trail use, I start with how the bike behaves under real load, not with brand names or marketing labels. A stable front end, enough tire volume to hold traction, and brakes that stay predictable on long descents usually matter far more than a few grams of weight savings. In practice, the best setup is the one that lets you stay relaxed when the trail gets rough.
| Feature | What it changes | Why I care |
|---|---|---|
| Geometry | Stability, climbing posture, cornering feel | Modern geometry keeps the bike calm when the trail gets steep or loose. |
| Suspension | Comfort, traction, control on impacts | More travel is not automatically better; it has to match the terrain. |
| Tires | Grip, rolling speed, puncture resistance | Local dirt should decide tread and width more than habit does. |
| Brakes | Speed control and heat management | Hydraulic discs are the baseline for serious trail use. |
| Dropper post | Body movement and cornering freedom | Lowering the saddle on descents makes the bike feel instantly more manageable. |
For many riders, the practical sweet spot is a 1x drivetrain, hydraulic brakes, tubeless-ready wheels, and an air fork or air shock that can be tuned instead of simply tolerated. Once those pieces are clear, the bigger decision is the bike category itself.
How to choose a mountain bike for the terrain you ride
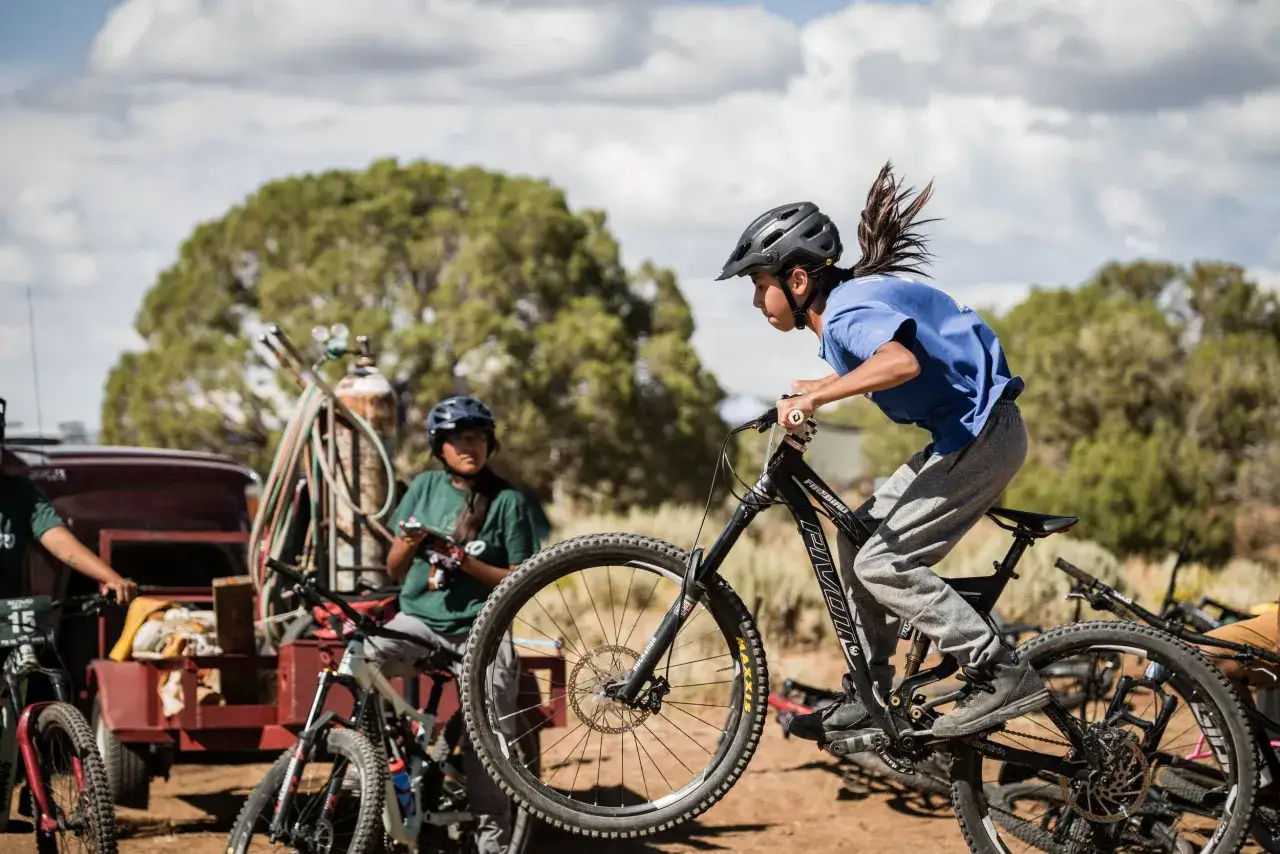
I choose the bike after I understand the terrain, not before. Smooth rolling paths and longer climbs reward a lighter hardtail or short-travel XC rig; rooty, rocky local singletrack usually feels better on a trail full-suspension; steeper descents and bike-park days push you toward more travel. If you already know where you plan to ride most often, the choice becomes much easier.
| Ride style | Typical travel | Best use | Trade-off | Typical US starting budget |
|---|---|---|---|---|
| Hardtail / XC | 80-120 mm | Fitness rides, smoother trails, light trail use | Less forgiveness on rough descents | $600-$1,500 |
| Trail full-suspension | 120-150 mm | Mixed terrain, everyday singletrack, longer adventures | More cost and maintenance | $2,000-$4,500 |
| Enduro / long-travel | 150-180 mm | Steep descents, rough trails, park days | Heavier and slower on climbs | $3,500-$7,000+ |
| Downhill | 180-200 mm | Lift-served bike-park laps | Very niche and poor for climbing | $3,500-$8,000+ |
| e-MTB | Varies | More laps, bigger climbs, longer days | Heavier, pricier, and sometimes restricted on trails | $3,000-$10,000+ |
Wheel size matters, but only after the category is right. A 29er rolls over obstacles more smoothly and keeps momentum well, 27.5-inch wheels feel more nimble in tight terrain, and a mullet setup can blend both traits on aggressive bikes. I would not let wheel size outrank terrain, fit, and suspension when making the decision.
For the US rider shopping the current market, retailers like REI still show entry hardtails under $600 and full-suspension models around $2,000, which is a useful reality check before you get carried away by spec sheets. Once the category is right, the next question is what your budget actually buys.
What to spend and what features are worth paying for
I think most riders get the best value by buying the least fancy bike that still has modern geometry, hydraulic discs, and a frame they will not outgrow in six months. A good frame and sensible build are easier to live with than an over-specced bike with awkward handling. If you are spending once and want to keep the bike for several seasons, this is where the money should go.
| Budget | What usually makes sense | What I would watch for |
|---|---|---|
| Under $800 | Used hardtail or very basic new hardtail | Check frame fit, brake quality, and whether the geometry feels outdated. |
| $800-$1,500 | Better hardtail with hydraulic brakes and a decent fork | This is often the best value zone for new riders. |
| $1,800-$3,500 | Entry-level trail full-suspension | Worth it if your local trails are rough or you ride often. |
| $3,500+ | Better suspension, lighter wheels, premium frame materials, or e-MTB options | Pay this only if your terrain, mileage, or performance goals justify it. |
The features worth paying for first are simple: hydraulic disc brakes, an air fork, tubeless-ready wheels, a dropper post, and a frame that fits properly. I would rather spend on those than chase extra drivetrain gears or a carbon frame that does not solve any real problem. If you are buying used, inspect the fork stanchions, pivot bearings, wheel condition, and brake wear before you assume a lower price is a bargain.
Once you have the budget under control, setup becomes the faster way to improve than swapping parts.
The setup that changes the first 10 rides
Most riders underestimate how much free performance lives in setup. I can usually make a decent trail bike feel dramatically better with a handful of adjustments before I touch anything expensive. The goal is not perfection on day one; it is to remove the obvious sources of awkwardness so the bike disappears under you.
- Set saddle height so you can pedal efficiently without feeling cramped, then confirm that the dropper post reaches a genuinely low position on descents.
- Start tire pressure from the maker’s recommendation, then move in 1-2 psi steps until the bike grips without squirming or rim strikes.
- Use the fork and shock sag chart instead of guessing; many trail setups end up around 20-30 percent sag, then get fine-tuned on the trail.
- Angle the brake levers so your wrists stay neutral when you are standing, because braking posture matters as much as brake power.
- Practice dropping the saddle before every descent, not after you have already committed to the line.
If the bike feels vague, I usually look at tire pressure before I blame the suspension. If it feels harsh, I check sag and rebound before I start shopping for upgrades. Once the bike is set up well, trail technique becomes the real performance multiplier.
Skills that matter more than extra speed
When I watch new riders improve, the biggest gains usually come from body position and braking, not fitness alone. You do not need elite power to ride better; you need cleaner inputs. A calmer upper body, better vision, and earlier decisions will save more energy than another expensive component ever will.
- Look two or three bike lengths ahead instead of staring at the front wheel.
- Brake before the corner, then release pressure through it.
- Keep elbows and knees soft so the bike can move under you.
- Stay seated on traction-friendly climbs, then shift forward only when the front wheel starts to wander.
- On descents, lower your chest and keep your weight centered so the bike can accelerate beneath you.
If you want faster progress, add one skills-focused session each week rather than only piling on more mileage. Ten minutes of repeated braking or cornering drills often teaches more than another tired hour on the trail. Good skills only matter if you stay on trails that can handle the traffic.
Trail etiquette and safety that protect access
Trail access in the US depends on riders acting like they belong there. IMBA and local trail groups keep repeating the same basics for a reason: stay off muddy trails, control speed near blind corners, and yield properly. I also make a habit of checking trail status before a trip, because weather, fire restrictions, and seasonal closures can turn a planned ride into a wasted drive.
- Ride open trails only and skip wet, muddy sections.
- Yield to hikers and give horses extra space and patience.
- Slow down near trailheads, blind turns, and crowded sections.
- Carry water, a tube or plug kit, a pump, a multitool, and a basic first-aid item.
- Learn the local trail rating system, but trust the posted sign at the trailhead first.
- If you are traveling for a ride weekend, check shuttle rules, parking, and permits before you pack the car.
That kind of discipline is boring in the best possible way. It keeps you riding longer, with fewer surprises and fewer access problems. After that, the smartest spend is usually the first upgrade that removes a real limitation rather than a cosmetic one.
The first upgrades that actually pay off
If the bike still feels vague after a few rides, I usually spend money in this order: tires, dropper post, brake pads or larger rotors, then cockpit comfort. That sequence fixes traction and control before it chases marginal speed, which is where most riders should start. If your local terrain is mellow, the smartest upgrade may simply be more trail time on the same loop, because repetition does more for confidence than a new component ever will.
If I were starting today in the US, I would pick the simplest rig that matches my local trails, make sure the fit is correct, spend on the setup, and learn one route well before branching out. That approach usually gives better value, better control, and more fun than trying to buy your way around the learning curve.