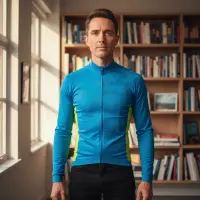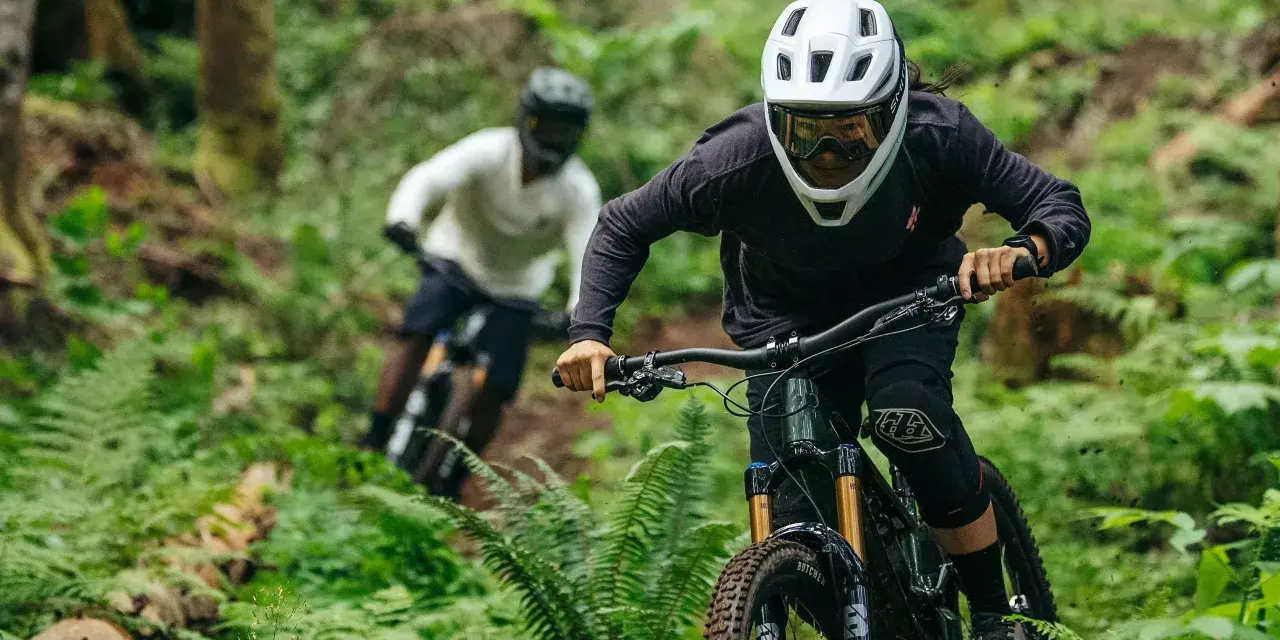
Mountain biking rewards clothing that moves, breathes, and protects without getting in the way. This guide answers what to wear mountain biking without overbuying gear you will never use. I’ll cover the core kit, how outfits change for trail, XC, and bike-park riding, and the weather tweaks that matter across the U.S.
The quickest way to dress for a trail ride
- Start with a CPSC-certified helmet, full-finger gloves, grippy shoes, and moisture-wicking clothes.
- For most trail riding, baggy shorts with a liner and a loose jersey are the safest default.
- XC riders often prefer a tighter, lighter kit; bike-park and enduro riders usually add pads and a full-face helmet.
- In hot weather, focus on airflow and sweat control; in cold or wet weather, build around removable layers.
- Avoid cotton, sandals, stiff denim, and anything that can snag on the bike or trail.
The core kit that works on most trail rides
If I were packing for a normal weekend ride, I would keep it simple: helmet, gloves, shoes, shorts or liners, and a breathable top. That is the foundation that keeps you safe, comfortable, and able to move on the bike. In the U.S., a practical mid-range starter setup usually lands around $250 to $500, and closer to $450 to $900 once you add proper shoes and knee pads.
| Item | What to look for | Typical U.S. price | Why it matters |
|---|---|---|---|
| Helmet | Good ventilation, secure fit, visor, CPSC certification | $60-$180 | Your first and most important safety buy |
| Gloves | Full-finger, grippy palms, light padding | $20-$45 | Better grip, less hand fatigue, more protection from brush |
| Jersey or top | Moisture-wicking fabric, relaxed cut, quick-dry feel | $35-$90 | Keeps sweat from soaking your shirt on climbs |
| Shorts or liner shorts | Stretch fabric, room for knee pads, optional chamois pad | $50-$140 | Helps with mobility and saddle comfort |
| Shoes | Sticky rubber, secure heel, pedal-appropriate sole | $90-$180 | Foot control matters more off-road than people expect |
| Knee pads | Low-profile, breathable, comfortable on long rides | $45-$120 | Useful even on moderate trails if you crash or dab often |
My buying order is usually helmet first, then shoes, then gloves. After that, I add shorts or a liner and a jersey that matches the weather where I actually ride. Once the basics are in place, the next step is choosing the right cut for the kind of mountain biking you do.
How trail, XC, and bike-park outfits differ
Not every mountain bike ride asks for the same kit. A mellow local trail loop, a fast cross-country lap, and a rough enduro descent all reward different priorities. I think the easiest way to choose is to ask one question: do you want maximum pedaling efficiency, or do you want more coverage and impact protection?
| Ride type | Best clothing choice | Why it works | What I would avoid |
|---|---|---|---|
| Trail riding | Baggy shorts with a liner, loose jersey, gloves, optional knee pads | Balances comfort, movement, and a little extra protection | Overly stiff clothing that catches when you move around the bike |
| Cross-country | Closer-fitting shorts and jersey, lighter layers, minimal bulk | Reduces weight and stays efficient on long climbs | Heavy pads unless the terrain really demands them |
| Enduro or bike park | Durable shorts or pants, long-sleeve top, knee pads, often a full-face helmet | Prioritizes protection on steep, fast, and high-consequence terrain | Thin summer kit with no coverage on aggressive descents |
Trail riders in the U.S. usually end up wearing the most versatile kit because it works almost everywhere. XC riders often lean toward lighter, tighter clothing because they care more about cadence and heat management. For bike-park laps, I would spend less time thinking about style and more time thinking about coverage, because the consequences of a bad crash go up fast. Once the cut is right, weather becomes the real deciding factor.
Build your layers around weather, not the calendar
In much of the U.S., the calendar matters less than the forecast. A May morning in Colorado can feel like winter at the trailhead and summer by lunchtime. A September ride in the Southeast can still be hot enough to soak a jersey in ten minutes. That is why I prefer removable layers over one heavy all-purpose jacket.
Hot and humid days
When heat is the problem, choose lightweight synthetic fabrics that move sweat away from the skin. A short-sleeve jersey, thin liner shorts, and vented gloves are often enough. If your local trails are dusty or exposed, a long-sleeve jersey can still make sense because it protects your arms from sun, brush, and trail grime without feeling as heavy as a jacket.
Cool mornings and shoulder seasons
For spring and fall, I like a setup that can shrink as I warm up. Arm warmers, a thin base layer, and a lightweight vest are easier to manage than one big insulated top. A packable wind shell is especially useful on long climbs, because you can strip it off before you overheat and stash it in a pocket or small pack.
Read Also: Mountain Biking Los Angeles - Your Guide to Top Trails & Rides
Cold or wet rides
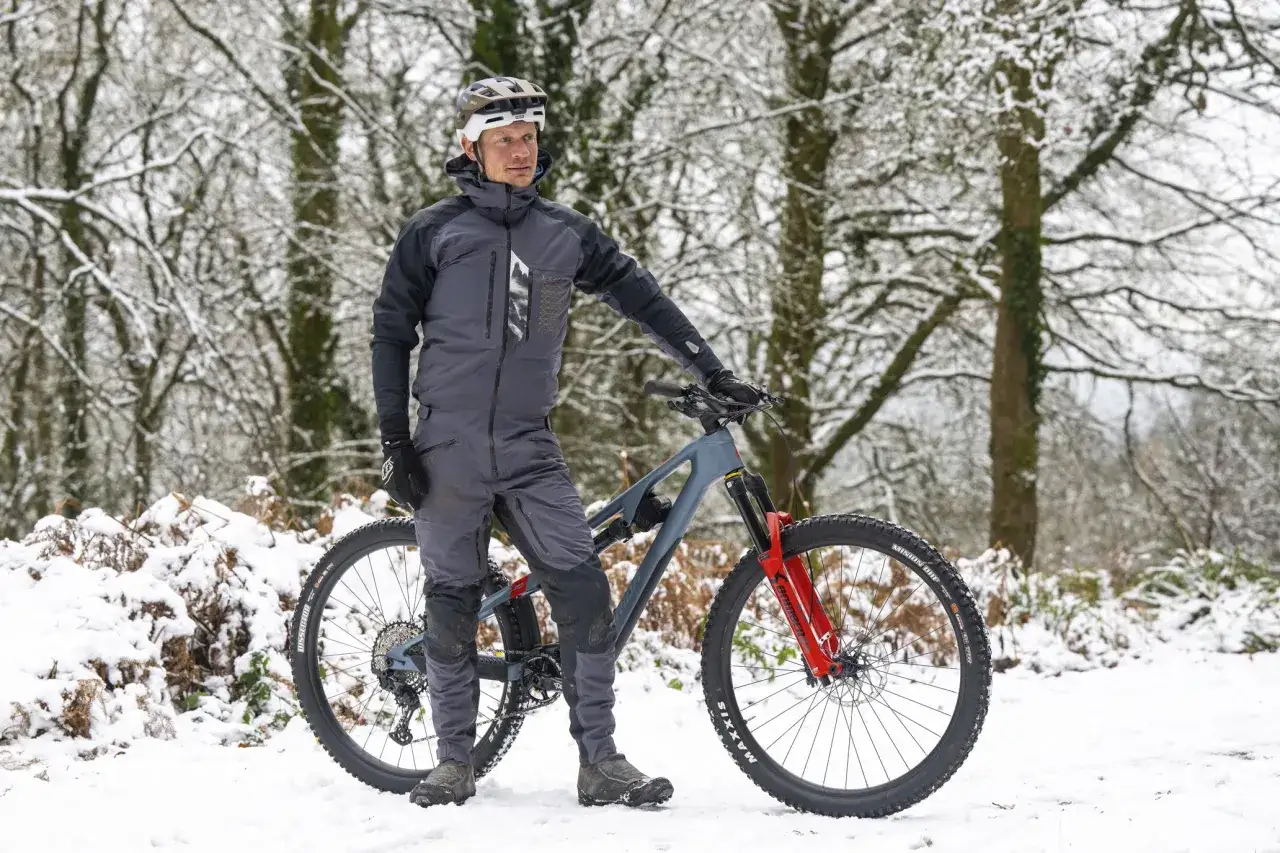
When the temperature drops or the trail gets sloppy, layering matters more than thickness. A merino or synthetic base layer keeps moisture off your skin, a windproof or waterproof-breathable jacket blocks the worst of the weather, and thermal gloves can save a ride that would otherwise turn numb. If you ride through winter or wet shoulder seasons, waterproof shoes or shoe covers are worth considering because cold feet end comfort faster than most riders expect.
My rule is simple: dress a little cool at the start of the ride, then warm up on the first climb. If you are still comfortable at the trailhead, you are probably overdressed. Once the weather strategy is set, the remaining choices are mostly about safety and control.
The accessories that earn their place on the trail
This is where I spend money first because the right accessories do more than add comfort. They protect your hands, eyes, knees, and feet, and they make technical riding feel calmer and more predictable.
- Helmet - In the U.S., I would only buy a helmet that meets the CPSC bicycle helmet standard. For downhill, bike-park, or hard enduro riding, look for a full-face model that also meets ASTM F1952. If you want an extra quality filter, Virginia Tech Helmet Lab ratings are useful, and I generally look for 4- or 5-star options.
- Glasses or goggles - Wraparound sunglasses protect against dust, branches, and glare. Photochromic lenses are especially useful because they darken and lighten with changing light. Goggles make more sense in mud, dust, or downhill riding where sealing out debris matters more.
- Gloves - Full-finger gloves improve grip, reduce vibration, and protect your knuckles from brush. I prefer light padding over bulky winter insulation unless I am riding in genuinely cold weather.
- Knee and elbow pads - On mellow trails they are optional, but on rockier terrain they are cheap insurance. Low-profile pads are easier to wear consistently, which matters more than buying the most protective model and leaving it at home.
Shoes deserve their own decision because pedal choice changes the whole feel of the ride.
| Pedal setup | Best shoe choice | Why it works |
|---|---|---|
| Flat pedals | MTB flat shoes with sticky rubber soles | More forgiving foot placement and easier walking on the trail |
| Clipless pedals | Recessed-cleat MTB shoes | Stable connection and efficient power transfer |
| Learning technical trails | Flat shoes first | Less stressful when you need to dab a foot quickly |
If you are new to dirt riding, I would not start with road shoes, because they are too slippery to walk in and too awkward off the bike. A good mountain bike shoe gives you traction when the trail turns into a hike-a-bike, which happens more often than people like to admit. From there, the last big decision is avoiding the wrong pieces entirely.
What I would not wear on a mountain bike ride
Most bad MTB outfits fail for one of three reasons: they hold moisture, restrict movement, or create avoidable risk. I do not care how casual the ride is, I would skip anything that makes the bike harder to control or the trail harder to manage.
- Cotton T-shirts - They soak sweat, stay wet, and feel cold on descents.
- Jeans or heavy denim - They are stiff, slow to dry, and uncomfortable when you move on and off the saddle.
- Sandals or flip-flops - They offer almost no pedal grip or toe protection.
- Loose hoodies with dangling cords - They can snag, flap, and overheat you on climbs.
- Old running shoes with soft, slick soles - They can work in a pinch, but they are not built for pedal control or rough terrain.
I also avoid anything that is so oversized it catches on the saddle or the top tube when I move around. That does not mean you need skin-tight road kit. It just means the clothing should disappear while you ride, not demand attention every time you stand up. If you keep that standard in mind, building a useful MTB wardrobe becomes much easier.
If I were building a starter MTB wardrobe from scratch
When I look at the gear that gives the biggest return, the list is not very glamorous. It is practical, repeatable, and easy to build one item at a time.
- Buy a helmet first, and make sure it fits properly before worrying about style.
- Choose shoes that match your pedals and give you real grip on dirt and rock.
- Add gloves for control and hand protection.
- Pick shorts or liners that let you move freely and sit comfortably.
- Get one breathable jersey or top that matches your local weather.
- Upgrade to knee pads once you start riding rougher trails or longer descents.
That order covers safety, control, and comfort before you spend money on details that only matter on certain rides. Once those basics are right, you can fine-tune for heat, rain, or steeper terrain, and the rest of the wardrobe becomes optional rather than mandatory.