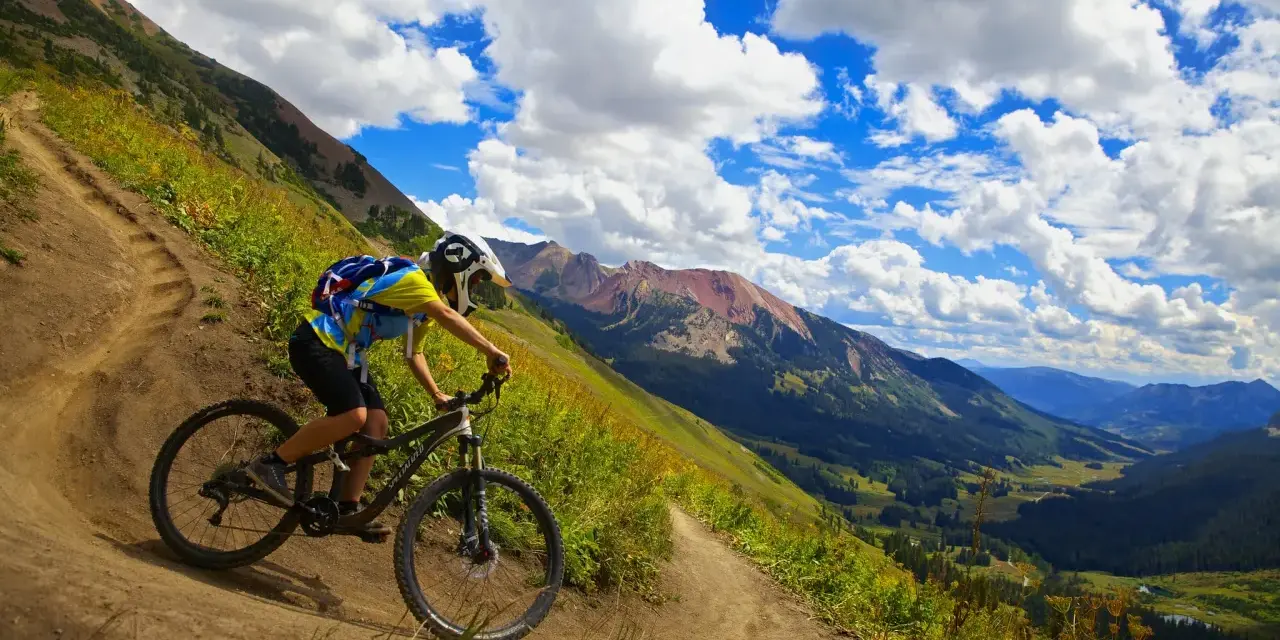
The best cross country mountain bike trails reward steady pedaling, clean climbing, and a loop that feels satisfying from the first mile to the last. I focus on the route traits that matter most in the U.S.: surface, elevation, difficulty ratings, loop design, bike setup, and the small planning choices that keep a ride fast rather than frustrating.
What matters most before you choose a route
- Look for a loop with sustained but manageable climbing, not just a short burst of technical trail.
- Use difficulty ratings as a first filter, then check total climbing, surface, and bailout options.
- Destination-grade trail systems in the U.S. often show up as IMBA Ride Centers or EPIC routes.
- A modern XC bike usually works best with efficient suspension, fast-rolling tires, and reliable gearing.
- The best ride also depends on weather, trail etiquette, and whether the route stays open and dry.
What makes a trail worth calling cross-country
When I evaluate a route for cross-country riding, I am looking for efficiency first. The trail should let you keep moving, climb without constant hiking, and carry enough rhythm that the ride feels like a real loop instead of a series of disconnected obstacles. That is why the best cross country mountain bike trails usually combine rolling terrain, singletrack flow, and a return to the trailhead without dead-end spurs or repeated bike-park features.Good cross-country terrain is not necessarily easy. It can be rocky, rooty, sandy, or exposed. The difference is that the difficulty comes from the whole route, not from one or two oversized features. A solid XC trail asks for fitness, line choice, and patience on climbs, but it should still feel rideable for the intended audience.
- Loop design matters. A clean loop is easier to pace, easier to bail out of, and more useful for training.
- Surface matters. Hardpack and well-drained dirt keep the ride fast; mud, deep sand, and loose rubble slow everything down.
- Gradient matters. Steady climbing is part of the sport, but repeated wall-like pitches turn an XC route into a different kind of challenge.
- Visibility matters. Trails with decent sight lines are easier to ride smoothly and are usually friendlier for mixed-ability groups.
Once I know what the route is trying to do, the next step is judging whether it matches the rider, not just the map.
How to judge difficulty before you commit
IMBA’s trail difficulty system is still the fastest way to get a rough read on a trail network. I treat it as the first filter, not the final verdict. A green loop may still be hard if the climbing is long and the surface is loose, while a blue trail can feel friendly if it is well built and the elevation gain is modest.
| Rider level | What I look for | What usually goes wrong | Best signal on the map |
|---|---|---|---|
| Beginner | Smooth tread, short climbs, easy exits, low exposure | Overestimating fitness, getting trapped on a long climb, riding too much tech too soon | Green rating, stacked loops, trailhead access close to easier options |
| Intermediate | Mixed roots or rocks, longer climbs, moderate cornering, a few technical sections | Underestimating cumulative fatigue on a 10- to 20-mile loop | Blue rating, clear mileage, visible elevation profile |
| Advanced | Longer mileage, rougher texture, steeper climbing, fewer bailouts | Starting too hard and fading late on remote sections | Black rating, backcountry character, limited service or trailhead access |
I also look at elevation gain, because mileage alone can be misleading. A 10-mile loop with 1,500 feet of climbing can feel tougher than a 16-mile ride with gentler grades. That is the kind of detail that separates a fun training ride from a ride that leaves you cooked halfway through.
With the difficulty sorted out, the next question is where in the U.S. you are most likely to find route systems that actually reward cross-country riding.
Where U.S. riders usually find the best networks
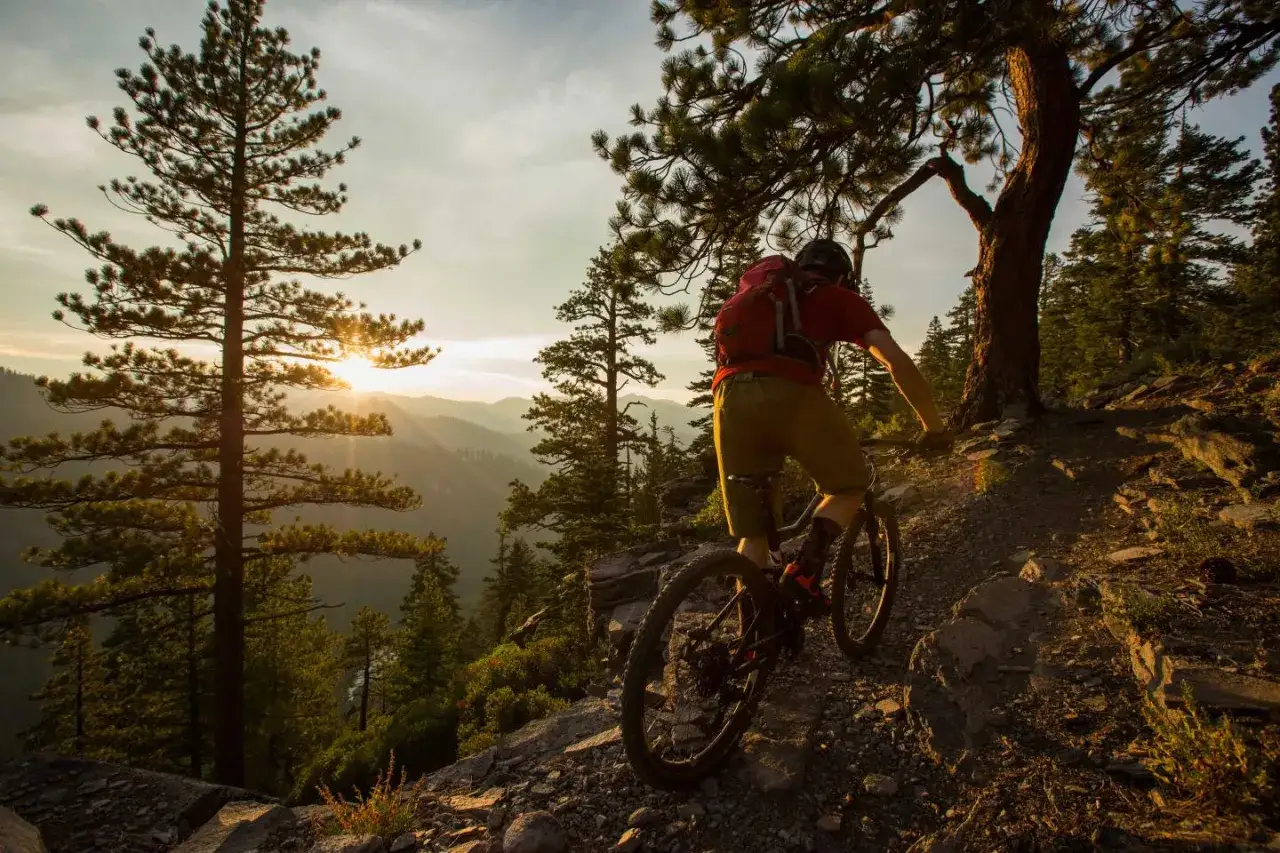
If I am planning a trip, I look for places that were designed as destinations rather than as one isolated trail. IMBA’s Ride Center program is a useful signal because it points to trail systems with progression, variety, and enough mileage to build a real day around. The current standard starts at 60+ miles of high-quality trails for a Ride Center and 100+ miles for a Premier Ride Center, which is a very practical way to separate a weekend-worthy network from a short local loop.
| Trail destination signal | What it usually means | Who benefits most | Example to keep in mind |
|---|---|---|---|
| Ride Center | 60+ miles, multiple trail types, built-in progression | Riders who want a full day or a long weekend with options | Cuyuna, Minnesota, is a current IMBA example |
| Premier Ride Center | 100+ miles and all four trail badges | Travelers who want a true mountain bike vacation | Best for riders who want variety without leaving the area |
| EPIC route | At least 20 miles, mostly singletrack, backcountry feel | Experienced riders with solid fitness and good pacing | Best when you want a demanding all-day ride |
| Stacked-loop local system | Easier inner loops and harder outer loops from one trailhead | Mixed groups, fitness training, and quick after-work rides | Ideal when one rider wants a short lap and another wants more mileage |
The reason these places work is simple: they let you choose effort instead of gambling on it. A trail town with clear progression is far more useful than a random network that looks big on paper but forces every rider onto the same route.
That destination knowledge helps, but the bike still has to match the terrain.
Set up your bike for efficiency, not just speed
For cross-country riding, I want a bike that climbs well, stays calm on rough ground, and does not feel heavy after an hour. I usually think of 100 to 120 mm of suspension as the sweet spot for a modern XC bike. It gives you enough comfort and control without dulling the bike’s personality on long climbs.
| Component | What I prefer for XC | Why it helps |
|---|---|---|
| Suspension | 100-120 mm front, with a lively rear setup if the bike has one | Keeps the bike efficient on climbs while still smoothing roots and chatter |
| Tires | About 2.25-2.4 inches wide | Fast enough for rolling terrain, with enough volume for grip and comfort |
| Drivetrain | 1x with a wide-range cassette | Makes steep climbs easier to manage without cluttering the cockpit |
| Brakes | Reliable, well-bled brakes with rotors sized for your terrain | Consistency matters more than saving a few grams on a long ride |
| Hydration | Two bottles or a pack, depending on heat and loop length | XC rides often run longer than they first appear |
If the route is hardpack and fast, I lean toward quicker-rolling tires. If it is rocky, loose, or full of sharp edges, I would rather give up a little speed and get better casing protection. That tradeoff is boring on paper and important on the trail, because it is the difference between staying in the flow and fixing a flat in the middle of nowhere.
Bike setup makes the ride easier, but technique is what keeps the ride smooth when the trail starts to ask questions.
Ride smoother on climbs, corners, and long loops
The biggest gains in XC usually come from cleaner riding, not heroic watts. I see a lot of riders waste energy by reacting late, braking too much, or shifting under load instead of preparing for the next feature. Small technique fixes add up fast on a ride with repeated climbs.
- Shift early. If the grade is about to kick up, I downshift before I need the gear, not after I am already grinding.
- Keep cadence smooth. A steady rhythm is easier to hold than repeated surges that spike fatigue.
- Brake before the turn. Enter controlled, then release pressure as the bike leans into the corner.
- Look farther ahead. On XC terrain, looking through the trail gives you time to choose a better line and avoid panic braking.
- Stay loose on rough climbs. Locked arms and a tense upper body waste traction and make the bike deflect off obstacles.
- Eat before you feel empty. For rides longer than about 90 minutes, I carry fuel early instead of waiting for the bonk.
For me, the cleanest rides are the ones where the bike looks quiet under the rider. That usually means fewer corrections, fewer stalls, and much less wasted effort on every climb and corner. Once the technique is in place, the final piece is making sure the ride is safe, legal, and realistic for the day.
What to carry and what to check before you roll out
The U.S. Forest Service is clear about the basics: stay on designated trails, avoid wet or muddy areas, ride with control, yield to hikers and horses, and carry protective gear and emergency essentials. I follow that advice because it protects both the trail and the ride. It also keeps small mistakes from turning into long walks out.
- Wear a helmet, and I would add gloves and sturdy shoes as standard XC gear.
- Bring enough water for the full loop, plus a little margin for heat or delays.
- Carry food, a basic tool kit, a spare tube or plug kit, and a pump or inflator.
- Check weather, daylight, and trail conditions before you leave the trailhead.
- Tell someone where you are riding if the route is remote or the cell signal is weak.
- Skip muddy trails if they are soft enough to rut; the ride is usually worse and the impact is unnecessary.
I also like to inspect tire pressure and brake feel before every serious XC outing. Those two checks solve more problems than most riders realize. If the pressure is too high, the bike skips and skitters; if it is too low, the bike feels vague and risks rim strikes. If the brakes feel soft at the parking lot, they will not feel better halfway up the climb.
The smartest XC ride is the one that matches the day
When I plan a cross-country ride, I try to match three things: the trail, the bike, and the conditions. A smooth local stacked-loop system is perfect for a fast fitness day. A Ride Center or EPIC route makes sense when I want a bigger travel day and more variety. And on wet, hot, or crowded days, I scale back the plan instead of forcing the route to fit the mood.
- Choose a route that gives you a clear loop and a realistic amount of climbing.
- Choose a bike that stays efficient when the trail gets long.
- Choose a day and a surface that let you ride well without damaging the trail.
If you remember nothing else, remember this: the best ride is not the hardest one, it is the one you can finish smoothly, safely, and want to ride again. That is the standard I use every time I point the front wheel toward a new loop.