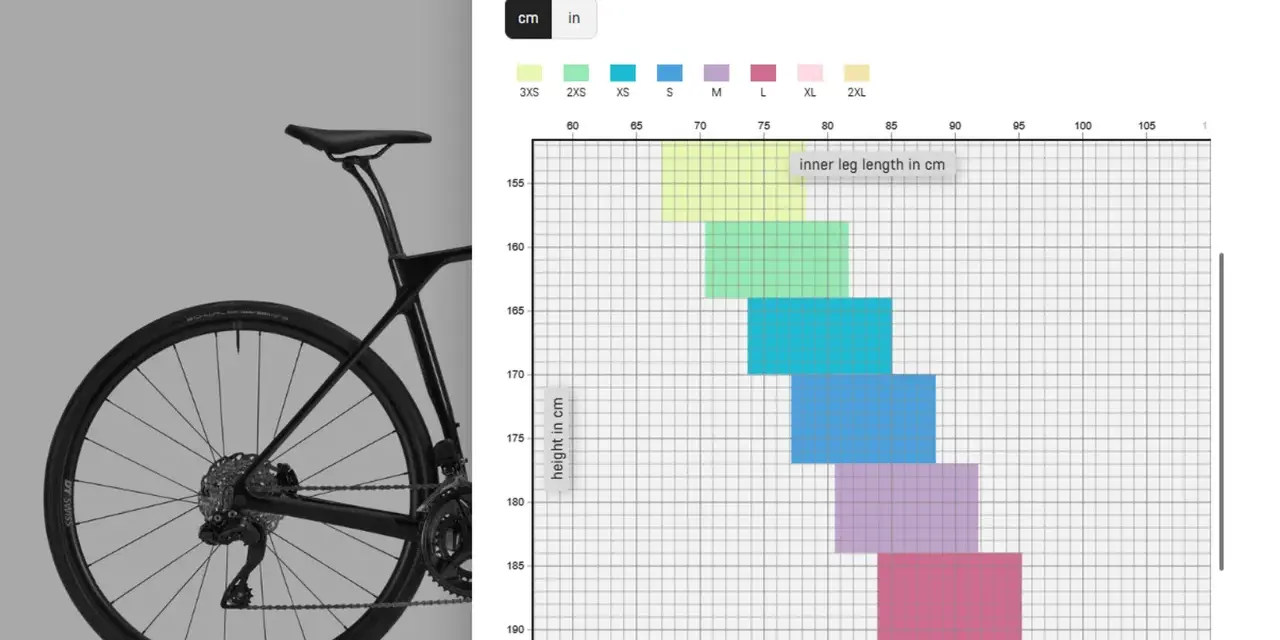
Cyclocross bike sizing is less about the number printed on the frame and more about how the bike supports quick remounts, sharp handling, and a stable position when the course gets messy. The right fit should let you shoulder the bike, move your weight around, and stay relaxed in the cockpit without feeling stretched or cramped. In the sections below, I break down the measurements that matter, how I compare frame charts, and where riders most often make the wrong call.
The right fit starts with clearance, then comes down to stack, reach, and handling feel
- Use height and inseam to narrow the range, but do not choose a frame by height alone.
- Standover clearance matters more in cyclocross than in many other bike categories because you dismount and remount often.
- Stack controls how tall the front end feels; reach controls how stretched out you are.
- If you are between sizes, the smaller frame usually feels quicker, while the larger one feels roomier and calmer.
- Small adjustments such as stem length, spacers, and bar position fine-tune fit, but they cannot rescue a frame that is fundamentally wrong.
Why cyclocross fit feels different from road or gravel
In cyclocross, I care about more than just efficient pedaling. A good frame has to let you get on and off the bike fast, carry it on your shoulder, and keep control when the course is slippery, bumpy, or full of tight turns. That is why a size that feels fine on a road bike can feel awkward on a CX bike.
The biggest difference is standover, the clearance between you and the top tube when you are standing over the bike. In cyclocross, that number matters because you are constantly dismounting, hopping barriers, and remounting under pressure. I still want roughly 1 to 2 inches, or 2.5 to 5 cm, of clearance in shoes. More can be helpful for confidence, but too much can mean the frame is getting too small for your body.
The second difference is handling. CX bikes are built to feel fast and responsive, but not nervous. A frame that is too long usually makes the front end feel heavy and harder to lift. A frame that is too small can feel twitchy and cramped, especially when you are riding hard out of the saddle. That balance is what makes the sizing decision more interesting than a simple height chart. Once that is clear, the next step is learning which numbers on the geometry chart actually matter.
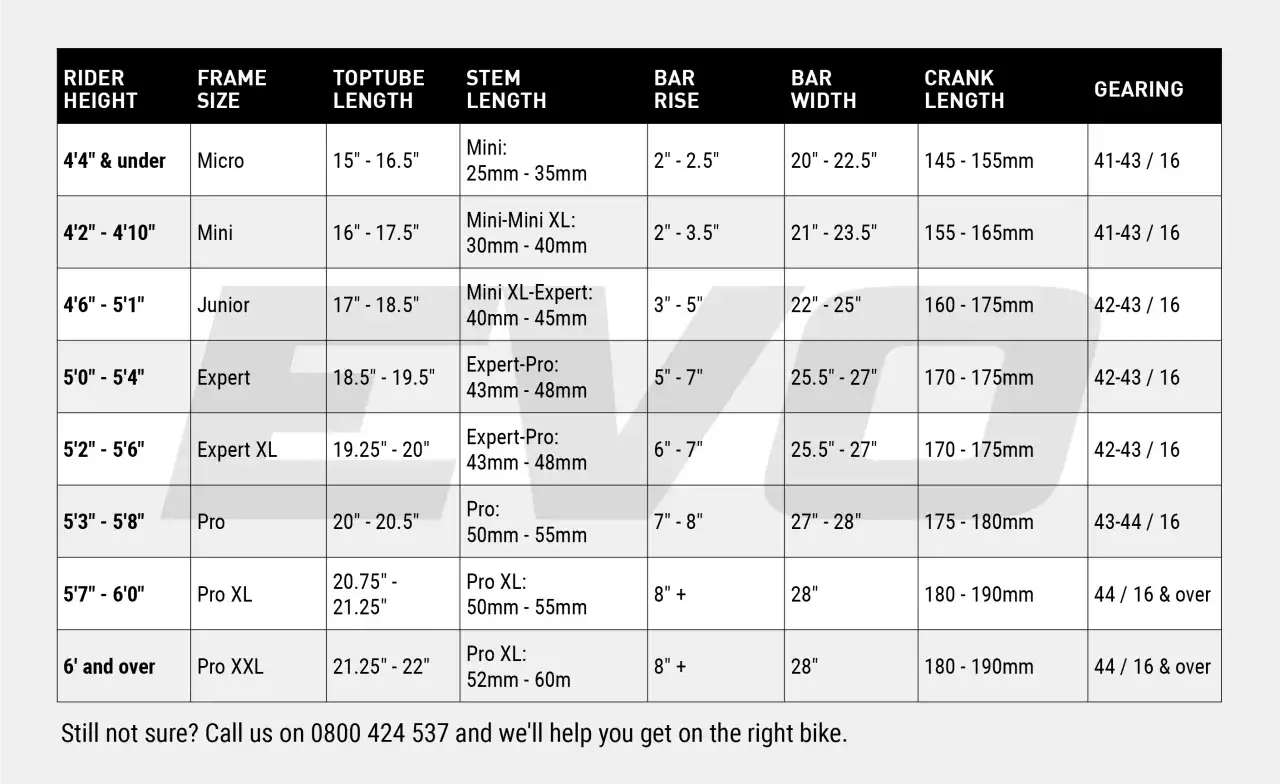
How to read a geometry chart like a fitter
When I compare frames, I care most about stack, reach, and standover. Seat tube length is still listed on many charts, but on modern frames it is mostly a label, not a complete fit answer.| Measurement | What it tells you | Why it matters in cyclocross |
|---|---|---|
| Standover | How much room you have when standing over the bike | Helps with dismounts, remounts, and confidence in muddy or technical sections |
| Stack | How tall the front end feels | Higher stack usually means a more upright position and less strain on the back and shoulders |
| Reach | How long the cockpit feels from the saddle to the bars | Controls whether the bike feels stretched, neutral, or cramped |
| Wheelbase | The distance between the front and rear axles | Influences stability and how quickly the bike changes direction |
I treat stack and reach as the real fit language of the bike. Higher stack tends to give a more relaxed front end, while lower stack drops you into a lower, racier position. Longer reach gives you more room to move and usually more stability; shorter reach feels tighter and more nimble. The trick is that these numbers work together, not separately, so one frame can have a short reach but still feel long if the stack is low and the bars end up far below the saddle.
If you remember only one thing from this section, make it this: the size badge on the frame is not the fit story. The geometry chart is. Once you can read that chart, deciding between two sizes becomes much easier.
How I choose between two nearby sizes
When I am between sizes, I start with the position I want the bike to support. Cyclocross is one of those disciplines where the “best” size depends on how you race, how flexible you are, and how much room you want in the cockpit.
| If you go smaller | If you go larger |
|---|---|
| Shorter cockpit, quicker steering, easier bike handling in tight sections | Roomier cockpit, calmer steering, more stable feel at speed |
| Often better for riders with a shorter torso or limited flexibility | Often better for riders with a longer torso or a preference for a more open position |
| Can feel more agile when you are hopping barriers and shouldering the bike | Can feel more composed on fast, rough, or straight sections |
| May require a bit more cockpit adjustment if you feel cramped | May feel too long if the reach stretches your upper body |
My default rule is simple: if the smaller size still gives you safe standover and enough cockpit room, it usually makes sense for racers who want a lively bike. If you prefer comfort, long practice rides, or a less aggressive posture, the larger size can be the better call. What I would not do is pick the bigger frame just because it feels more stable in a parking lot test. Slow-speed feel can be misleading.
In other words, choose the size that fits your body first, then use cockpit parts to fine-tune the feel. That leads directly into the mistakes that cause most bad purchases.
The sizing mistakes that cause most regrets
The most common mistake is choosing by height alone. Height is useful as a first filter, but two riders of the same height can need very different frames if one has longer legs and the other has a longer torso. In cyclocross, inseam and upper-body proportions often matter more than people expect.
- Ignoring inseam means you may end up with poor standover and less confidence on remounts.
- Choosing by road-bike memory can backfire because a CX bike may feel shorter, taller, or more compact than the road bike you are used to.
- Assuming a bigger frame is safer often creates a long reach that is hard to fix without compromising handling.
- Assuming spacers can solve everything is wishful thinking; spacers change front-end height, not the overall proportions of the frame.
- Buying on size label alone ignores the fact that one brand’s 54 can ride nothing like another brand’s 54.
I also watch for riders who plan to “make it work” with extreme cockpit parts. If a bike needs a very short stem, a very long stem, or a saddle pushed to the edge of its rails just to feel usable, the frame size is probably off. Small tweaks are normal; major compensation is a warning sign.
Once those traps are out of the way, the remaining job is simple: get the frame close, then use the contact points to finish the fit.
What to adjust after the frame size is close
A near-perfect frame can usually be polished into a great fit with a few parts swaps and position changes. That is the part many riders underestimate. I treat these adjustments as finishing tools, not rescue tools.
- Stem length changes how far you reach to the bars. A small swap can make the cockpit feel noticeably better.
- Spacer stack changes bar height and can take pressure off your back and shoulders.
- Handlebar width affects leverage and breathing comfort. Too wide can feel bulky; too narrow can feel unstable.
- Lever position changes wrist angle and braking comfort, especially in repeated remount-and-brake situations.
- Saddle height and fore-aft affect pedaling efficiency and how balanced you feel over the bike.
What these adjustments do not change is the bike’s underlying geometry. They cannot turn a wrong frame into the right frame. If you are making multiple big corrections just to feel normal on the bike, I would step back and question the size choice instead of piling on more parts. That is why the final check matters so much.
The fit check I would run before buying
Before I commit, I want to see how the bike behaves when I move through the exact motions cyclocross demands. A bike can look great on paper and still feel off once you start moving around on it.
- Stand over the bike in your actual shoes and confirm you have clean clearance.
- Reach the hoods and brake levers without locking your elbows or shrugging your shoulders.
- Shift your weight forward and back to see whether the bike feels balanced or nose-heavy.
- Step off and remount a few times to make sure the top tube and cockpit do not get in the way.
- If possible, ride a short stretch that includes a turn, a small bump, and a standing effort.
If the bike passes those checks, I am usually confident the size is close. If two or more of them feel wrong, I would not hope the fit will magically improve later. I would revise the size choice now, because in cyclocross the right frame pays off every time you accelerate, dismount, shoulder the bike, and get back on with less thinking and more control.