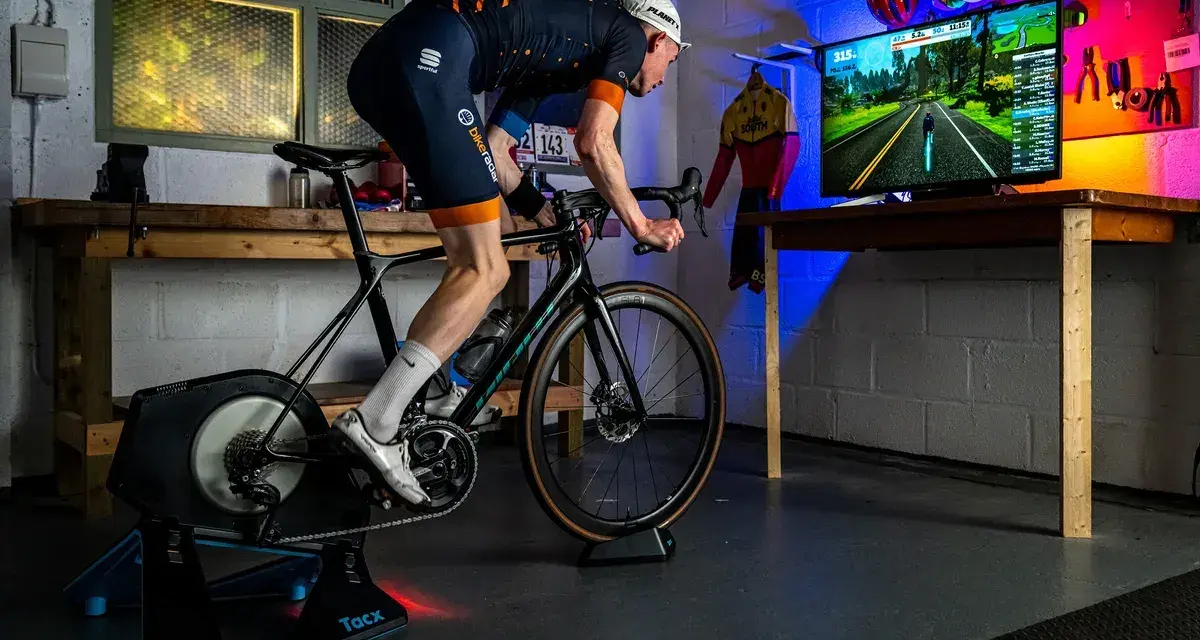
Zwift is only as good as the hardware behind it. I care less about chasing the flashiest setup and more about matching the right screen, trainer, and connection method to the way you actually ride. This guide breaks down the Zwift-compatible hardware and software that matter most, so you can avoid the usual setup mistakes and get a ride that feels smooth from the start.
The simplest way to choose a Zwift setup that works well from day one
- Zwift runs on modern PCs, Macs, iPhones, iPads, Apple TV, and many Android devices, but the app likes more memory and storage than the bare minimum.
- A smart trainer gives the most realistic experience because Zwift can change resistance automatically, while a classic trainer needs extra sensors.
- For most riders, 8 GB of RAM and a stable Bluetooth setup matter more than chasing a top-end graphics card.
- Heart rate monitors and cadence sensors improve training quality, but they are add-ons rather than launch requirements.
- Fans, mats, and a good screen make indoor riding more comfortable than people expect.
What Zwift actually needs from your hardware
At a basic level, Zwift needs two things: a device to run the app and equipment that can send ride data back to it. Zwift says most newer PCs and Macs, most iPhones and iPads, Apple TV models from the 4th generation onward, and many Android phones and tablets will run the app. That is the first filter; if your device is too old, no trainer upgrade will fix the problem.
The second filter is data. Your trainer or sensors need to communicate by Bluetooth Low Energy or ANT+, which are the two wireless standards Zwift leans on most often; BLE is the low-power Bluetooth mode most phones use, while ANT+ is a cycling-first radio standard many trainers and sensors still support. For cycling, Zwift needs at least one source of speed or power data. If your hardware can broadcast neither, it will not pair in the way you want. I also treat 4 GB of RAM and at least 4 GB of free storage as the real floor, not the comfort zone. In practice, 8 GB of RAM and a little breathing room on storage make the app feel less fragile.
That is why the phrase “compatible device” can be misleading. A phone may run the software, but if it cannot hold a stable connection to the trainer, the experience still falls apart. Once that distinction is clear, the next question is which screen and operating system give you the least friction.
Which screens and computers run Zwift best
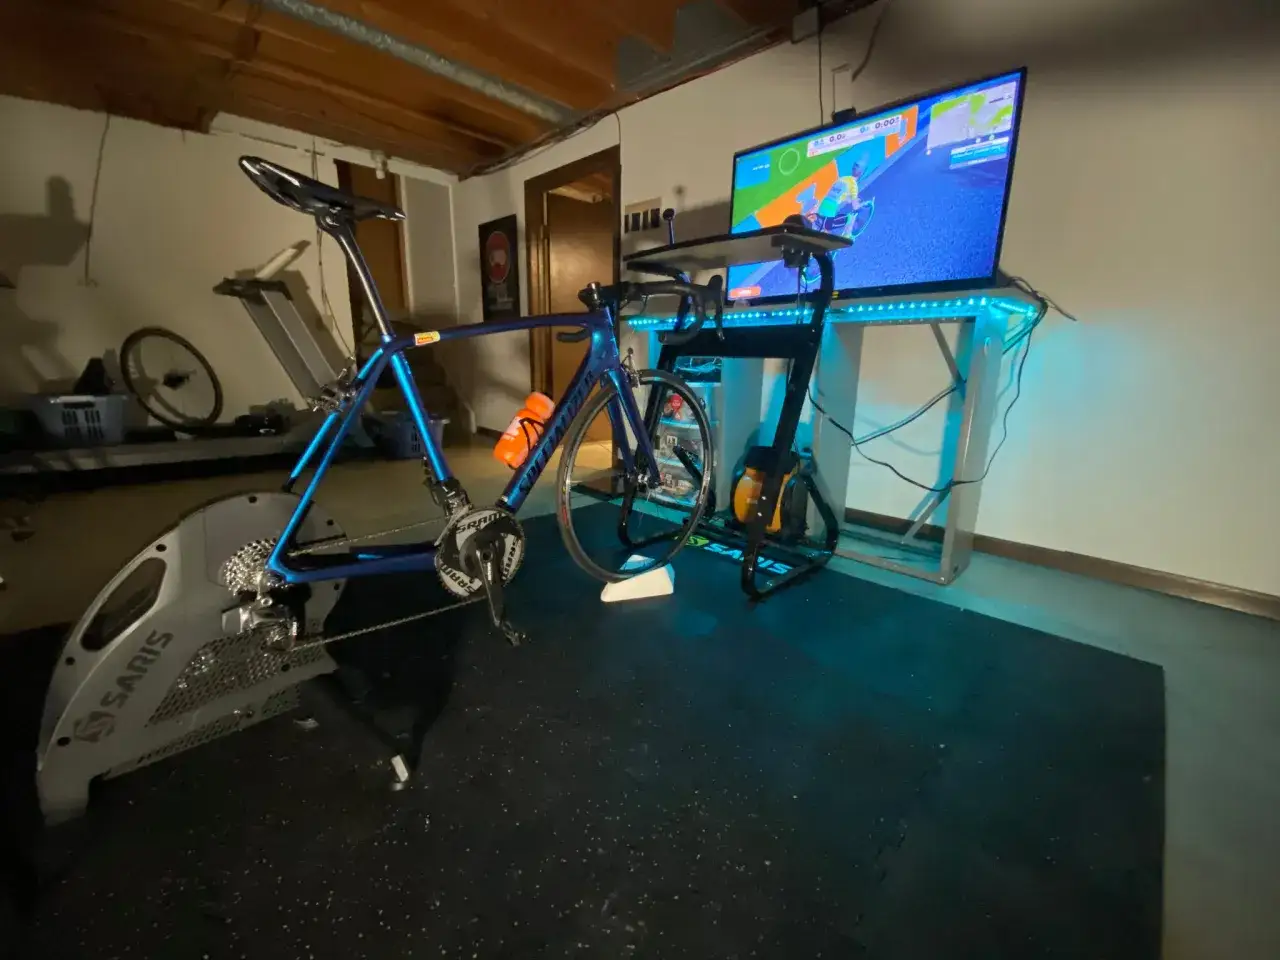
I usually divide Zwift host devices into four camps: computer, tablet, phone, and Apple TV. Each works, but they do not feel the same once you start riding.
| Device | Why it works | Trade-offs | My take |
|---|---|---|---|
| Windows PC or Mac | Best mix of performance, display size, and accessory support | Can require more setup and, on some laptops, better cooling | The safest choice if you ride often |
| Tablet | Portable, touch-friendly, easy to place near the bars | Smaller display than a computer, battery management matters | Excellent sweet spot for most home setups |
| Phone | Fastest way to get started and easy to carry | Screen is cramped for rides with lots of data | Best for testing Zwift before buying more gear |
| Apple TV | Big-screen indoor riding without a full computer desk | Less flexible than a computer, and the rest of your setup needs to be tidy | Great for a shared living room pain cave |
Zwift’s own guidance still matches what I see in real setups: newer machines are better, and the app rewards extra headroom. If you already own a decent laptop, that is usually the most practical place to start. If you want a more immersive feel, a tablet near the bars or Apple TV on a wall-mounted screen can be more enjoyable than a powerful but awkward desktop setup.
I also update the Zwift app and trainer firmware before I chase down pairing problems. A surprising number of “device” issues are really software issues, and that is much easier to fix than replacing hardware. Once the host device is sorted, the trainer itself becomes the real performance decision.
The trainer choice that changes the ride most
This is the part where people usually overspend in the wrong place or underspend on the one component that actually affects the ride. For Zwift, a trainer is not just a stand. It decides whether your hills feel believable, whether resistance changes automatically, and how much setup you have to deal with every time you ride.
| Trainer type | What you need | Experience | Typical 2026 budget in the US |
|---|---|---|---|
| Wheel-on trainer | Bike, rear-wheel roller, and usually a speed sensor | Cheapest path in, but the least immersive | $100-$300 |
| Direct-drive smart trainer | Bike mounted without the rear wheel, plus Bluetooth or ANT+ | Best balance of realism, accuracy, and convenience | $400-$1,200 |
| Smart bike | No separate bike setup; the whole unit is the trainer | Cleanest, quietest, most premium option | $1,500-$3,500+ |
| Rollers | Bike and balance | Most natural feel, least forgiving for new riders | $150-$600 |
If I were choosing for most riders, I would narrow it to two answers. A direct-drive smart trainer is the best all-around choice because it pairs well with Zwift, keeps noise down, and gives the app enough control to simulate terrain properly. A smart bike makes sense if the setup will stay in one place and multiple riders will use it, because the convenience starts to justify the price.
Zwift’s current trainer ecosystem also makes life easier than it used to be. Many newer trainers now use a single cog-and-app shifting setup, which reduces cassette hassle and makes bike swapping less annoying. That is a real quality-of-life gain, especially in households where more than one bike might use the same trainer. With the trainer decision made, the remaining pieces are smaller, but they matter more than people think once the workouts start.
Sensors, accessories, and connection habits that save headaches
Zwift will run with the basics, but a few extras make the experience feel much more complete. I separate them into two groups: training data and comfort gear.
Training data that is worth adding
- Heart rate monitor - the simplest way to keep intensity honest and track recovery across workouts.
- Cadence sensor - useful if your trainer or bike does not report cadence accurately on its own.
- Power meter - the cleanest metric for structured training if your trainer does not already provide solid power data.
- Zwift Companion app - helpful for joining events, messaging, and managing some ride functions without reaching for the main screen.
Comfort gear that changes whether you keep riding
- Fan - arguably the most important accessory after the trainer itself; indoor heat builds fast.
- Mat - protects the floor and quiets vibrations.
- Towel and bottles - simple, but they prevent small discomforts from turning into a bad session.
- Stable Wi-Fi or wired internet - not glamorous, but it matters if you race or ride group events.
There is also a connection habit that saves a lot of frustration: keep Zwift as the main app controlling the trainer, and avoid letting other apps quietly grab the same sensor in the background. On Android, ANT+ support depends on the device and sometimes on extra software, so Bluetooth is usually the simpler route unless you know your phone is built for ANT+ use. If I can reduce a setup to one clean wireless standard, I usually do it.
Before I troubleshoot a pairing issue, I also make sure the trainer firmware and the Zwift app itself are current. A lot of “bad hardware” complaints disappear once the software side is cleaned up. Once the sensors and accessories are under control, the last thing to do is match the setup to your budget and how seriously you plan to use it.
How I would build a setup around budget and riding style
There is no single best answer here, which is why I like thinking in scenarios instead of shopping lists.
For a first Zwift setup
Start with the device you already own, a wheel-on trainer or an entry-level smart trainer, and a basic fan. This is enough to learn the platform before you spend heavily. If the habit sticks, you can upgrade the trainer later without wasting the screen or the app setup.
For regular training
Move to a direct-drive smart trainer, pair it with a heart rate monitor, and use a tablet or laptop that stays permanently in the training space. This is the point where Zwift stops feeling like a novelty and starts working like a real training tool.
For a shared household
A smart bike or a trainer with a virtual shifting setup is hard to beat. Shared use is where convenience matters most, because a setup that is easier to adjust gets used more often. If a second rider has to reconfigure the whole drivetrain every time, the system is already working against you.
Read Also: Magnetic Bike Trainers - Still Worth It? Your Guide
For riders who care about racing
Prioritize stable power data, fast wireless connectivity, and a host device that does not stutter. I would take a reliable midrange direct-drive trainer over a flashy but inconsistent premium option every time. In racing, consistency beats spec-sheet bragging rights.
The common thread is simple: buy the setup that removes excuses, not the one that sounds most impressive on paper. That mindset leads naturally into the final question, which is what I would prioritize first if I were building a Zwift room from scratch in 2026.
The setup I would buy first if I were starting from scratch
If I were starting over, I would spend in this order: trainer first, host device second, accessories third. The trainer shapes the ride most, the host device keeps everything stable, and the accessories decide whether you want to come back tomorrow.
For most riders, that means a midrange direct-drive smart trainer, an existing laptop or tablet, a decent fan, and a heart rate monitor. That combination covers almost every useful Zwift scenario without trapping you in a premium ecosystem you may not need. It also leaves room to upgrade later, which matters because indoor cycling gear tends to improve fastest when you actually use it often.
In practical terms, the best indoor-cycling setup is the one that pairs cleanly, stays connected, and feels easy enough that you ride without negotiating with the equipment. Get those three things right, and the software does the rest.