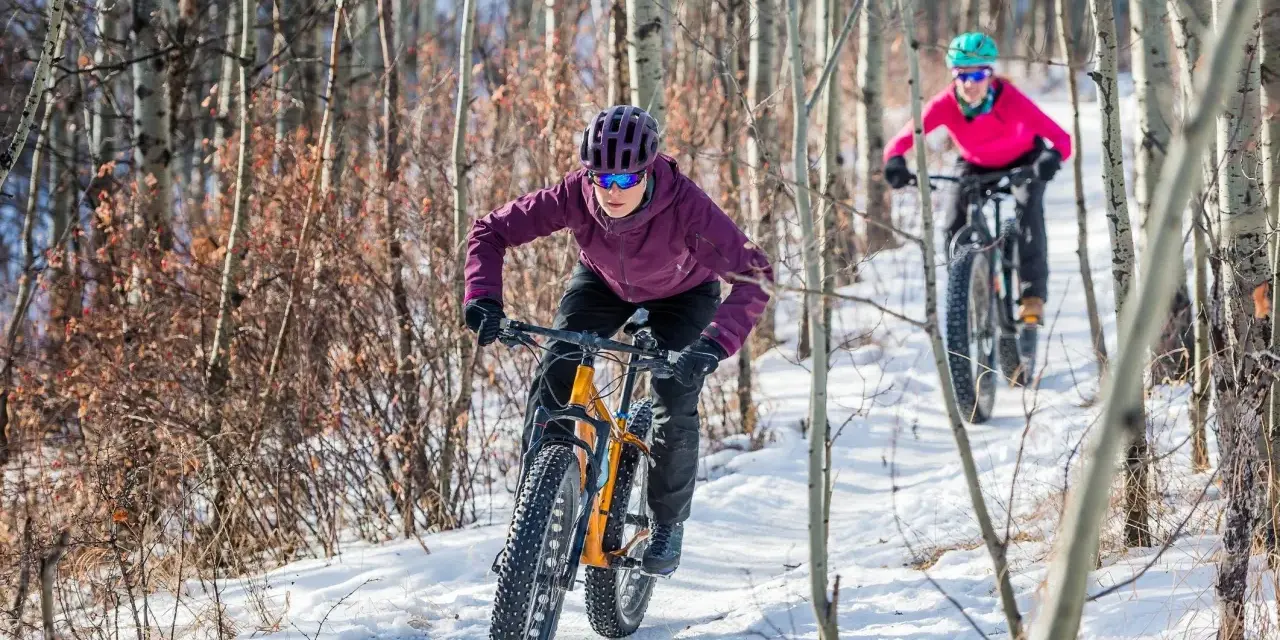
Riding a mountain bike through cold months changes the whole equation: traction gets inconsistent, daylight shrinks, and the same trail can swing from fast hardpack to greasy slop in a single mile. mtb in winter is less about proving toughness and more about making small decisions that keep the ride fun, safe, and worth repeating. In this guide, I cover the setup changes, clothing choices, riding technique, trail selection, and post-ride care that matter most when temperatures drop.
What matters most before a cold-weather ride
- Lower tire pressure helps, but only to the safe end of the tire's recommended range.
- Layering beats one heavy jacket because winter rides swing between chilly starts and sweaty climbs.
- Traction is the limiting factor, so brake earlier, corner smoother, and keep your movements relaxed.
- Snow, ice, and thawing mud can damage trails, so route choice matters as much as fitness.
- Wet rides need immediate cleaning and a drivetrain lube that can handle slush and grit.
What changes when the temperature drops
The biggest winter shift is not the cold itself, it is how unpredictable the surface becomes. Cold air lowers tire pressure, wet roots feel slicker, shaded corners can hide ice, and thawing dirt can turn from firm to axle-deep in minutes. I ride more conservatively because braking and cornering margins disappear fast when the trail is a mix of snow, moisture, and frozen soil.
That is also why winter riding rewards patience. The rider who softens inputs, scans farther ahead, and accepts slower speeds usually finishes with more control and less fatigue. Once you understand that the trail is asking for gentler inputs, the bike setup piece becomes much easier to tune.
How to set up your bike for traction and reliability
I start with the tires because they decide how much winter you can actually ride. Cold temperatures can pull pressure down faster than you expect, so I check it before every ride and keep it near the low end of the tire's recommended range. With tubeless setups, I can usually run a little softer for grip, but I still avoid going so low that the rim starts taking hits on rocks or frozen ruts.
| Setup | Best for | Trade-off |
|---|---|---|
| Standard trail tire | Firm winter dirt, light snow, mixed singletrack | Less float in deep snow |
| Mud tire | Wet roots, sticky clay, thaw cycles | Slower on hardpack and pavement |
| Plus-size tire | Mixed conditions, comfort, rocky winter trails | Can feel vague if run too soft |
| Fat bike | Snowpack and true winter routes where allowed | Heavier and slower on dry trail |
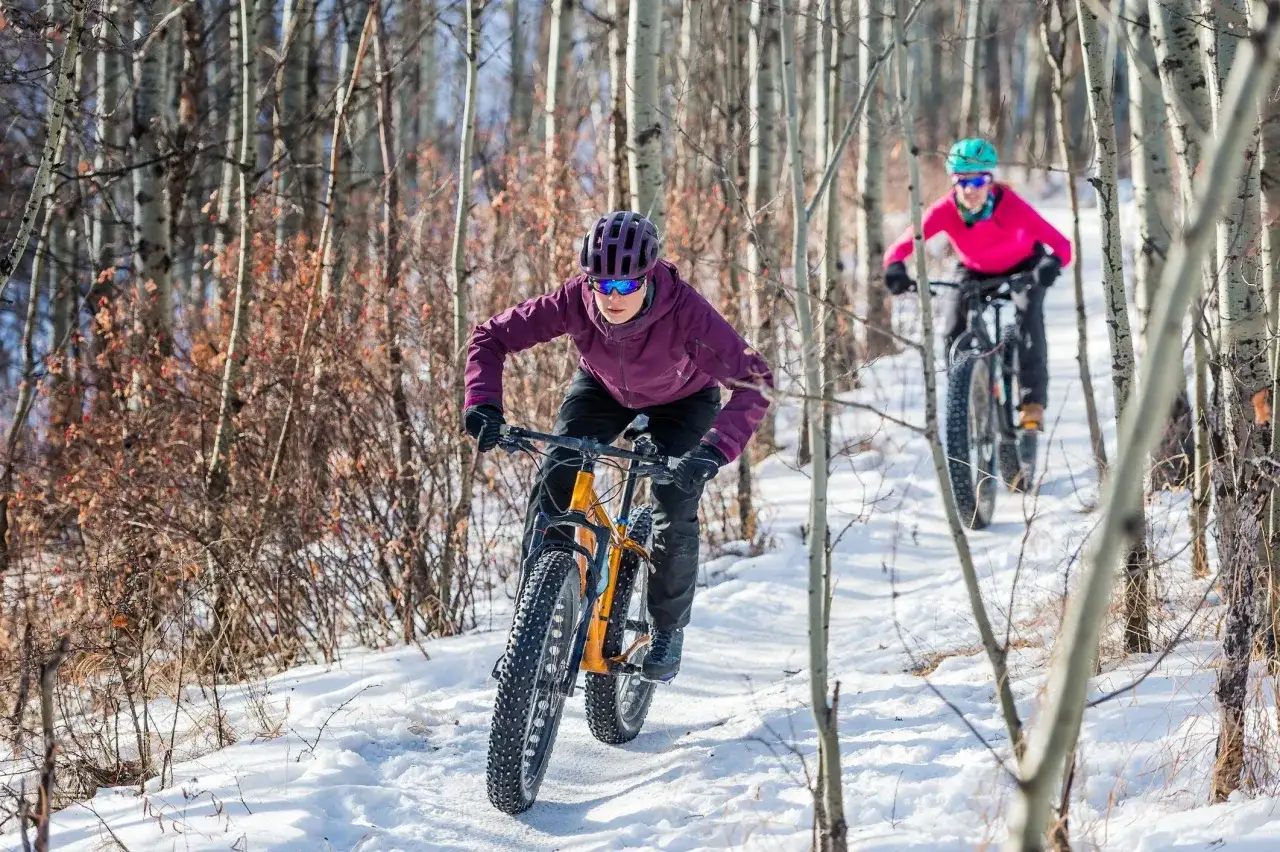
Fat-tire bikes usually mean tires at least 3.7 inches wide, and that extra volume is what gives them real traction in snow and sand. On a snowy route, that matters more than pure speed. A hardtail can work well if the trail is firm and you want less maintenance, while a full-suspension bike gives more comfort and traction on frozen roots and chopped-up descents. Most fat bikes are rigid, and the wide tires plus low pressure provide enough squish for winter terrain.
I also treat lighting as part of the setup, not an afterthought. Winter daylight disappears quickly in the United States, so if there is any chance of finishing near dusk, I want a bright headlight, a rear light, and something reflective. Once the bike is predictable, clothing becomes the next variable.
What to wear so you stay warm without overheating
The right clothing system matters more than the warmest jacket. I aim to start slightly cool and build around three layers: a moisture-moving base layer, a light insulating layer, and an outer shell that blocks wind and snow. If I overdress at the trailhead, I pay for it halfway up the first climb with soaked base layers and chilled skin on the descent.
- Base layer: synthetic or merino top that moves sweat away from the skin.
- Mid layer: thin fleece or thermal jersey for core warmth.
- Shell: windproof or water-resistant jacket you can unzip or stuff away.
- Hands: weatherproof gloves, often with a lighter backup pair for milder days.
- Head and neck: skullcap or buff under the helmet so ears and neck do not take the wind directly.
- Feet and eyes: warmer shoes or covers, plus clear or photochromic lenses for low winter light.
I also keep snacks and water easy to reach, because cold suppresses thirst and hands get clumsy when energy drops. For longer rides, I prefer an insulated bottle or a pack setup that slows freezing, because nothing kills momentum faster than discovering your water turned to slush. With the body warm enough to think clearly, the next gain comes from how you handle the bike itself.
How to ride slippery trails with more control
Winter technique is mostly about restraint. I brake earlier, leave the bike a little more upright in corners, and avoid sudden steering or power spikes when the tire is already searching for grip. In loose snow or slick mud, the smooth line is usually better than the aggressive line, even if it looks slower on paper.
- Look farther ahead so you can react to ice patches, frozen puddles, and hidden roots.
- Keep your hands and upper body relaxed; a tense rider makes the front tire nervous.
- Modulate brakes instead of grabbing them. Feathering gives you more control on mixed surfaces.
- Shift before the climb starts. Winter cadence changes are harder once traction fades.
- Stay seated on steep, loose climbs only if that keeps the rear tire hooked up; otherwise stand briefly and regain balance.
If the rear wheel starts to drift, do less, not more. Reduce lean, soften the brake, and let the bike come back underneath you. That kind of control matters, but it only works if the route itself is reasonable for the conditions.
Where to ride in the US and when to stay off the trail
In the United States, winter riding varies by region. In colder states, packed snow and frozen ground can make certain routes surprisingly fast, especially on fat-bike-friendly corridors. In warmer or wetter regions, the bigger issue is saturated soil: one thawing afternoon can turn a perfectly good trail into a rut machine.
I always check the local trail system, land manager updates, and closure notices before I leave. If the trail is closed, soft enough to leave visible tire marks, or likely to rut under my tires, I skip it. That is not being cautious for the sake of it; it is how access stays open for everyone else.
- Good winter choices: firm frozen singletrack, designated winter fat-bike routes, dry forest roads, and open hardpack loops.
- Poor winter choices: thawing clay, muddy switchbacks, closed trails, and steep lines that funnel meltwater.
- Best rule: if the trail would look worse after your ride, pick another route.
That discipline matters because winter trail use is as much about stewardship as it is about fitness. A clean ride today keeps the local system rideable tomorrow.
How to keep the bike alive after wet and salty rides
Winter maintenance is simple, but it has to happen consistently. I rinse off grit and salt as soon as I get home, dry the chain and pivot areas, and relube the drivetrain once it is clean. Letting slush sit on the bike is how winter turns a good drivetrain into a rough one.
- Wipe the chain, cassette, and derailleur after wet rides.
- Inspect brake pads and rotors for gritty wear.
- Check bearings, bolts, and suspension stanchions for trapped grime.
- Store the bike dry; if you use a garage, keep it out of repeated freeze-thaw cycles when possible.
- Recharge lights and check batteries before the next cold ride.
If your rides are especially wet or salty, a wet-condition lube is usually the safer call than a dry-season option. The goal is not showroom cleanliness; it is preventing the kind of wear that makes the bike feel bad by midseason. Once that routine becomes automatic, winter stops feeling like a repair burden and starts feeling like a season you can manage.
The habits that make winter riding worth repeating
The riders who enjoy cold-season trail time most are usually the ones who simplify the routine. They pick the right trail, leave a little margin in the tire pressure, dress for sweat control instead of just warmth, and clean the bike before rust and grit get a head start. That combination does more than protect equipment; it keeps the ride enjoyable enough that you actually want to do it again.
My own winter rule is straightforward: if I cannot explain why a specific ride is safe, legal, and likely to stay fun after the first climb, I choose a different loop or postpone it. That discipline turns winter riding from a gamble into a dependable part of the season.