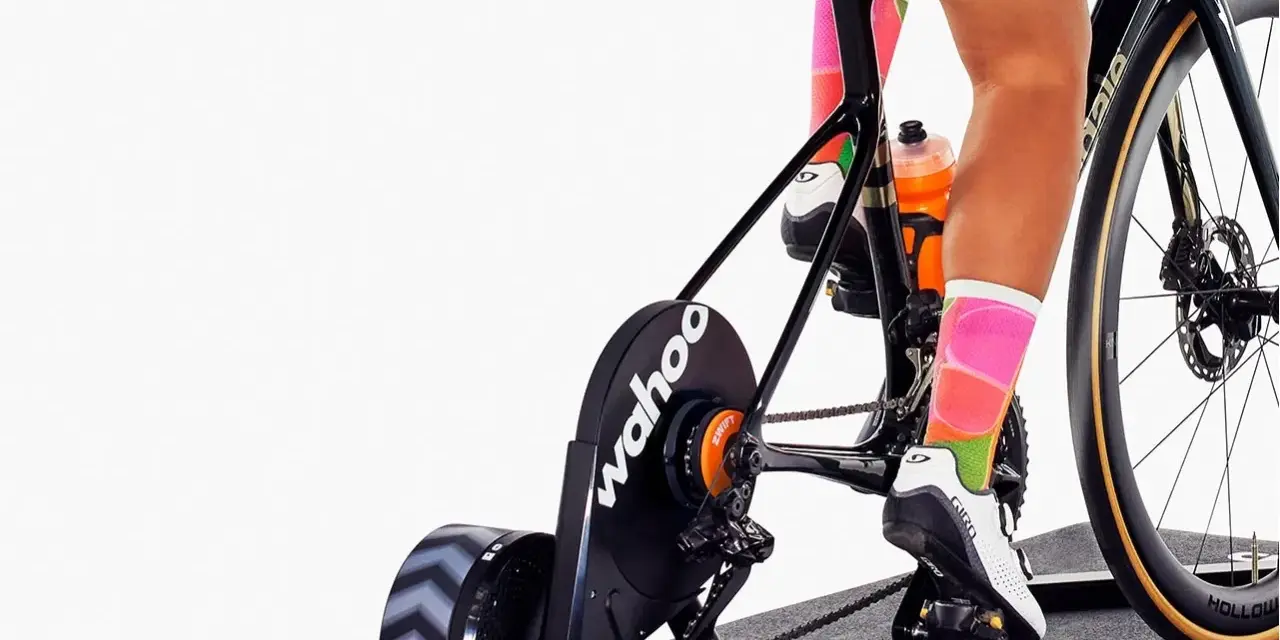
What matters most is matching load, cadence, and effort
- Resistance changes how hard each pedal stroke feels, but cadence changes how fast you spin.
- Magnetic bikes are usually quiet and low maintenance, while friction and air systems feel different and wear differently.
- For most steady indoor rides, a controlled cadence around 80-95 rpm is a practical starting point.
- Heavier hill work usually works better at a lower cadence, often around 60-80 rpm, as long as the stroke stays smooth.
- The number on the screen is bike-specific, so I compare effort on the same bike instead of chasing a universal setting.
How bike resistance changes the feel of every ride
When I think about bike resistance, I think about the force that turns a simple spin into real work. Higher load makes the flywheel harder to turn, which is why the bike starts to feel more like a hill or a headwind; lighter load lets the legs move faster, but it can also make the stroke feel loose if you go too far. The real workout comes from the balance between load and cadence, not from either one alone.
That is why the same bike can feel easy at one moment and brutally hard the next. A moderate setting at 90 rpm can be a completely different effort from the same setting at 60 rpm. If your bike shows watts, that is the most useful anchor because it gives you an objective output to repeat; if it does not, I use cadence and perceived effort together and pay attention to how stable the upper body stays.
My rule is simple: if the pedals feel connected, the breathing is controlled, and the hips stay quiet, the load is probably in the right zone. Once that basic relationship makes sense, the next question is which kind of resistance system your bike uses, because the feel and maintenance can vary a lot.
The main resistance systems you’ll see on indoor bikes
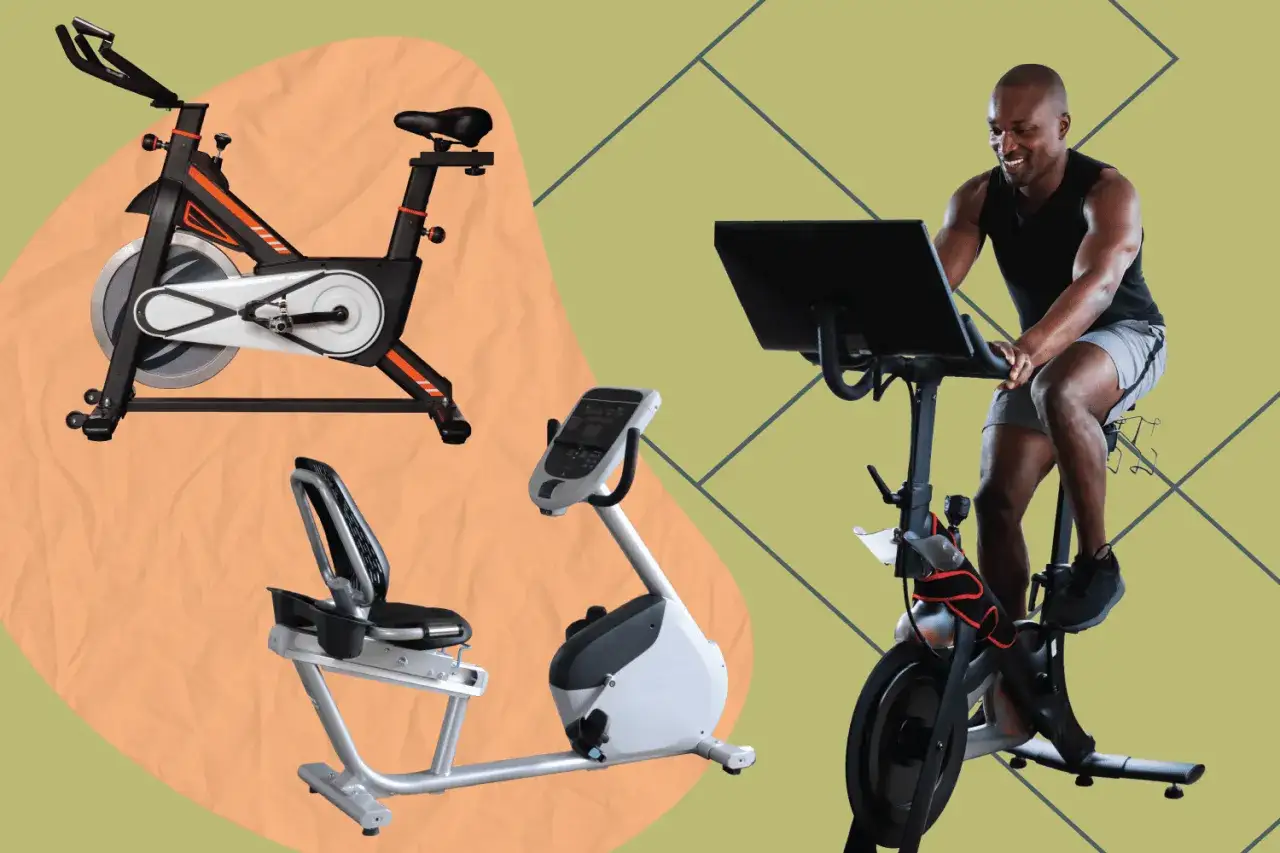
Not every indoor bike creates resistance the same way. Some use a direct physical brake, some use magnets, some use air, and some use electronic control. My read is that the label on the console matters less than the mechanism underneath it, because the mechanism shapes noise, smoothness, maintenance, and how the bike responds when you change effort.
| Resistance type | How it works | What it feels like | Best for | Tradeoffs |
|---|---|---|---|---|
| Friction | A pad presses against the flywheel and adds drag. | Direct, simple, and often a little more old-school in feel. | Budget bikes, studio bikes, riders who want a firmer road-like response. | Noisier and more maintenance, since pads wear over time. |
| Magnetic | Magnets move closer to or farther from the flywheel. | Smooth, quiet, and usually very consistent. | Home gyms, apartments, longer rides, mixed-family use. | Less tactile than friction on some bikes, and the numbered levels are often brand-specific. |
| Air | A fan creates drag as speed increases. | The faster you pedal, the harder it gets. | Intervals, conditioning, athletes who want load that rises naturally with effort. | Loud, less ideal for quiet spaces, and not as precise for slow, steady work. |
| Electronic or smart control | The bike changes load digitally, sometimes in response to a workout profile. | Very precise, especially when the bike follows a programmed target. | Structured training, app-connected rides, riders who like repeatable sessions. | Usually more expensive and more dependent on software or electronics. |
For most riders at home, I usually see magnetic systems win on practicality because they stay quiet and need less attention. Air bikes make sense when intensity is the point and noise is not a problem. Friction still has a place, especially when someone wants a more direct feel. Once you know the hardware, it becomes much easier to choose the right setting for the workout itself.
How to choose the right load for your workout
I rarely start by asking, “What level should I use?” I start by asking what the ride is supposed to do. A recovery spin, a tempo block, and a hill repeat should not feel the same, so the load should change with the goal. If you want a practical way to think about it, use cadence, breathing, and control as your three checkpoints.
- Warm-up and recovery - Keep the load light enough that you can spin comfortably around 70-85 rpm. The effort should feel easy, your shoulders should stay relaxed, and your breathing should settle within a minute or two.
- Steady endurance - Use a moderate load that lets you hold roughly 80-95 rpm without bouncing. This is the zone where you can work for a while, talk in short sentences, and still feel like you are training rather than just turning the pedals.
- Hill work - Add enough resistance to bring cadence down into roughly 60-80 rpm while keeping the stroke smooth. The ride should feel heavier, but not sloppy; if your hips rock or your knees wobble, the load is too much or the fit is off.
- Intervals and sprints - Short efforts need enough resistance to keep the pedal stroke controlled at higher speed. I’d rather see someone hit 95-110 rpm with control than chase a huge number and lose form halfway through the rep.
When a bike shows watts, use those to make your sessions repeatable. When it does not, repeat the same warm-up, cadence target, and effort cue on the same machine so you can tell whether you are actually improving. That consistency matters more than any single number on the screen, and it leads straight into how fit and form change the feel of the bike.
Why fit and form change how hard the bike feels
Indoor cycling can fool people because a bad setup often looks like a hard workout. A seat that is too low makes the stroke feel cramped and can push stress into the knees. A seat that is too high makes the hips rock, which wastes energy and makes heavier load feel unstable. If the handlebars are too far away, riders tend to brace through the shoulders and core instead of letting the legs do the work.
I look for three signs of a decent setup: the knee stays aligned over the foot, the pelvis stays quiet, and the upper body does not fight the pedals. If you are bouncing in the saddle at a fast cadence, the load is usually too light for the speed you are trying to hold. If you are grinding so hard that your breathing spikes and your form collapses, the load is too high for the current effort.
One practical note: I treat the numbered levels on an indoor bike as a bike-specific shorthand, not a universal scale. A level 10 on one bike may feel very different from a level 10 on another, so I compare how the ride feels on the same bike over time instead of comparing numbers across brands. Once that is clear, it becomes easier to spot the common mistakes that throw riders off.
Common mistakes that make resistance feel wrong
Most problems I see are not fitness problems. They are pacing, setup, or control problems. The good news is that they are easy to fix once you know what to look for.
- Chasing a bigger number instead of a better stroke - A higher setting means nothing if the pedaling becomes jerky or the upper body starts to tense up.
- Spinning too fast with too little load - This often looks busy but does not build much useful work and can make the hips bounce.
- Grinding too soon - Jumping straight into heavy load without a warm-up makes the ride feel harsher than it needs to be.
- Holding the breath - People do this more than they realize, especially on climbs. It makes the effort feel harder and usually shortens the set.
- Comparing one bike to another - If the bike or app is different, the number may be different too. Compare effort, not ego.
- Ignoring noise and wear - If a bike gets louder, sticky, or less smooth over time, the resistance system may need attention.
Fix those issues first and the bike becomes a much better training tool. From there, a simple routine is usually enough to make the setting useful without overcomplicating every ride.
A simple two-week routine to make the setting useful
If I were helping someone dial this in from scratch, I would keep the structure very simple for two weeks and repeat the same basic pattern. That gives you enough consistency to notice what changes and enough variety to keep the sessions useful.
- Ride 1 - 5 minutes easy, 10 minutes steady at moderate load and 85-90 rpm, then 5 minutes easy. Use this to learn what a controlled aerobic ride feels like.
- Ride 2 - 5 minutes easy, then 6 rounds of 1 minute heavier load at 60-70 rpm with 2 minutes easy between reps. This teaches you how a climb should feel without turning it into a grind.
- Ride 3 - 5 minutes easy, then 8 rounds of 30 seconds fast legs at 95-105 rpm with enough resistance to stay smooth, followed by 90 seconds easy. This builds turnover without losing control.
- What to record - Write down cadence, effort level, and, if available, watts. If the same workout feels easier on the same bike after two weeks, the setting is finally doing its job.
That approach works because it trains the relationship between load and movement instead of turning every ride into guesswork. If you keep the form clean, match the resistance to the session, and use the same bike consistently, indoor cycling becomes much more predictable and much more effective.