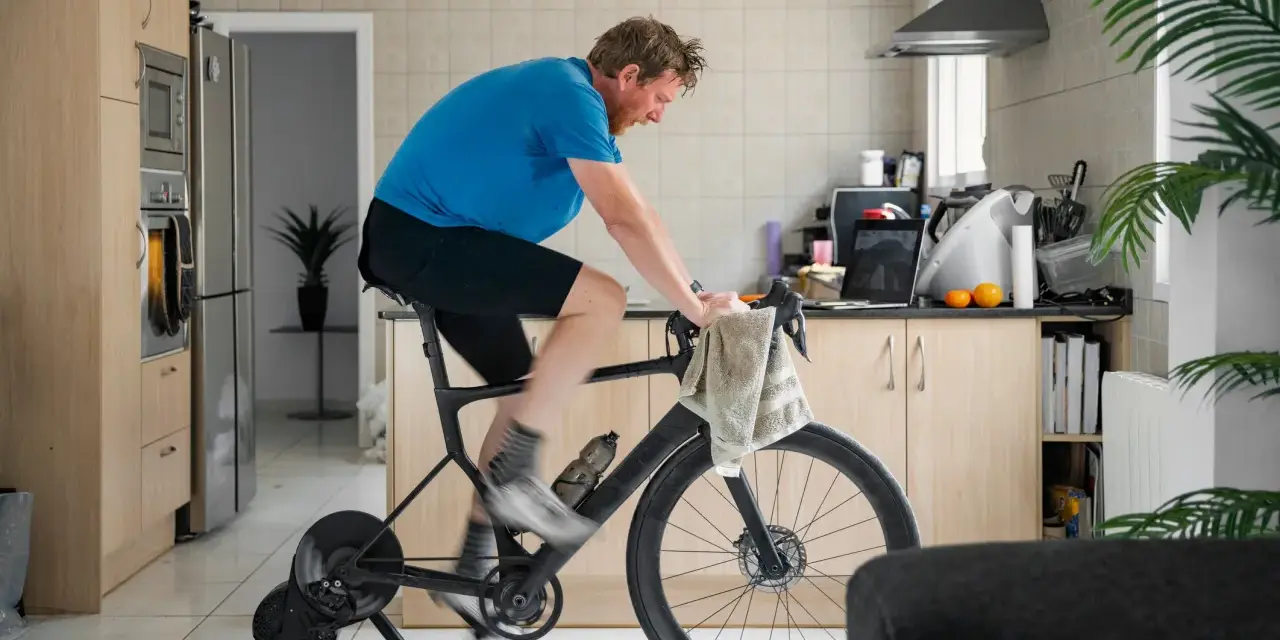
This guide to indoor cycling for beginners focuses on the parts that matter most in the first few weeks: how to fit the bike, how hard to ride, what gear is actually worth buying, and how to avoid the usual mistakes that make new riders quit early. I am aiming for practical, not flashy advice, because the fastest way to improve is to make the workout feel repeatable.
The fastest way to make your first rides manageable
- Start with a bike fit that keeps your hips steady and your shoulders relaxed.
- Plan the first rides around 20 to 30 minutes, not all-out efforts.
- Use cadence, resistance, and effort together instead of chasing one screen number.
- Sneakers are fine for a first ride unless your bike or studio requires clip-in shoes.
- Two to three rides a week is enough to build momentum before you push intensity.
- Mild saddle soreness can be normal at first, but sharp knee or back pain is not.
The first surprise is that a spin bike can feel friendly at an easy pace and brutally demanding the moment resistance or cadence gets out of control. Indoor cycling is low-impact, which is why many people use it to build cardio fitness without the pounding of running, but low-impact does not mean low-effort. What matters most in the first rides is learning how resistance, cadence, and posture work together so you can keep the effort steady instead of bouncing between too easy and too hard.
I like new riders to think in terms of control, not speed. If you can breathe hard without losing form, you are probably in the right zone; if you are gripping the bars, rocking your hips, or holding your breath, the bike is telling you to back off and reset. That is why bike setup comes first, before intervals, playlists, or performance goals.
Set up the bike before you chase the workout
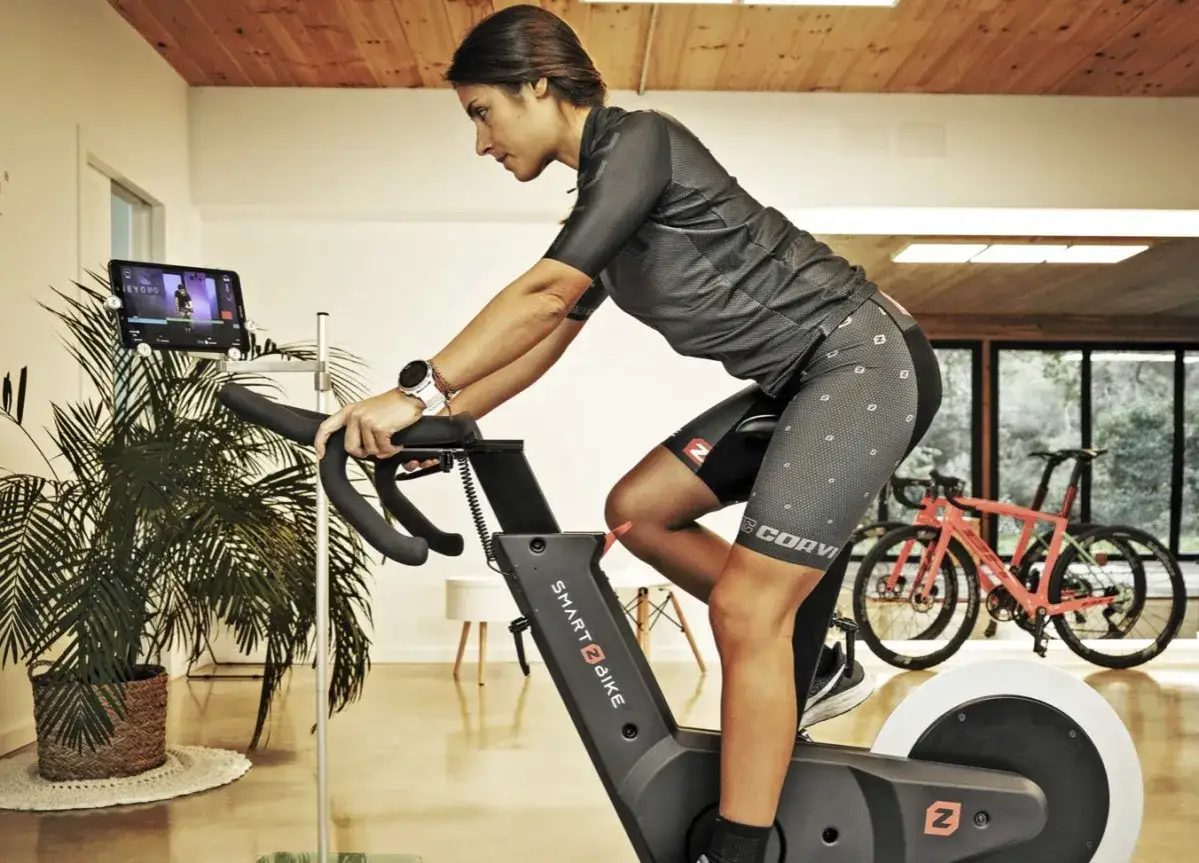
A good fit makes the ride feel smoother immediately, and it is the quickest way to protect your knees, hips, and lower back. For a first setup, I usually start simple: saddle around hip height when you stand next to the bike, handlebars at the same height as the saddle or a little higher, and a slight bend in the knee when the pedal reaches the bottom of the stroke. That gets most people close enough to ride comfortably, then you can fine-tune from there.
- Saddle height: too low and your knees feel cramped; too high and your hips rock side to side.
- Saddle reach: when the pedal is at 3 o’clock, your front knee should track roughly over the ball of the foot, not drift far ahead of it.
- Handlebar height: a higher bar is usually friendlier for beginners and for anyone with a tight lower back or hamstrings.
- Hand position: keep a soft bend in the elbows and avoid leaning all your weight into your hands.
- Foot placement: the ball of the foot should sit over the pedal axle, whether you use cages or clip-in shoes.
If the saddle feels fine for five minutes and then becomes irritating, do not assume that is normal. Small adjustments matter, and I would rather change one setting at a time than force a bad position through an entire class. Once the bike fits, the next decision is what to wear and what gear is worth the money.
Choose the right first-ride gear
You do not need a stack of accessories to start. In fact, most beginners are better off with a simple setup: stable shoes, breathable clothing, water, a towel, and maybe a fan if you are riding at home. Clip-in shoes can improve efficiency and make the pedal stroke feel more secure, but I would not make them a day-one requirement unless your studio or bike needs them.
| Item | Best beginner choice | Why it matters |
|---|---|---|
| Shoes | Snug athletic shoes with a stable sole | Fine for your first rides if the bike has cages or flat pedals |
| Cycling shoes | Worth buying once you ride regularly | They improve foot stability and make the stroke feel more connected |
| Clothing | Fitted shorts or leggings and a sweat-wicking top | Avoid loose hems that can catch and fabrics that stay heavy when wet |
| Water bottle | One bottle for a 20 to 45 minute ride | Hydration matters more than people expect once the room gets warm |
| Towel | A small hand towel | Keeps sweat out of your eyes and helps you keep a secure grip |
| Fan | Strong airflow for home rides | Heat can turn a manageable workout into a miserable one very quickly |
| Heart-rate monitor | Optional | Helpful if you already train with zones, but not required to start well |
The big gear mistake is spending on the flashy stuff before you solve comfort. A well-placed fan, a bottle, and shoes that do not let your foot slide around will improve your first month more than a premium screen or a fancy cadence sensor. If you are buying a bike for home use, I would prioritize adjustability and stability over gadgets every time.
Pace your first workouts so you can come back tomorrow
For the first few rides, I prefer short sessions that end with some energy left. Aim for 20 to 30 minutes total, including a warm-up and cool-down of 5 to 10 minutes each. That kind of pacing makes it much easier to ride again in two days instead of waiting a week because you overdid it.
| Part of the ride | Time | Effort target | What it should feel like |
|---|---|---|---|
| Warm-up | 5 to 10 minutes | Easy spin | You can talk in full sentences |
| Main block | 10 to 15 minutes | Moderate, with 1 to 3 short harder efforts | Breathing is stronger, but form stays smooth |
| Cool-down | 5 to 10 minutes | Very easy | Legs feel flushed, not flooded |
A useful benchmark for many classes is a cadence around 80 to 100 RPM on flatter sections and roughly 60 to 80 RPM when resistance gets heavier. That does not mean you must match the room. If your legs are spinning wildly, add resistance; if your knees are grinding and your back is tight, reduce the load and smooth out the stroke. The goal is a ride that feels controlled, not a sprint you survive once.
Learn which metrics matter and which ones do not
Beginners often get distracted by the screen and miss the actual signal from their body. I care about four numbers or cues: cadence, resistance, perceived effort, and, if you already use one, heart rate. Cadence tells you how fast you are pedaling, resistance tells you how hard each pedal stroke is, and perceived effort tells you whether the combination is sustainable.
| Metric | Beginner use | What to watch for |
|---|---|---|
| Cadence | Keep it smooth, usually around 80 to 100 RPM on flatter work | If the pedals feel bouncy or out of control, slow down or add resistance |
| Resistance | Enough load to feel steady and connected | If you cannot keep good form, the load is too high |
| RPE | Aim for 4 to 6 out of 10 most of the time | Brief efforts at 7 are fine; living at 8 or above too early is not |
| Heart rate | Optional unless you already train with zones | Useful for trends, but not necessary for every beginner ride |
Some studios call resistance gear or load, which can confuse new riders at first. I would not worry about the label. What matters is whether the effort lets you keep good posture, breathe under control, and finish the session with enough freshness to repeat it later in the week.
The mistakes that make beginners quit early
- Starting too hard: the fastest way to get sore, discouraged, and unable to ride again for several days.
- Using almost no resistance: it feels easier in the moment, but the pedals become unstable and the workout stops doing much.
- Using too much resistance too soon: if you cannot keep the pedal stroke smooth, the load is too high.
- White-knuckling the bars: tight shoulders and locked elbows usually mean the setup or effort level needs a reset.
- Ignoring knee or back pain: normal effort burns in the legs; sharp pain is a warning sign, not a badge of honor.
- Copying advanced riders on day one: experienced cyclists can handle more load, more cadence, and more complexity because they have built the base first.
The fix is boring, but it works: lower the ego, clean up the fit, and stay consistent. If something feels off after two or three rides, do not wait for it to get worse before adjusting the bike or the workout style. That leads neatly into a simple way to build the habit without overthinking it.
A simple four-week start that builds confidence
I like a four-week ramp because it gives structure without turning the bike into homework. If you feel good, move forward; if you are still sore or unusually fatigued, repeat the previous week. The point is to leave every ride thinking, “I could do that again.”
- Week 1: ride twice for 20 to 25 minutes at an easy pace, with no long pushes.
- Week 2: ride twice for 25 to 30 minutes and add one or two short efforts of 30 to 60 seconds.
- Week 3: ride three times, keeping one session easy, one moderate, and one slightly harder.
- Week 4: ride three times for 30 to 35 minutes, and keep at least one session comfortable enough that you finish fresh.
If your goal is general fitness, that kind of progression fits well with the common weekly target of about 150 minutes of moderate aerobic work, but you do not need to land there immediately. I would rather see two dependable rides every week than a perfect plan that falls apart after ten days. Once you have that rhythm, a little strength work for the core, glutes, and hamstrings helps your bike position feel more stable too.
The habits that make the bike feel easier after the first month
The beginners who stick with indoor cycling usually do a few small things very well. They write down their bike settings, keep a bottle and towel ready before they start, and avoid turning every ride into a competition. They also pay attention to recovery: one easier session after a hard one, enough sleep, and a little mobility work for the hips and calves can make the next ride feel dramatically better.
- Save your setup: seat height, fore-aft position, and handlebar height should not be a mystery next time.
- Keep one easy ride each week: it lets your body absorb the harder sessions instead of stacking fatigue.
- Re-check fit every few weeks: comfort changes as your mobility and strength improve.
- Notice patterns: if the same knee, hip, or wrist complaint shows up twice, fix the cause instead of pushing through.
- Keep the bar low-pressure: you do not need to crush every class to get fitter; consistency beats drama here.
That is the part most people miss at the start: progress comes from a bike that fits, a pace you can repeat, and the patience to let the routine build before you chase harder intervals. Once those pieces are in place, the workouts stop feeling intimidating and start feeling usable, which is exactly where you want to be.