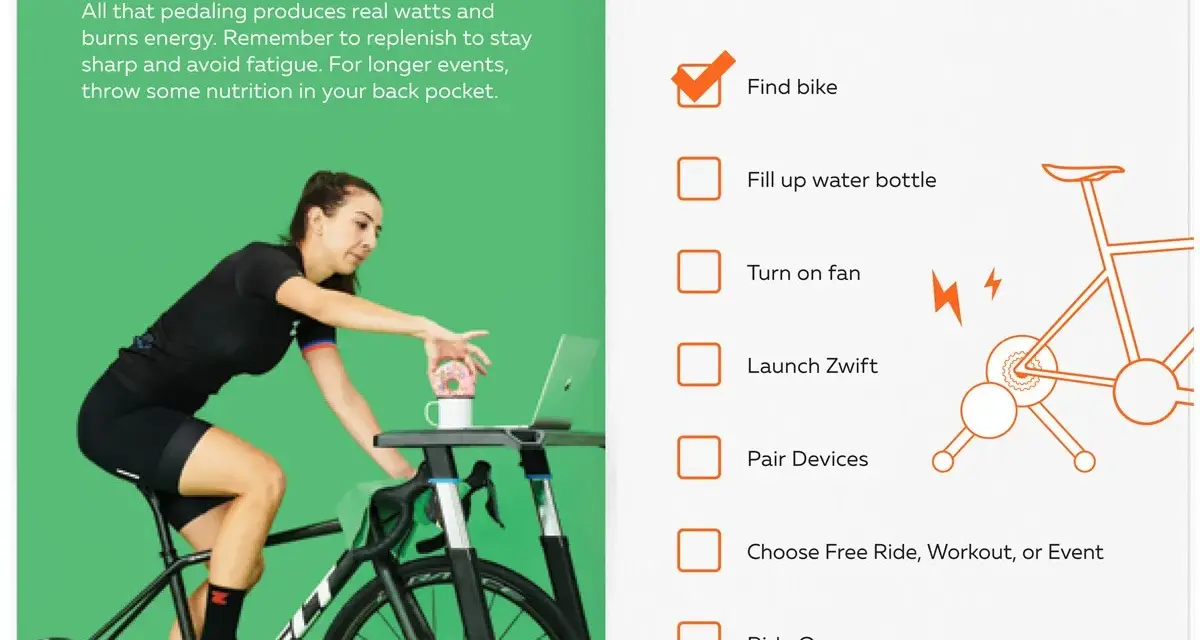
For Zwift getting started, I would keep the first setup simple: choose one reliable trainer path, confirm your device can run the app, and make the room comfortable enough that you will actually use it. This guide covers the equipment choices, pairing steps, calibration, and the first rides that help beginners settle in without wasting money or motivation.
The first decisions that matter most
- Zwift currently offers a 14-day free trial, and U.S. pricing is published at $19.99 per month or $199.99 per year.
- The easiest beginner path is a smart trainer or Zwift Ride; a wheel-on trainer can still work if you already own one.
- Zwift runs on PC, Mac, Android, iPhone, iPad, and Apple TV, but the smoother your device, the better the ride.
- A smart trainer should be calibrated when new, then every week or so and after it has been moved.
- Your first ride should be a short free ride in Watopia, not a hard workout or a race.
Choose the setup that matches your budget and space
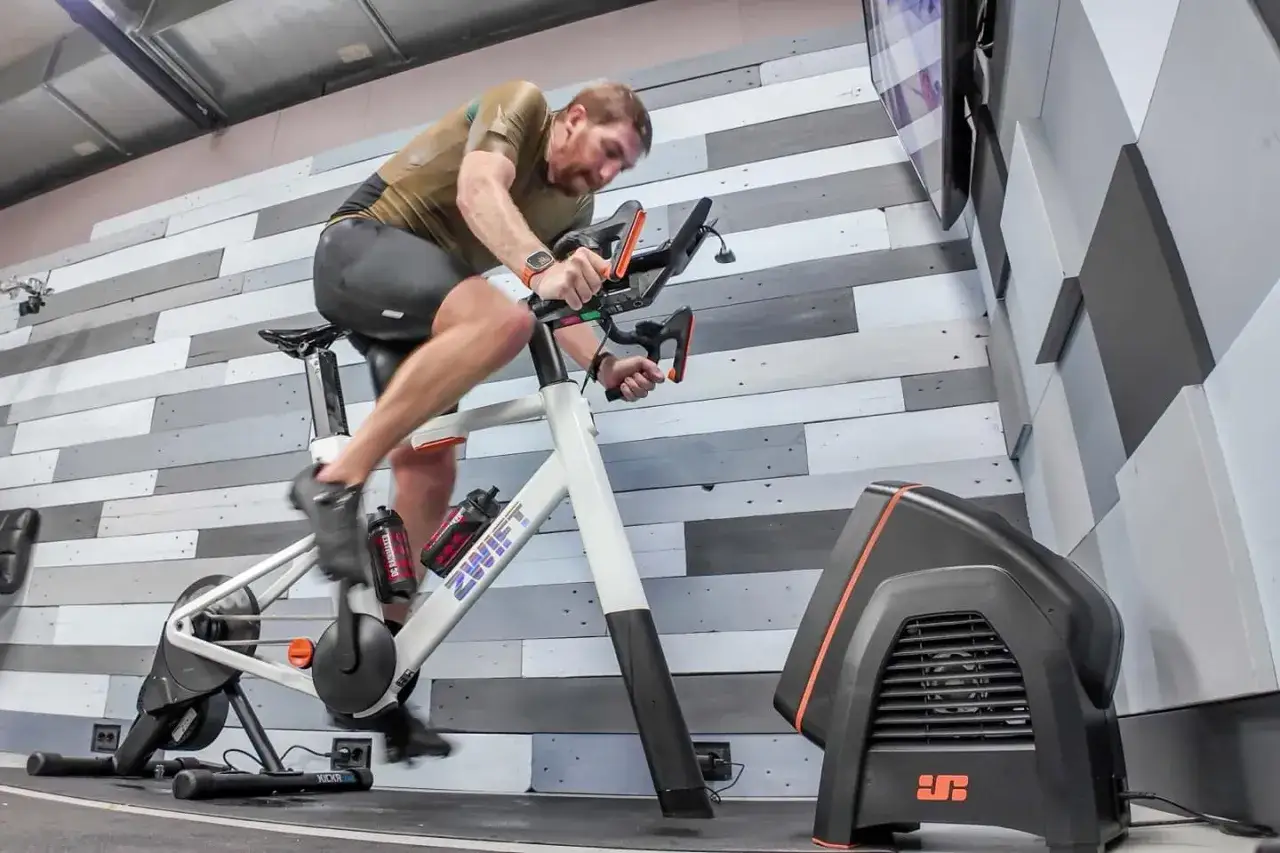
When I help someone start on Zwift, the real question is not what is the best trainer. It is what setup will still feel easy to use on a random weekday evening when motivation is low. The answer usually comes down to three paths: a smart bike, a smart trainer with your own bike, or a wheel-on trainer if you want the cheapest way in.
| Setup | Best for | Why I like it | Main tradeoff |
|---|---|---|---|
| Zwift Ride or another smart bike | Shared households and riders who want zero fuss | Always ready, built for indoor use, least setup friction | Highest upfront commitment |
| Smart trainer + your bike | Most cyclists who already own a decent bike | Best balance of realism, flexibility, and value | Requires bike mounting and a little more setup |
| Wheel-on trainer + sensor | Budget-first starters and riders testing the waters | Lowest barrier to entry if you already own a trainer | Less accurate, noisier, and not as immersive |
Almost any road, gravel, mountain, or hybrid bike can work with the right trainer, so you do not need a special race bike to begin. I usually tell riders to buy the least complicated setup they will actually use, not the most impressive one on paper. Once you know which hardware path fits your room and budget, the next issue is making sure the device you use to run Zwift can keep up.
Make sure your device can run Zwift smoothly
Zwift runs on PC, Mac, Android, iPhone, iPad, and Apple TV, but I would think about screen size and device headroom before I think about brand names. A bigger display is easier to read, and a stronger device usually gives you a smoother ride. For the practical baseline, 4 GB of RAM is the floor, 8 GB or more is the safer target, and you want at least 4 GB of free storage.
| Platform | Why it works | What to watch |
|---|---|---|
| PC or Mac | Best overall graphics and stable updates | Use enough RAM and free storage |
| Apple TV | Very clean living-room setup | Pairing can get crowded with multiple Bluetooth devices |
| Tablet or phone | Flexible and easy to start with | Smaller screen and battery drain can be limiting |
- Use a personal laptop or desktop if you can. Work machines often create permission issues that look like app bugs.
- Keep the operating system current before your first ride.
- If you plan to pair several Bluetooth devices on Apple TV, the Zwift Companion app can help act as a bridge.
- A tablet is a nice middle ground if you want a larger display without committing to a TV setup.
Once the device is sorted, I move to the bike itself, because the right hardware only works if it is mounted and powered correctly.
Set up the bike, trainer, and sensors in the right order
Zwift needs at least one device that provides speed or power. A power meter measures watts directly, which is the number I trust most for pacing and workouts. A speed sensor only estimates effort from wheel speed, so it is fine for casual riding but less useful if you care about training precision.
| Device | What it measures | Why it matters |
|---|---|---|
| Power meter | Watts | Best training number for pacing and workouts |
| Cadence sensor | Pedal revolutions per minute | Helps you keep a smooth spin |
| Heart-rate monitor | Beats per minute | Shows effort, recovery, and drift during longer rides |
If you are using a direct-drive smart trainer, remove the rear wheel, mount the bike securely, and check that the cassette matches your drivetrain. If you are on a wheel-on trainer, a training tire or spare rear wheel is worth considering because it cuts noise and saves your outdoor tire from wear. In either case, inspect the chain, make sure the bike is stable, and place a fan within reach. A mat, towel, and bottle are not luxury items indoors; they are what keep the session from turning into a sticky mess.
The fan is the cheapest performance upgrade I know. Heat is one of the fastest ways to make a decent workout feel awful, so I would buy cooling before I chased another gadget. At this point the hardware should be ready, and the next bottleneck is pairing everything without wasting 20 minutes on avoidable Bluetooth drama.
Pairing and calibration are where most beginners save or waste time
- Open Zwift, log in, and wait for the pairing screen.
- Wake up the trainer and every sensor before trying to connect them.
- Pair the power source or speed sensor first, then cadence, then heart rate.
- If you are on Apple TV or a crowded Bluetooth setup, use Zwift Companion as a bridge when needed.
- Run a calibration spin-down for a smart trainer when it is new, then every week or so and whenever you move it.
That last step matters more than most beginners expect. Calibration is what keeps wattage numbers consistent, which means the climbs, workouts, and pacing decisions inside Zwift make more sense. If the trainer still refuses to connect, I would check battery levels, close any other fitness app that may be holding the sensor, and restart the trainer before assuming the hardware is bad.
Once the pairing screen is behaving, there is nothing wrong with keeping ride one very short and very easy. That is usually where the platform starts to make sense.
What to do in your first 20 minutes on Zwift
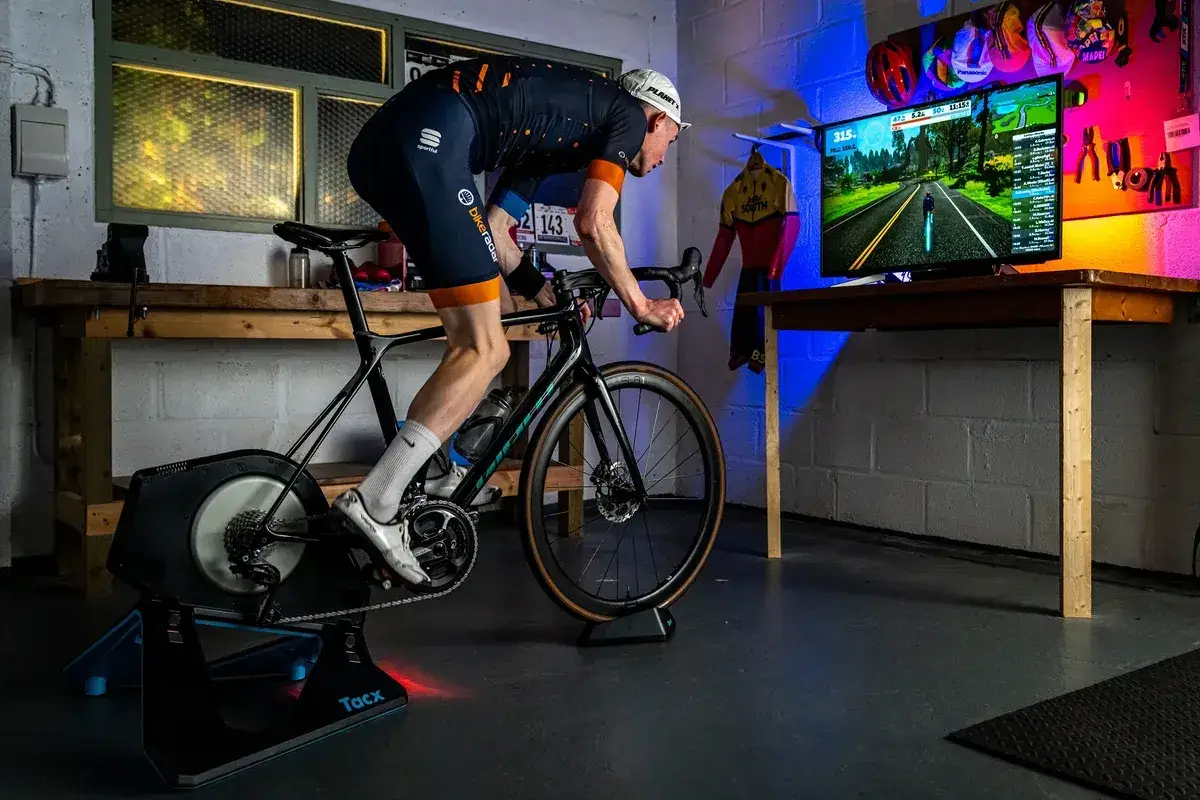
The best first ride is a short free ride in Watopia. I prefer that over an event or workout because it gives you the feel of the platform without the pressure of a target, a leaderboard, or other riders waiting on you. I treat the first session as a systems check, not a test.
- Ride 5 minutes very easy and make sure the avatar responds cleanly to your pedaling.
- Spend the next 10 minutes just exploring and noticing how climbs feel harder if you are on a smart trainer.
- Use the last 5 minutes to check whether the fan, screen height, and trainer position feel comfortable enough to repeat.
If you open a structured workout later, Zwift may use ERG mode, which holds you at a target power. That is useful for planned training, but I do not think it belongs on the first day unless you already know exactly what you are doing. For ride one, simple is better.
After that first session, the real challenge is not motivation. It is avoiding the small mistakes that make indoor cycling feel more annoying than it should.
Avoid the mistakes that make Zwift feel harder than it is
- Do not buy around a setup you may not use. If you hate extra steps, favor the most ready-to-ride option you can afford.
- Do not start with an underpowered work laptop or an old tablet if you can avoid it. Bluetooth and storage issues will make you blame the trainer.
- Do not skip the fan. Heat is one of the fastest ways to turn a good session into a miserable one.
- Do not chase speed as your main metric. Power and consistency matter more, especially indoors.
- Do not start a hard training plan before you know how the trainer feels. Zwift recommends an FTP test before a structured plan, and that test only makes sense once you have ridden a few times.
- Do not ignore firmware updates or calibration prompts. Those are boring, but they protect the quality of the data you are training on.
Most of the frustration I see in the first week comes from expecting the app to solve a setup problem. In practice, the ride gets better when comfort, device stability, and sensor accuracy are handled first. That is also why I like a very small, repeatable first-week plan.
A sensible first week if you want this to stick
Three to four rides are enough for the first week. More than that is fine if you are already fit, but beginners usually get more out of repeating a manageable routine than from piling on volume.
| Day | Session | Why it helps |
|---|---|---|
| Day 1 | 20 minutes easy free ride | Confirms pairing, trainer feel, and screen placement |
| Day 3 | 20 to 30 minutes easy ride | Reinforces the habit without fatigue |
| Day 5 | 30 minutes route or social ride | Teaches pacing and keeps the experience interesting |
| Day 7 | 40 to 45 minutes easy ride or rest | Shows whether the setup is truly sustainable |
If you want structured training after that, complete an FTP test and start with a simple plan instead of jumping straight into advanced workouts. FTP stands for functional threshold power, which is the effort you can hold for roughly an hour, and Zwift uses it to set better workout targets. That is the point where the app stops being a novelty and starts becoming a training tool.
By then you will know whether you need more structure, more comfort, or simply more time in the saddle.
What I would keep in mind before buying the next upgrade
If I were building a Zwift setup from scratch in the US, I would spend first on a stable trainer path, then on cooling, then on a display I can actually see, and only after that on extras like a heart-rate monitor or cadence sensor. That order solves the problems beginners feel first, and it does it without locking you into gear you may not need later.
The cleanest takeaway is simple: start with a setup that opens fast, connects reliably, and feels good enough to repeat tomorrow. Once that is true, Zwift stops being a tech project and starts being a genuinely useful part of indoor cycling.